VIEW BY CATEGORY:
Hi, we're Hunter and Sarah, a husband-and-wife, luxury wedding photography team. We’re also educators, helping other photographers build profitable and sustainable photography businesses.
MEET US
LOOKING FOR SOMETHING?
Best Shutter Speed for Portrait and Wedding Photography (Shooting in Manual Part 4)
January 12, 2023
—
If you want to understand how to use your DSLR or mirrorless camera, and take better images, then learning to shoot in manual is a great place to start! In today’s blog, we’re teaching all about aperture, one of the three fundamental controls you have over your camera, and how you can use it to get images with those dreamy, blurry backgrounds.
Last week, we introduced you guys to shutter speed. We talked about what it is, why it’s important, and how it affects both the light and the motion blur of the images you take. This whole series about shooting in manual is going to really build on itself with each video, so if you missed last week’s introduction to shutter speed, we’d recommend going back and checking that one out. We also did a couple of videos on aperture last month, which you can find using the links at the bottom of this blog!
Important Shutter Speeds to Know
But, in case you just need a quick refresher, other than controlling the overall light in an image, shutter speed’s main effect is on whether or not motion is frozen when you take a photo. Fast shutter speeds will freeze motion, while slower shutter speeds allow motion to blur in your imagery. Below is an example that we used last week to show what we mean by motion blur, compared to motion that’s perfectly frozen.
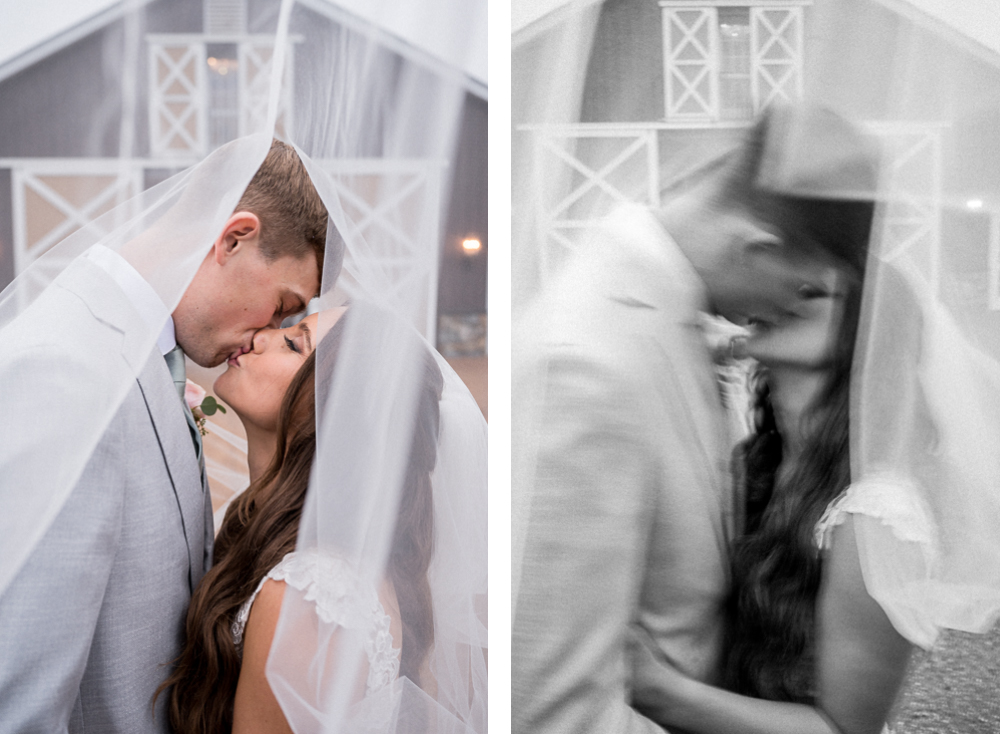
Left: Shutter speed at 1/320. Right: Shutter speed at 1/2.
But maybe you’re wondering what we mean by a “fast” shutter speed and a “slow” shutter speed. After all, most cameras range from shutter speeds that are a few seconds long (usually expressed on your camera as 1″ for 1 second or 2″ for 2 seconds) to shutter speeds that are measured in thousandths of a second (measured as 1/2500 or 1/4000).
Generally speaking, there are a handful of important shutter speeds to store in the back of your head, and then a few rules to consider as well. The first important shutter speed is 1/60th of a second. If you’re taking photos with your camera in your hand and not using a tripod — which is how almost all portrait and wedding photographers shoot all day long — then most photographers agree that anything slower than 1/60th of a second is asking for trouble. Even if your subject were completely still, any slower than 1/60th of a second, and it’s actually the shaking of your hand and your camera that can cause your entire image to blur.
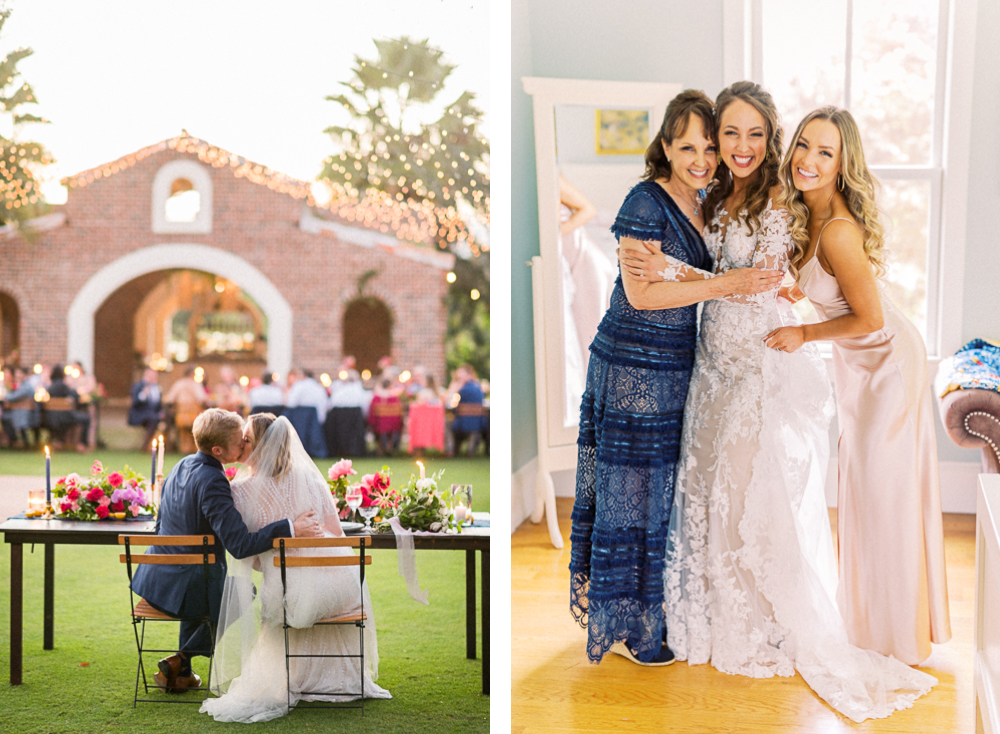
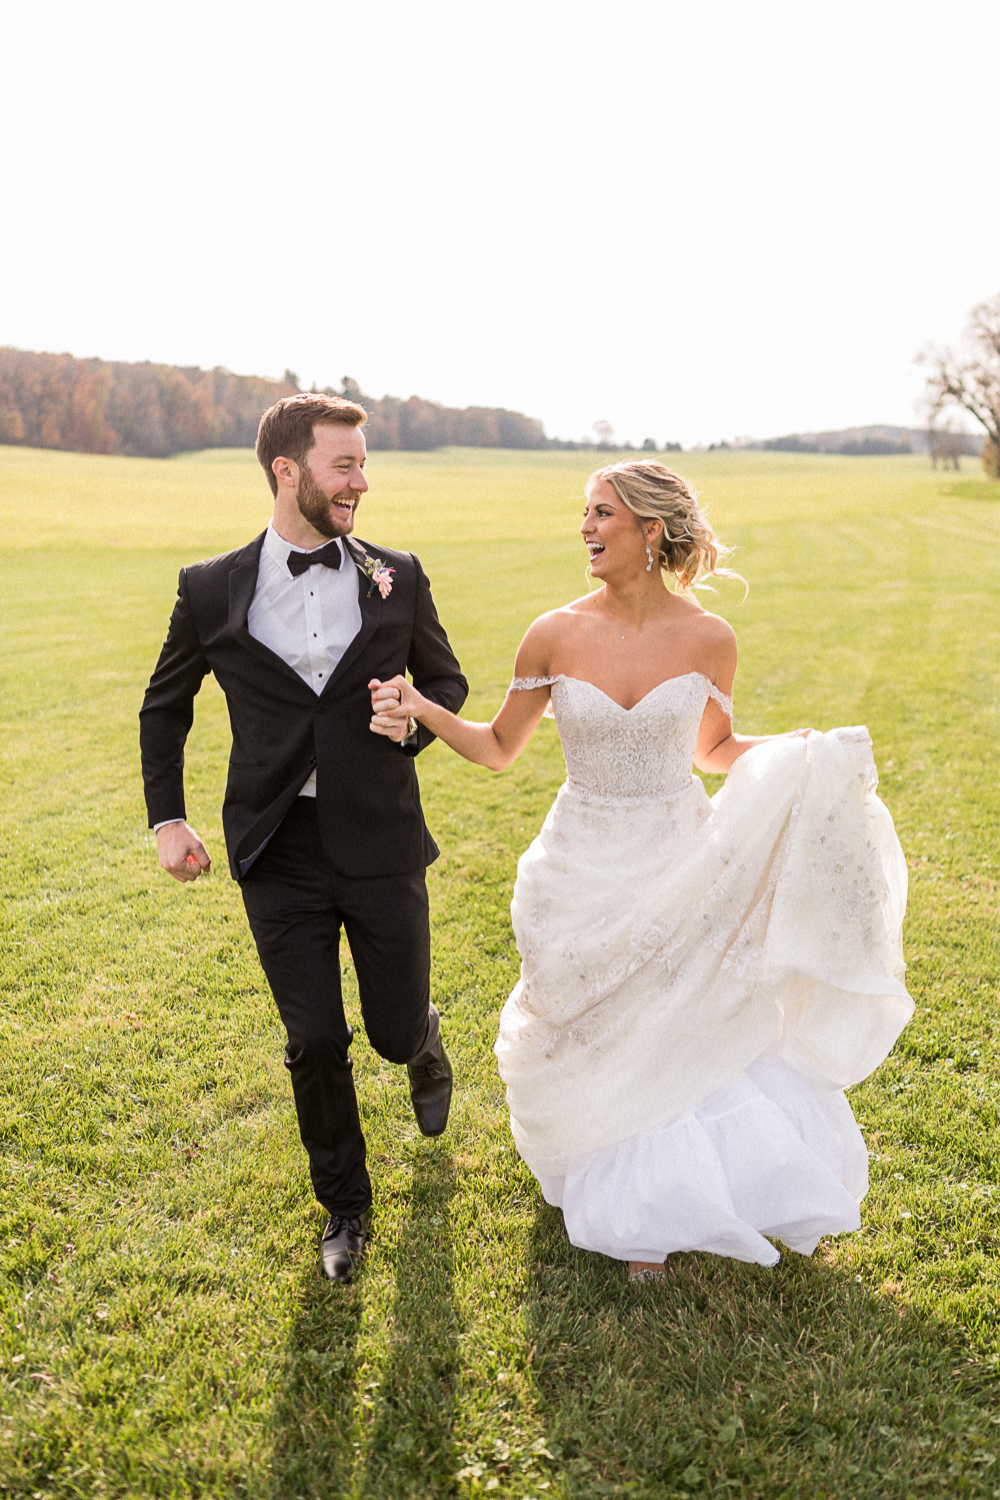
Because these images were taken in relatively low-light environments, our shutter speeds were 1/100 and 1/80. A steady hand and still subjects mean the images came out crisp and clear!
Now, if you have a lens with built in stabilization or vibration reduction, you might get away with shooting at 1/60th of a second, assuming your subject isn’t really moving. But if your subject is moving with any real speed, then let’s jump up to our next important shutter speed: 1/200th of a second. For us, if we’re photographing a wedding day or a portrait session and our subjects are walking or dancing, we want to make sure our shutter speed is at least 1/200th of a second, and sometimes even faster. This ensures that the motion of a twirl or a walk will be frozen.
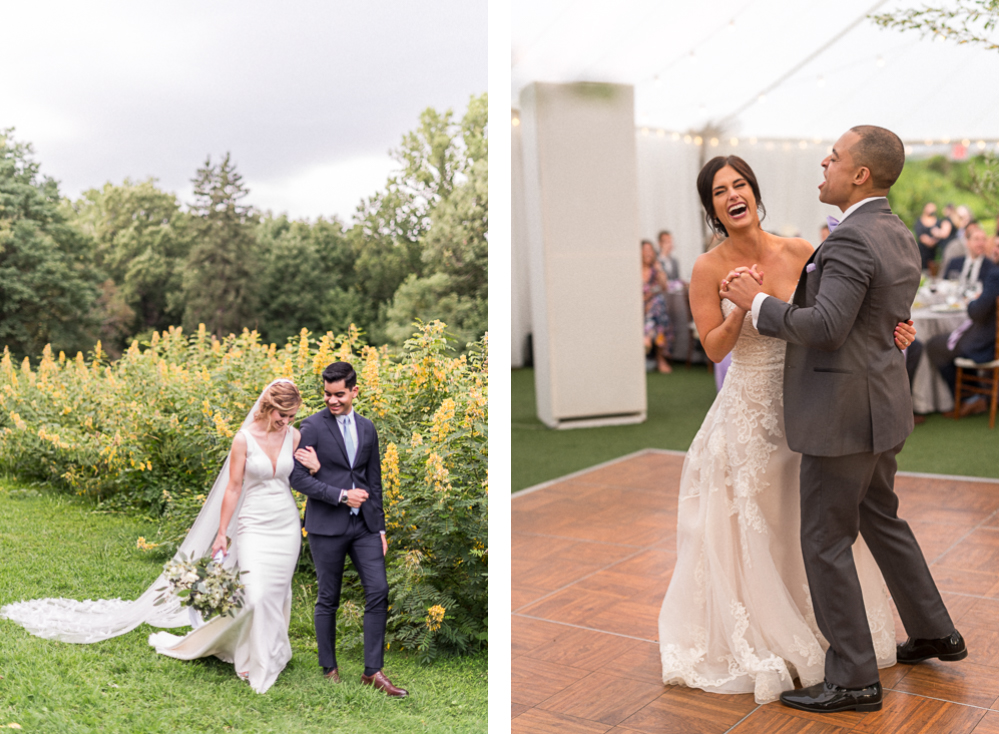
Because our subjects were moving (slowly) in these images, our shutter speed was at 1/200 and no slower!
Now, if our subjects are running or if we were photographing a sporting event, we’d want our shutter speed closer to 1/500th of a second. And minimum shutter speeds faster than that beyond that is for speeding vehicles and flying birds, which we don’t generally photograph as portrait and wedding photographers.
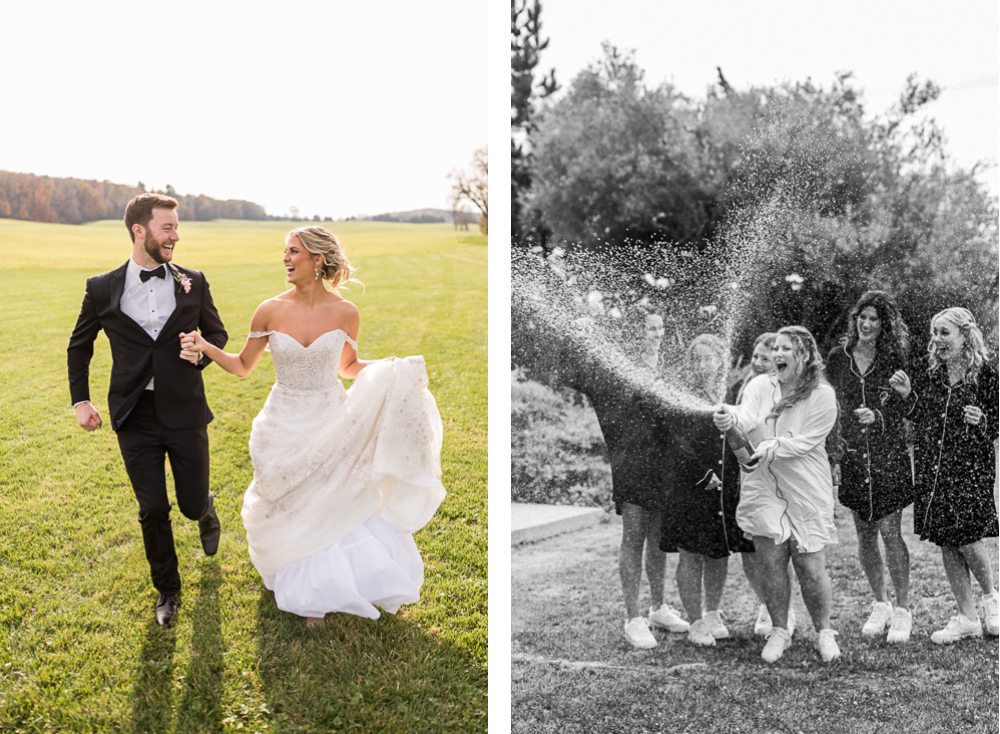
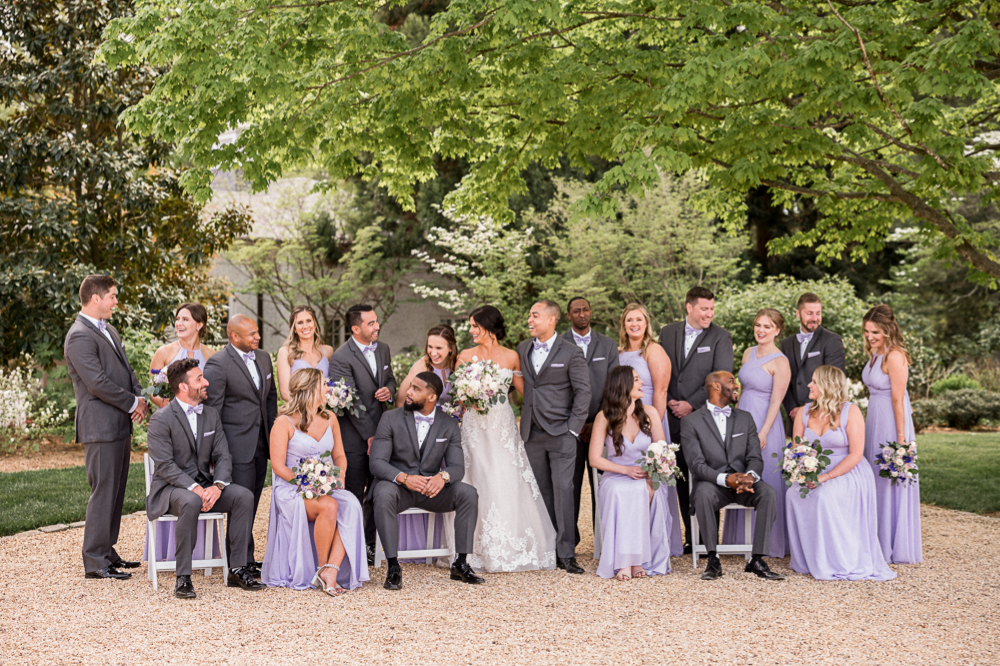
Because we wanted to freeze the motion of our running couple and the spraying champagne, these images were captured at shutter speeds faster than 1/1000!
How to Create Images with Motion Blur
But what about shutter speeds slower than 1/60th of a second? When might a portrait or wedding photographer use those? The answer is when you want to intentionally create motion blur.
But the thing is, if you’re going to intentionally create motion blur as an artistic effect that you capture every now and then as a small part of a wedding gallery, you need to really blur the motion. If the motion is only a tiny bit blurry, it just sorta looks like you missed focus or forgot to set your shutter speed correctly.
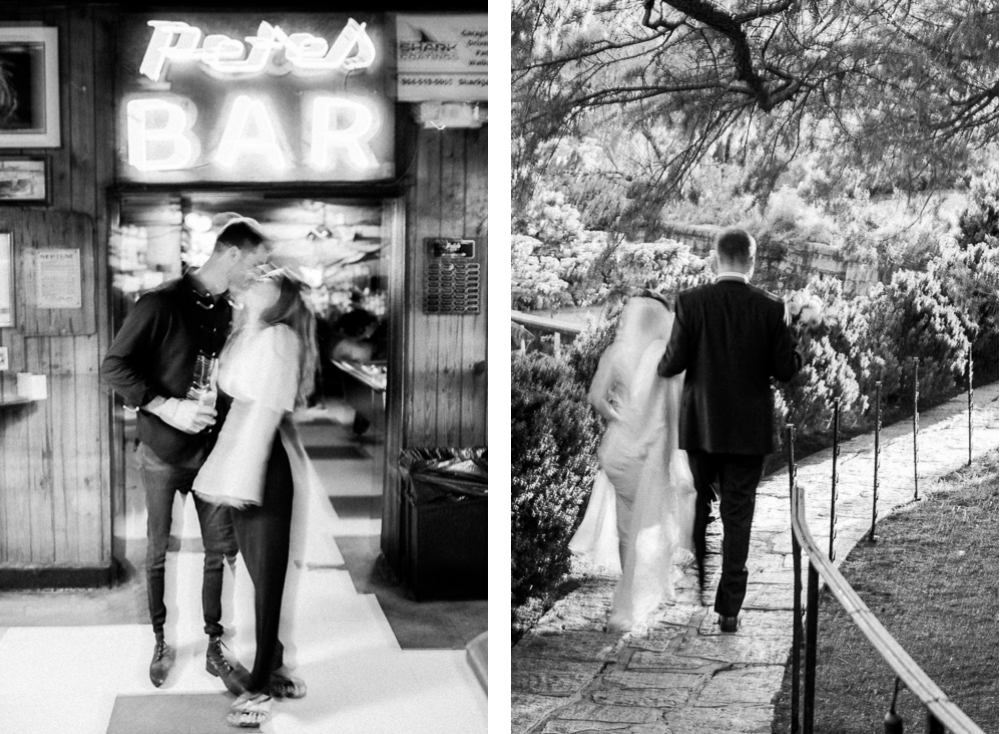
In order to create effective motion blur, these images were taken at shutter speeds slower than 1/5.
That’s why we typically set our shutter speeds to 1/2 or 1/3 of a second when we’re trying to intentionally create motion blur. That’s how we get artistic effects like the images below! But keep in mind, no matter how cool you might think these images look (and we won’t be offended if you don’t think they’re cool at all), an image like this might make up one out of every 50 or 100 images in a gallery. These can be fun additions to a portrait session or gallery of dancing photos, but these images should not make up anything close to the bulk of a gallery

Dancing photos like these can be fun, but only in moderation!
Best Shutter Speed for Portrait Photography
Now that you know about some general shutter speeds, let’s talk specifics of portrait sessions vs. wedding days. And for starters, we want to remind you that there’s no such thing as a perfect shutter speed for all situations. Often times, your shutter speed will depend more on the ambient light than it will your desires with motion, but we’ll get to that a bit later in this post. After all, knowing how to interpret a scenario and set your settings accordingly is what learning to shoot in manual is all about. It’s definitely a challenge, and can feel overwhelming when you’re just getting started. But trust us: over time, shooting in manual really does become like second nature.
But generally speaking, since so much of our portrait work is outside, in natural light, and involves motion, we almost never shoot with shutter speeds slower than 1/200th of a second. And since it’s usually pretty bright when we shoot outside, it’s often much faster than that. And that’s a really important thing to keep in mind: we say that you don’t want to go any slower than 1/200th of a second in order to capture motion, but it’s not like going faster than that is going to make your motion any more frozen! So if your image is too bright based on how you’ve set your aperture and ISO, then you can just keep speeding up that shutter speed as much as you need.
In fact, when we went back and looked at all the engagement sessions we did last year, 84% of the 4,500+ portrait images that we delivered were captured at 1/200th or faster, and less than 1% of images were captured t shutter speeds lower than 1/60th of a second.
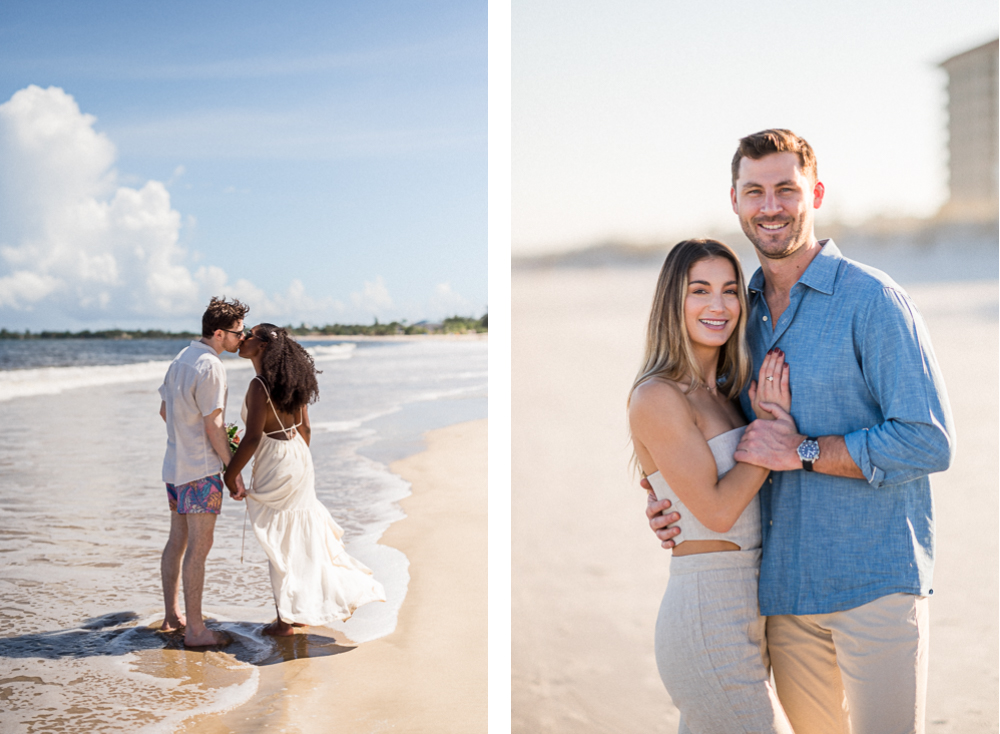
Even though our subjects were relatively still in these images, the bright sun and reflective sand meant our shutter speeds were faster than 1/6400!
Best Shutter Speed for Wedding Photographers
When it comes to wedding days, all of the outdoor portraiture parts of the day are pretty much the same as when shooting an engagement session or family session. But there are a few exceptions with wedding days that we do want to address. The first is when you’re inside. When light is in less abundant supply and you’re concerned with your images being too dark, that’s when you want to remember those minimum shutter speeds, and make sure that you don’t accidentally introduce motion blur just because you wanted a bit more light.
Another situation is when using longer lenses. There’s an old rule of thumb that, if you use a shutter speed that’s slower than the focal length of your lens, you’re likely to introduce motion blur because of hand-shake. So if you’re using an 85mm lens, you shouldn’t set your shutter speed any lower than 1/85th of a second (so really 1/100th of a second), and if you’re using a 200mm lens, you shouldn’t set it any slower than 1/200th of a second. Most portrait work happens between 35 and 85 mm which is why we said 1/60th of a second is a good general minimum shutter speed, but the true minimum shutter speed depends on the focal length that you’re shooting at and how shaky your hands are.
Finally, when using flash, you’ll have to keep in mind that most flashes restrict your shutter speed to 1/200th of a second, and no faster. So even though your subjects might be dancing really quickly and jumping around and moving, you can’t go any faster than 1/200th, and we wouldn’t recommend going any slower than that, unless you’re hoping to introduce some motion blur.
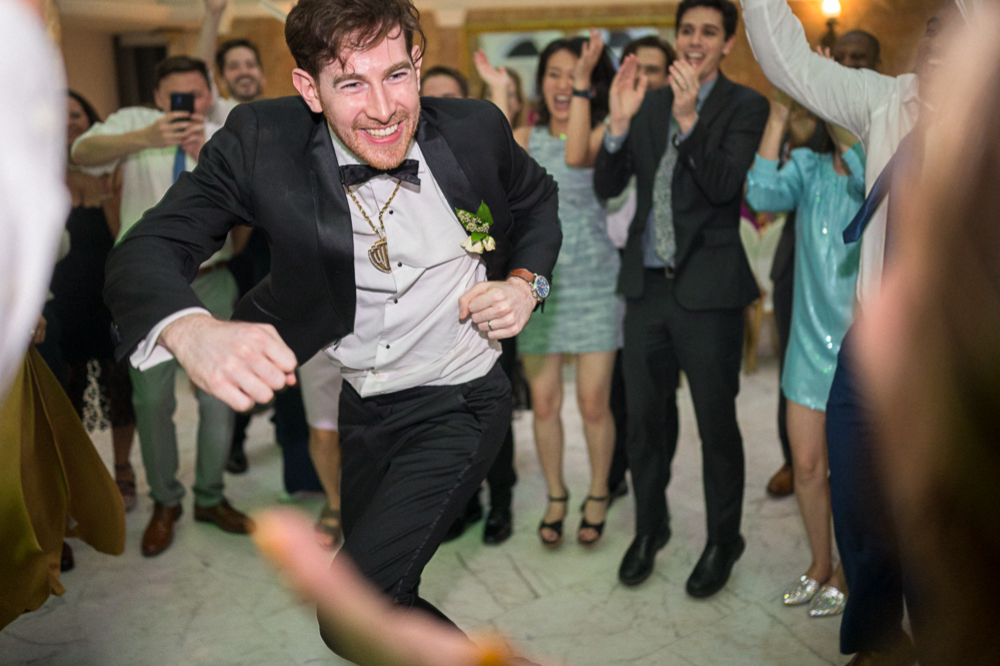
Our shutter speed was 1/200 for this dancing photo — as fast as our camera would go while shooting with flash!
How Does Shutter Speed Interact with Aperture and ISO?
If you read our post about the best aperture to use for portrait sessions and wedding days, you know that we said we often consider our aperture first when setting out settings. Well, once we’ve set our aperture, shutter speed is often the next item we consider. And we’re often thinking about the light as much as we are about motion.
But we aren’t going to dive into all that in this video, because we’re planning to begin covering ISO in our next video in this series, and then wrap the series up with a video or two on how we actually use them all together on portrait sessions and wedding days.
But the one important thing to realize is that, no matter what, you will need to make adjustments to all of your settings in tandem. When you give up a little bit of light in order to speed up your shutter speed and freeze motion, you’ll need to get that light back from somewhere else — your aperture speed or your ISO. Or if you add a bunch of light in order to allow motion to blur, you’ll have to compensate by darkening your image with your aperture or your ISO. But more on that at the end of this series!
Want More?
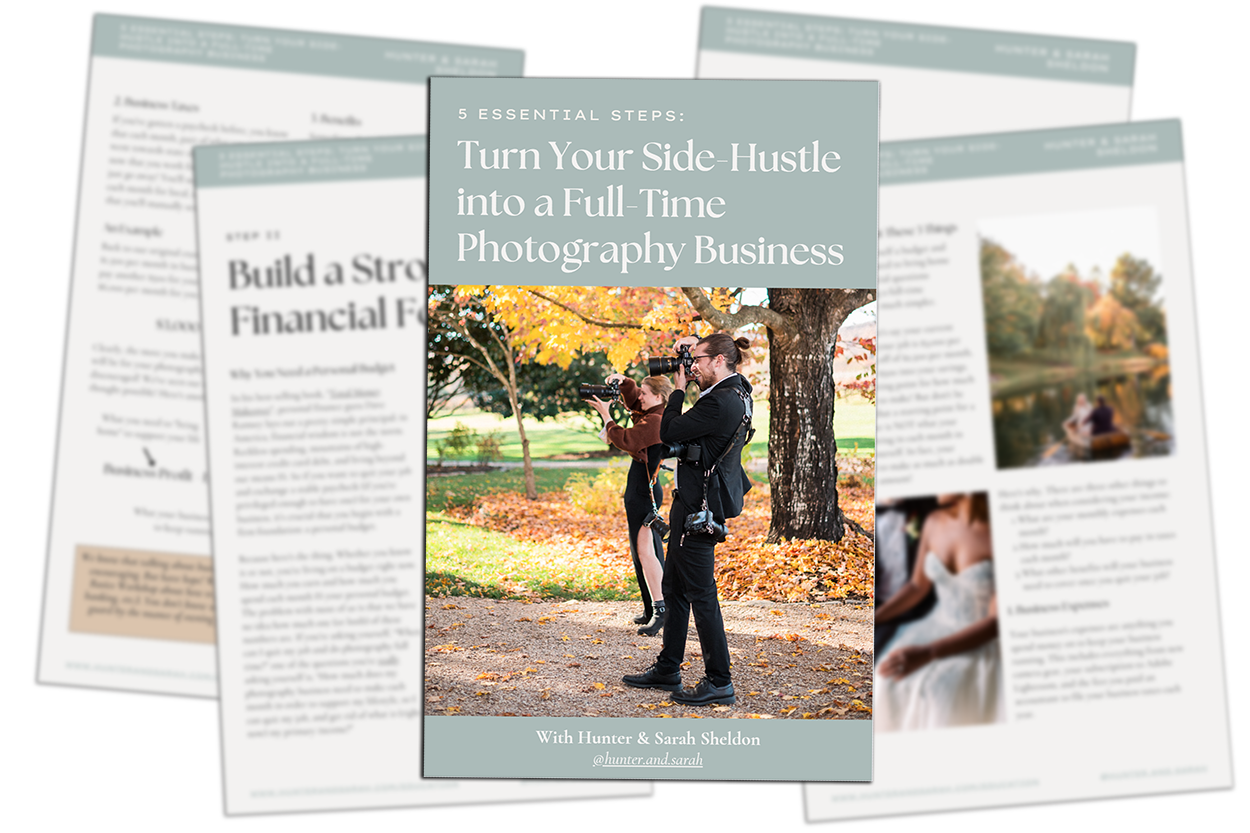
Click HERE to get your free copy of our eBook: “5 Essential Tips for Turning your Side-Hustle into a Full-Time Photography Business.” You’ll also be subscribed to our newsletter, so our newest content, weekly encouragement, and exclusive offers will be delivered right to your inbox!
—
Check out the other segments in this blog series!
- Part 1: Intro to Aperture and Depth of Field
- Part 2: Best Aperture for Portrait and Wedding Photography
- Part 3: Intro to Shutter Speed and Motion Blur
- Part 4: Best Shutter Speed for Portrait and Wedding Photography
- Part 5: Intro to ISO and Grain/Noise
- Part 6: Best ISO for Portrait and Wedding Photography (Indoor & Outdoor)
- Part 7: No More Confusing “Exposure Triangle”! The EASY Way to Set Your ISO, Aperture and Shutter Speed
Filed in:
Wedding Photography & Photography Education
Charlottesville, Virginia and Beyond
HOME
ABOUT US
WEDDINGS
JOURNAL
FOR PHOTOGRAPHERS
PRESS & PRAISE
BLOG
CONTACT
e. hunter@hunterandsarahphotography.com
p. (434) 260-0902
