VIEW BY CATEGORY:
Hi, we're Hunter and Sarah, a husband-and-wife, luxury wedding photography team. We’re also educators, helping other photographers build profitable and sustainable photography businesses.
MEET US
LOOKING FOR SOMETHING?

Tired of Blurry Images?! How to Nail Your Focus Every Time! (Plus Back-Button Focus)
March 30, 2023
—
Hey photographer friends! Welcome back to our Photography Blog, Mastering the Wedding Photography Biz with Hunter and Sarah!
Have you ever been frustrated by blurry images? What about by pictures that you thought were in focus, but turned out blurry when you looked at them later. Have you wondered, “why are my images out of focus?” or, “why aren’t my images in focus?”, this is the blog post for you! We’re going to give you a few tips on nailing your focus every time so you can say goodbye to blurry images. We’re also going to give you two camera settings that can make your life SO much easier. So let’s jump in!
Why You Can’t Trust Your Camera
When you pick up a new camera for the first time — whether it’s an entry-level DSLR or a high-end mirrorless camera, by default, all of your settings are most likely going to be set to auto-everything. Your exposure will be set to auto mode, your focus will be on auto-focus, and even where in an image you’re focusing is going to be set on auto. And when you’re taking your very first images with a new camera, that’s totally okay! Get used to the feel of the camera and composing shots, and let the camera do all the thinking for you.
But pretty soon, you’re going to realize that your camera… just isn’t that smart. Within a few months of seriously messing around with photography, you’re going to be smarter than your camera. And that’s when you want to start shifting some of the automatic features into manual mode! Now, if you want to learn to shoot in “manual mode”, which is another way of saying: setting your aperture, shutter speed, and ISO to manually set the exposure for your camera, then we have an entire blog series all about shooting in manual, and you can check out the first post in that series here.
But one of the things you’re going to want to do pretty soon is start telling your camera where it should be focusing, rather than letting it take its best guess at who or what the subject of your image is. Because like we said, your camera is kind of dumb, and will sometimes focus on your background when your really want your subject in focus. Or maybe it’ll focus on someone’s back, and leave the face of the other person out-of-focus. Either way, one of the most important factors in getting your images in-focus every single time, is making sure that you are telling your camera where it should be focusing, and not the other way around.
Manual Focus = Blurry Images!
Now, right here, we want to pause us and make sure that we aren’t going to be misunderstood. Please hear this: we are NOT NOT NOT suggesting that you should turn off your auto-focus and manually focus your lens! Manual focus is when you completely disable your camera’s ability to auto-focus, and literally turn the focus ring on your lens until the image looks in-focus to your eye, whether you’re using your viewfinder or your LCD screen.
But here’s the problem: no matter how in-focus your subject might look on this little half-inch viewfinder or your 4″ LCD screen, there’s probably a 50-50 chance that when you download the images onto your computer and look at them blown up to full-size, you’re going to realize that you missed the focus. Your subjects will either be a little soft, or entirely blurry.
Now, if you’re using some very old lenses with digital cameras, or you’re shooting with old-school film cameras, you may not have a choice. But trust us: as people who shoot film and digital photography on wedding days, there’s nothing more frustrating than getting your film scans back a few weeks after a wedding or engagement session, only to find that the composure and the posing and the colors of the image are perfect… but the image is garbage because you missed focus 😫
Seriously, it’s heartbreaking to see that, which is why we recommend that photographers always ALWAYS use auto-focus when it’s available to them. However, what we are saying is that you should be the one telling the camera what part of the image it should be auto-focusing on.
Manually Choose Your Focal Point to Avoid Blurry Images
Here’s what we do mean. When you first turn on your camera, you might see something like this below if you have a DSLR. Each of these little grey rectangles are a point that your camera could potentially focus on.

Image courtesy of Nikon
Now, if your camera is set to the default settings, when you half-way press down the shutter release button, your screen is probably going to look something like this below. These red dots are the part of your image that your camera has decided it’s going to focus on.

Image courtesy of Nikon
And the thing is, sometimes, your camera is going to guess correctly, and know where to focus, like it did in this example above! But other times, it’s going to guess wrong, and your auto-focus will correctly focus… but on the wrong subject, like this image below. If these were the points that our camera decided to focus on, the hand and leg of the guy in the white shirt would be in focus, but the face and torso of the guy in the grey shirt would be out-of-focus. And in this image, Grey Shirt is our subject, so we want him in focus!

Image courtesy of Nikon
If you’re capturing weddings, events, sports, lifestyle — really anything that isn’t a stationary portrait that you have 100% full control over, this can be a big problem, because missing focus isn’t like missing your exposure. Often, if you miss focus, the photo is unusable and can’t be recovered in post.
That’s why we always manually set our focus point. So rather than letting the camera guess at what our subject is, and just hoping for a result like this image below…
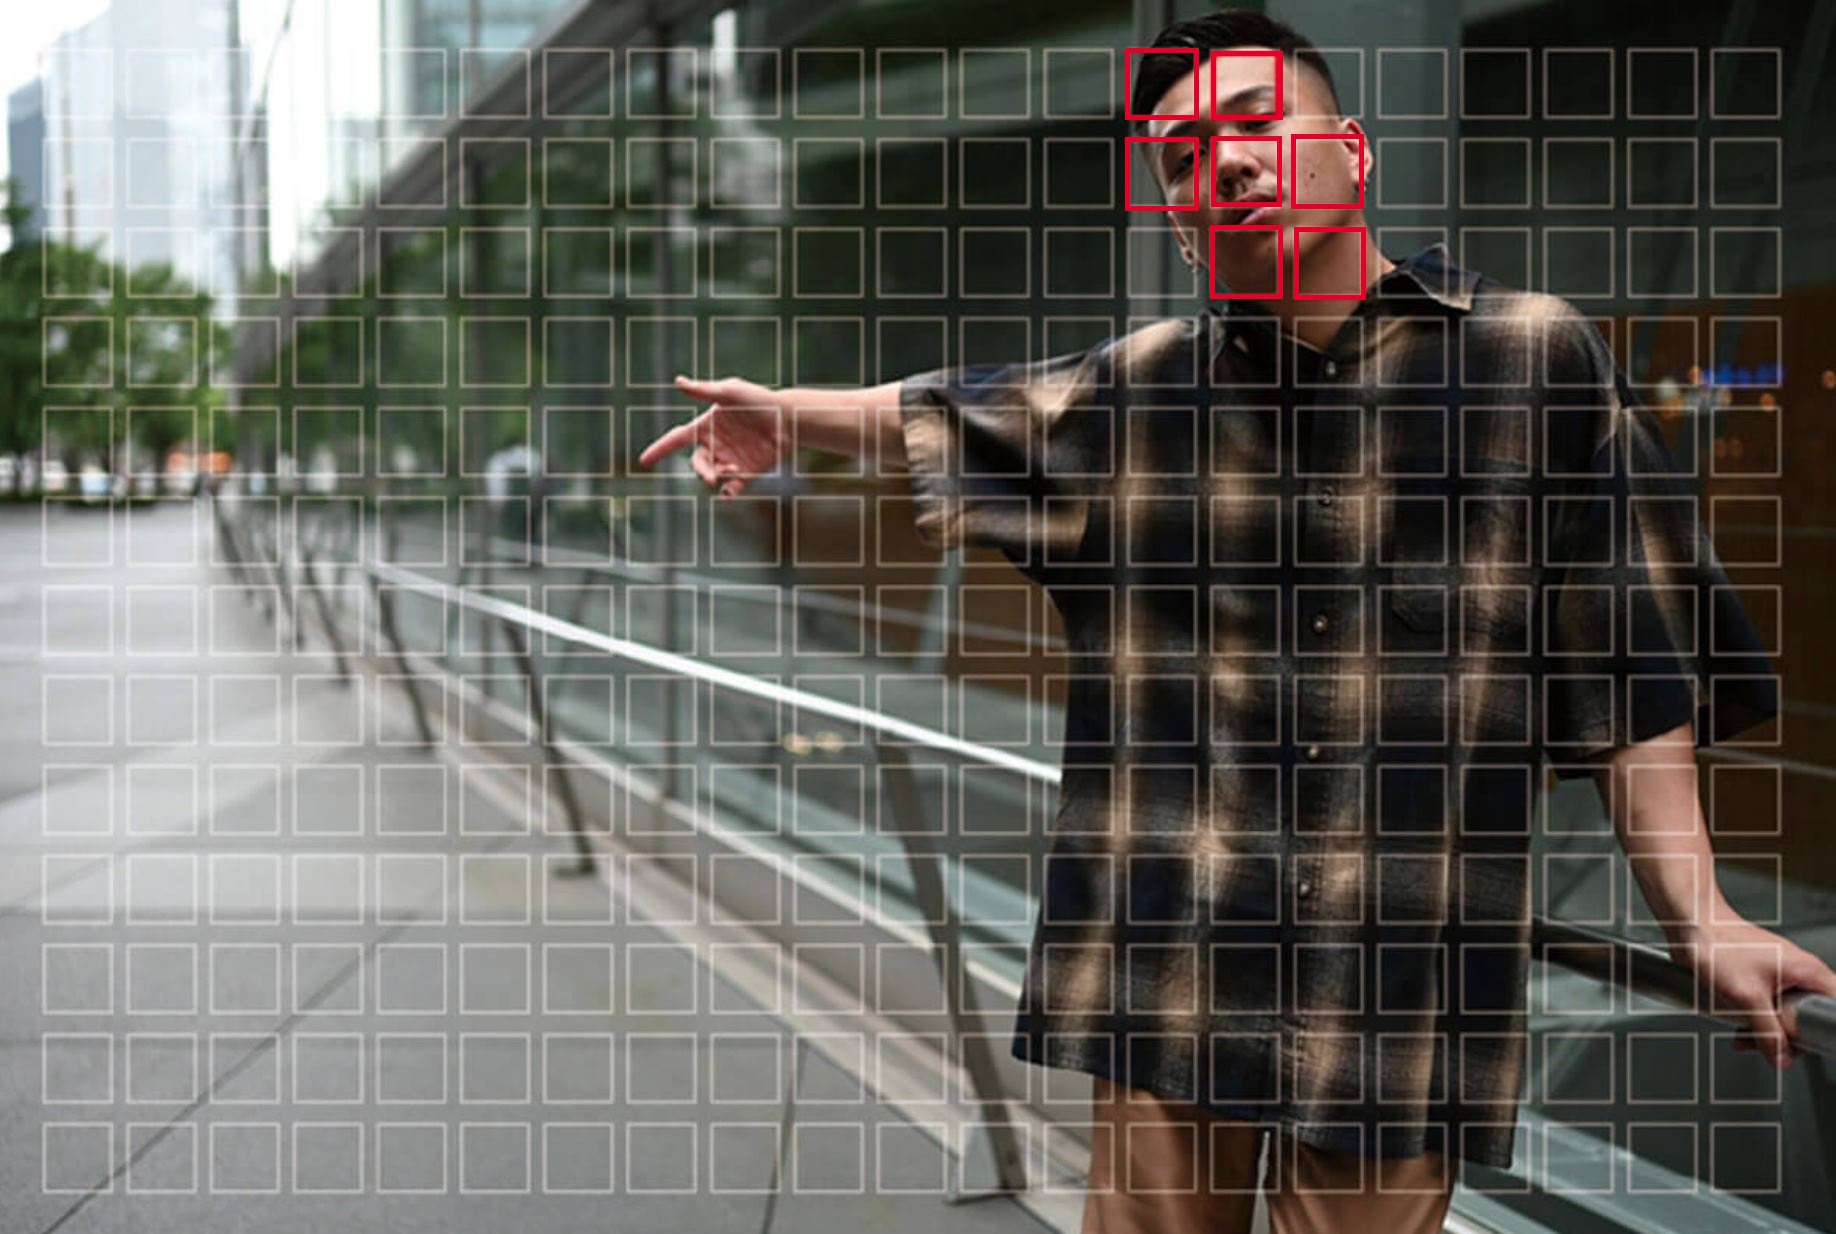
Image courtesy of Nikon
We turn our cameras to single-point AF, and manually use the directional pad on the back of our camera to select a single spot in the image where our camera should focus, like in the image below.
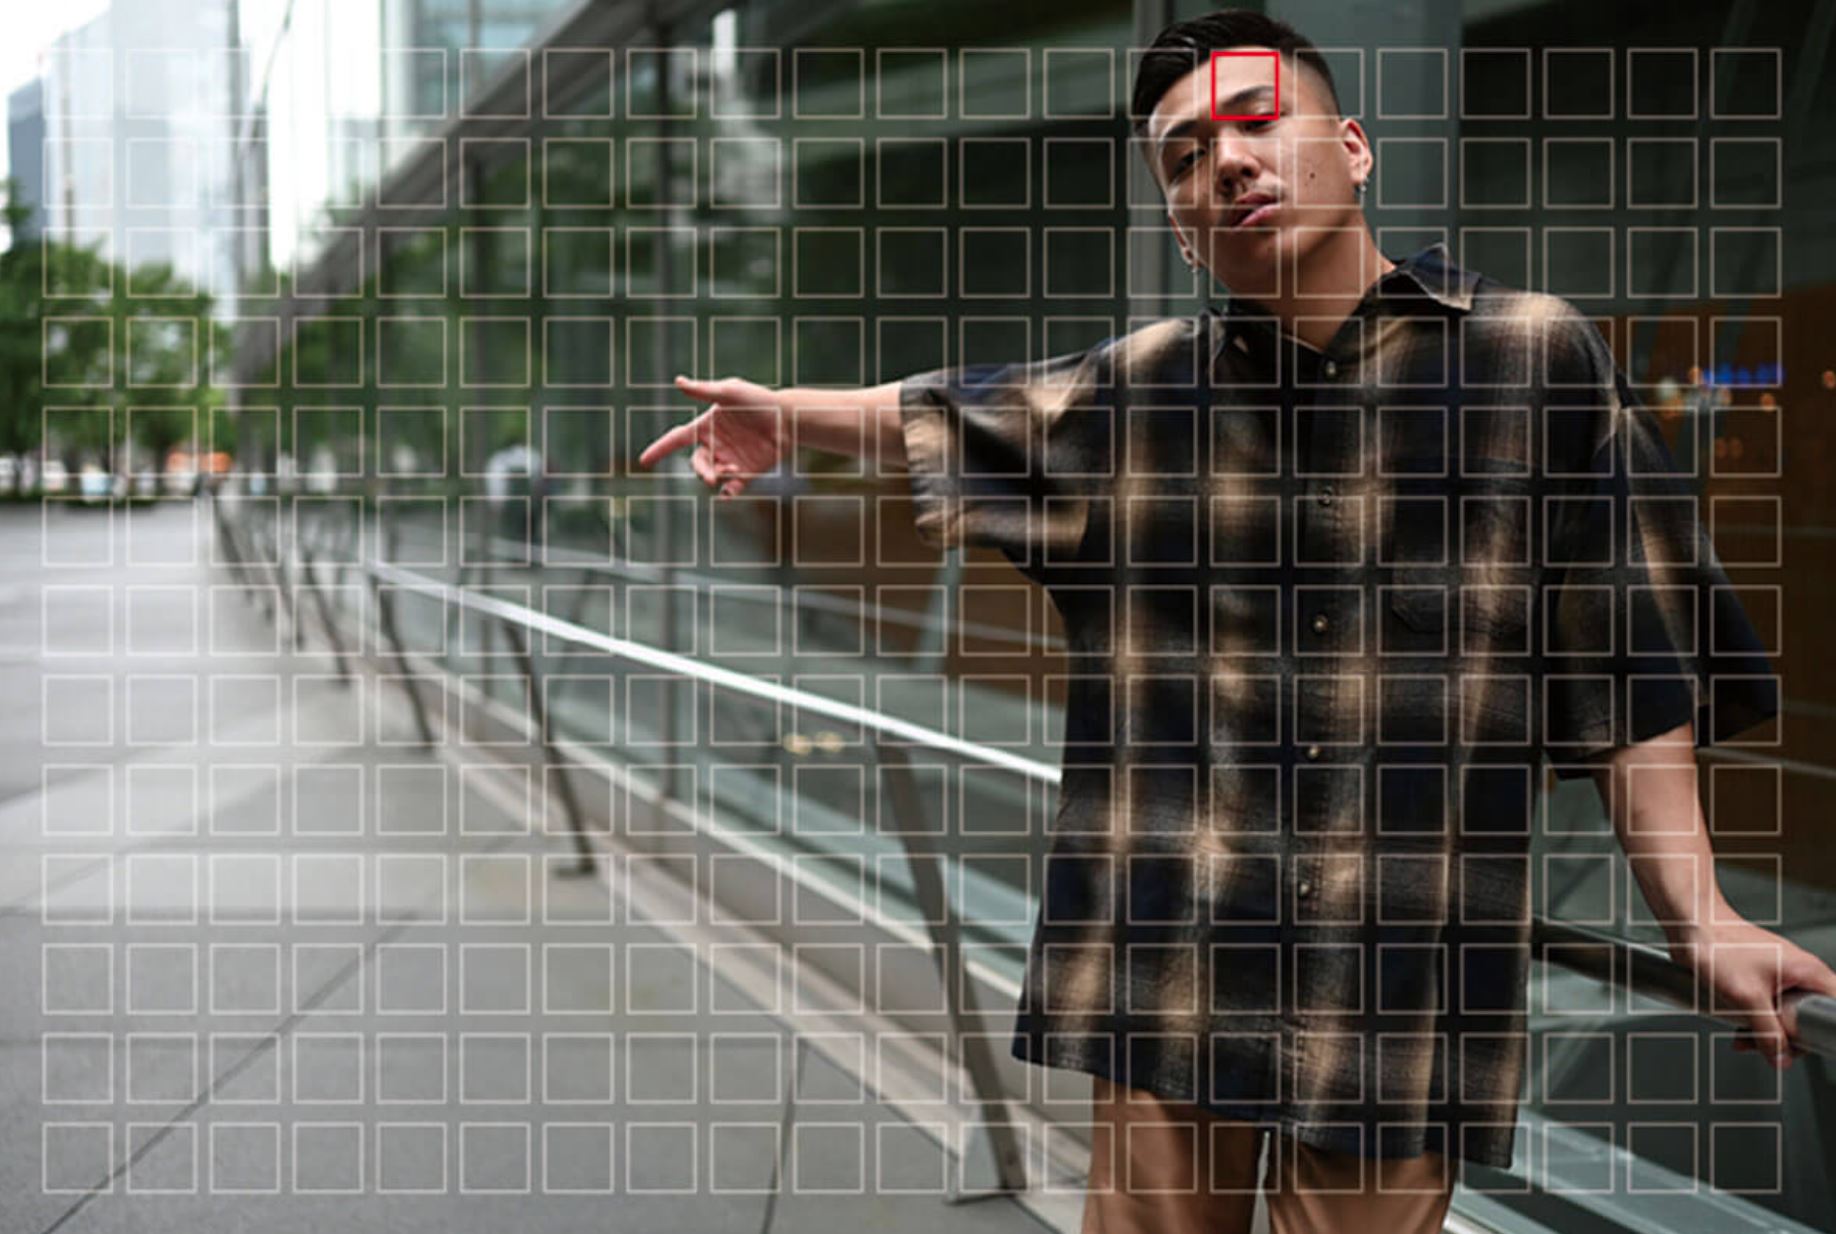
Image courtesy of Nikon
That way, we never have to worry about our camera guessing at the wrong focal point! Instead, we just tell it exactly where to focus, then let our auto-focus do all the work.
Now, we realize that in more advanced cameras, including the mirrorless Nikon Z6ii’s that we use every single time we photograph a wedding or engagement session, there are a ton of fancy ai-powered features, like eye-detection, where you give the camera general region of the image, then let it focus on whatever eyes are inside that range. But again, you’re allowing your camera some latitude to guess at what you want, and we’d rather have full control, even if it means we have to manually navigate the square around the screen.
Back-Button Focus
Now, here’s another great tip that we learned early on in our photography journey about focus, and one that’s especially important for DSLR users, who have a much more limited set of focal points. As you might have noticed in the example images we showed above, a DSLR has a fairly limited set of just 51 focal points, and they’re in the middle 20% of the screen. On the other hand, mirrorless cameras have 273 focal points that cover the entire screen.
So what do you do if you’re shooting with a DSLR and your subject is outside of this limited focus area? Well, you have to aim, focus, and re-compose your image, using something called back-button focusing. By default, just about every DSLR and mirrorless camera is going to have the focus and the shutter release combined into a single button. So you press your shutter release button halfway down to focus your image, then you press it all the way down to take your image. What back-button focus does is actually separates these two functions. So you focus with one button, and shoot with another. This gives you more control over how and when you focus compared to when you take your image.
Now, we won’t get into the technical setup of back-button focus for specific camera models, because it’s going to be different with every camera. On our Nikon cameras, you have to find the controls part of your settings, and tell your AF-ON button to control focus. But if you just google “Back Button Focus” along with your camera model, you should be able to find an easy tutorial for turning it on.
Once you’ve turned it on, here’s how your camera works. Once you’ve selected your focus point, you use your thumb to press the AF-ON button, which will then tell your lens to autofocus on whichever focus point you’ve selected. And when you’re ready, you press the shutter release to take the image.
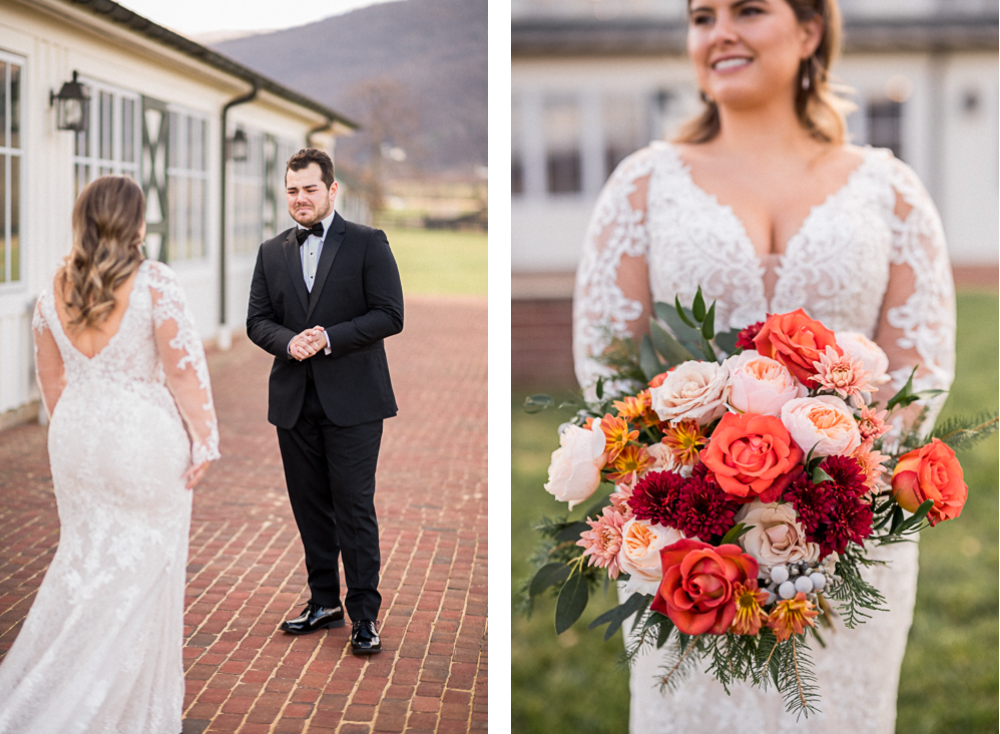
Why is this helpful? Well, let’s say that you want to compose your image so that your subject — your focal point — was outside of your DSLR’s middle-20% focal range. Keep in mind your DSLR can only focus on something that’s in the middle 20% of your image (see below).

Image courtesy of Nikon
So what you can do is point your camera so that your subject falls within this middle 20%, use your AF to get a perfect focus, then re-composure your image so that your subject is at the edge of your frame. Then you can click the shutter!
Without back-button focus, when you went to click the shutter, your camera would have had to re-focus on one of your camera’s focus points. And since your subject is outside of the focus frame, it would most likely grab onto the wrong subject or even the background, ruining your shot.
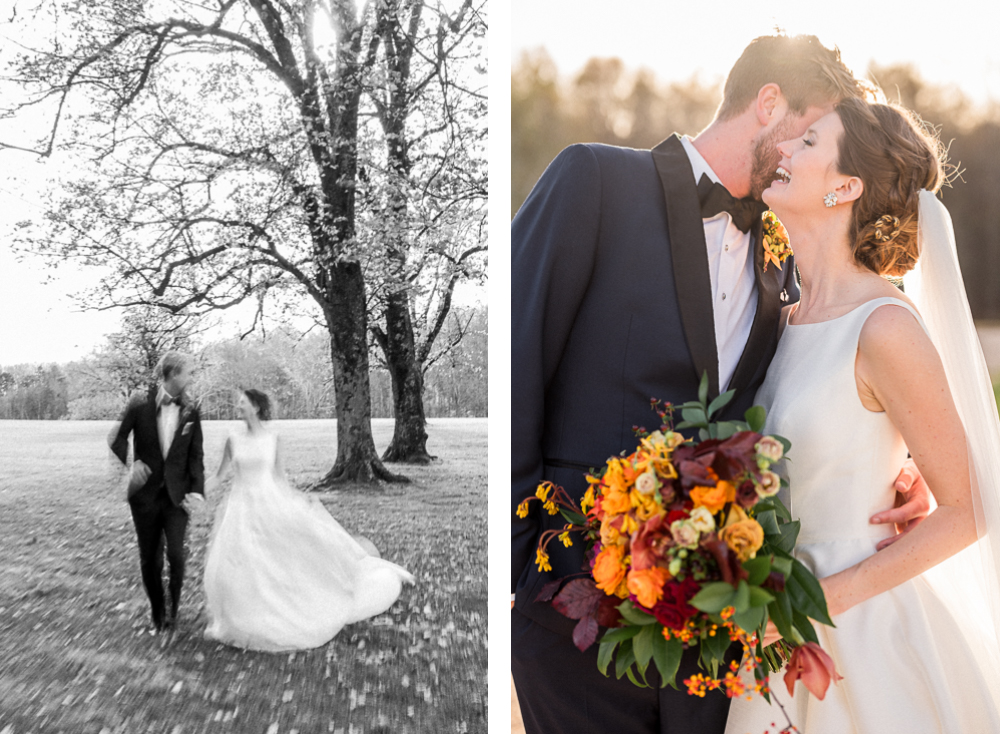
And whether you’re shooting with DSLR or mirrorless, back button focus also allows you to shoot the occasional image that’s intentionally out-of-focus like these images below, without have to switch back and forth between manual and auto-focus on your lens.
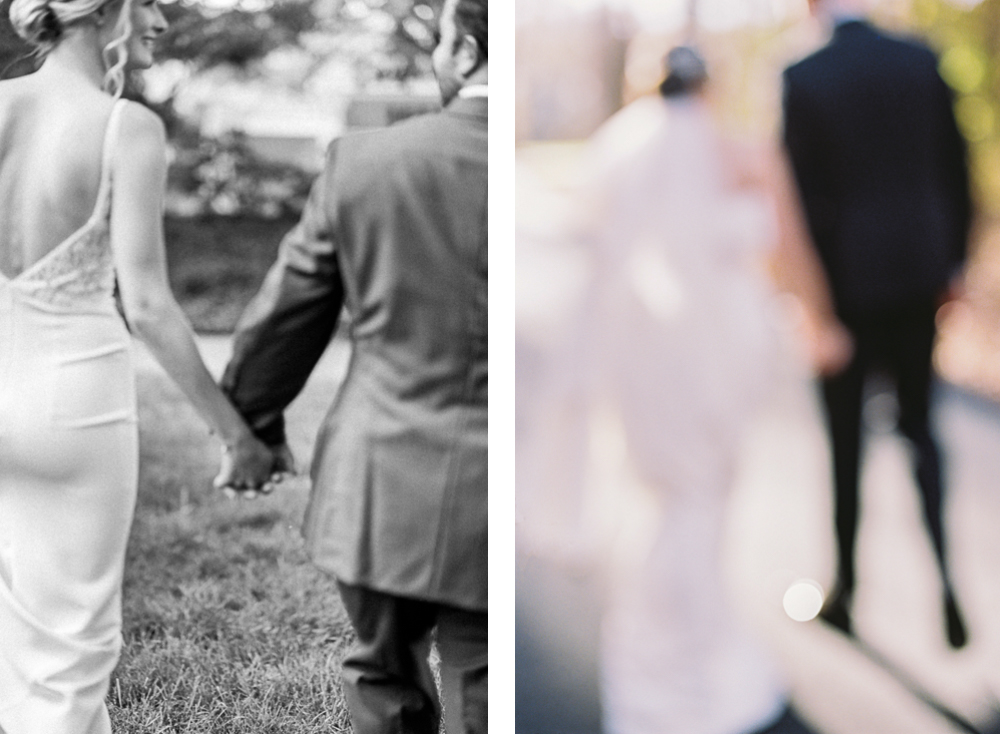
And at the end of the day, we just prefer the feeling of focusing with one button when and where we want, and taking a picture with a different button. Once you start to get the hang of using your camera, the less you let it do on it’s own, the better!
Want More?
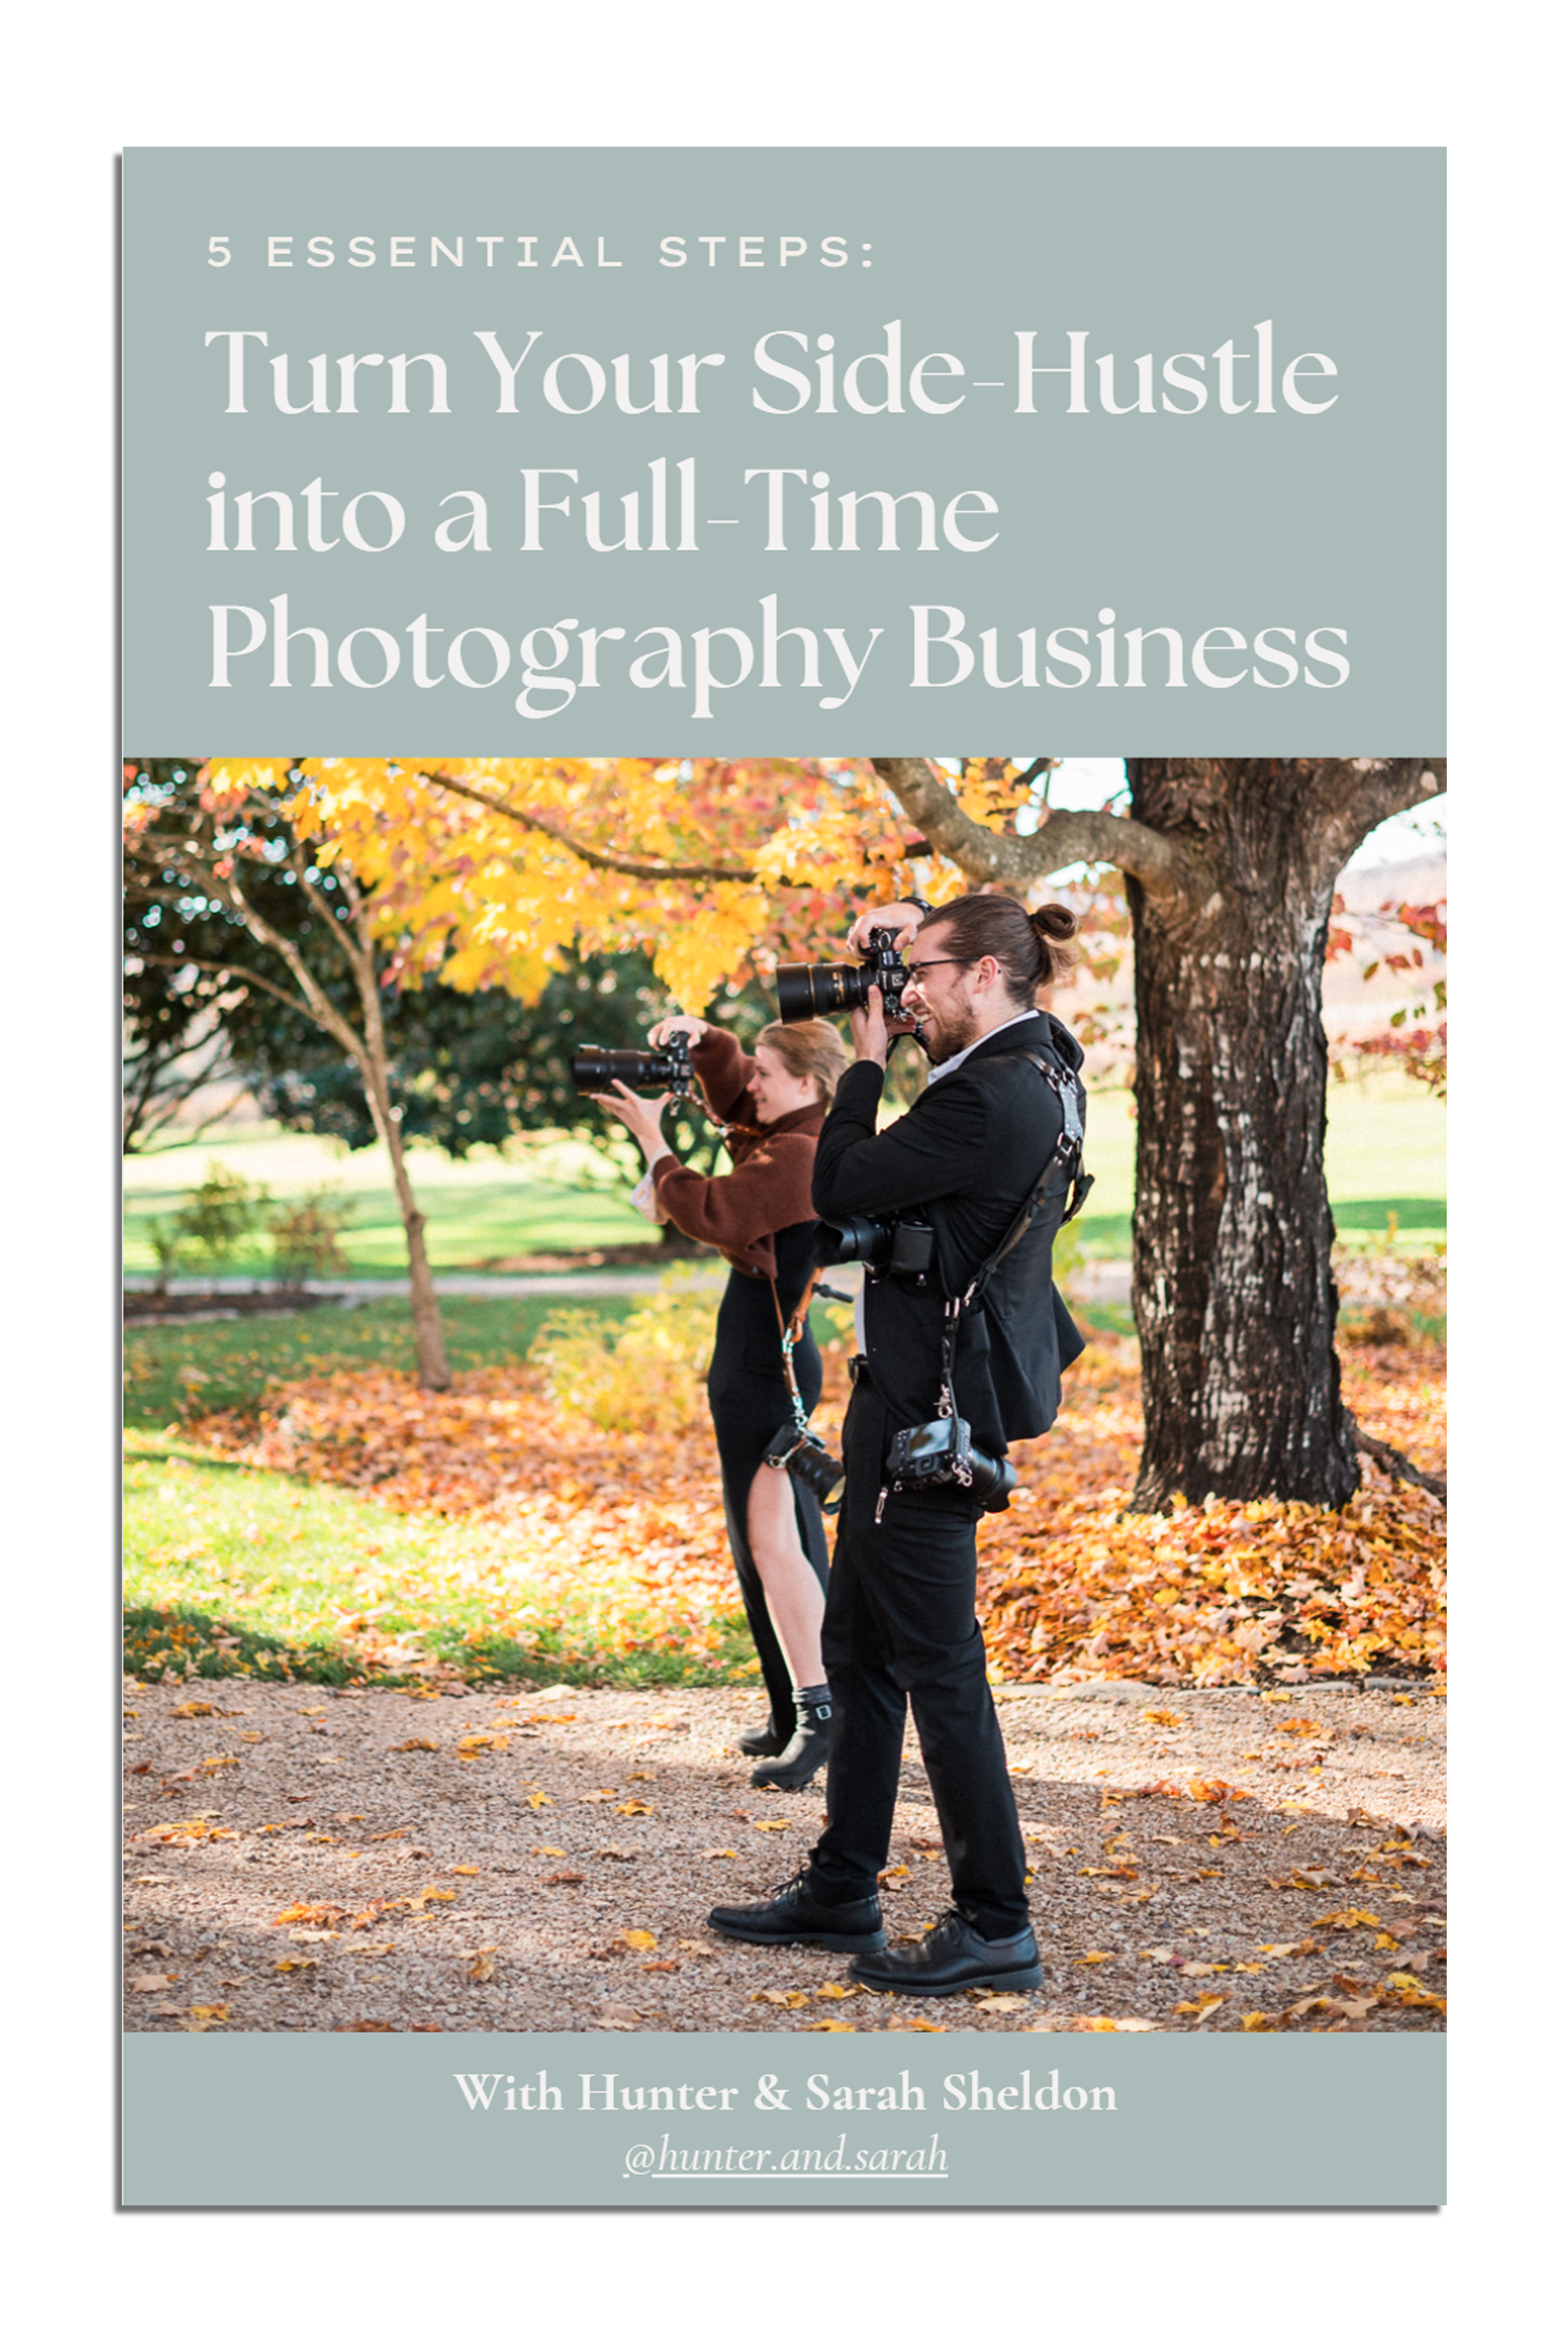
Click HERE to get your free copy of our eBook: “5 Essential Tips for Turning your Side-Hustle into a Full-Time Photography Business.” You’ll also be subscribed to our newsletter, so our newest content, weekly encouragement, and exclusive offers will be delivered right to your inbox!
Filed in:
Wedding Photography & Photography Education
Charlottesville, Virginia and Beyond
HOME
ABOUT US
WEDDINGS
JOURNAL
FOR PHOTOGRAPHERS
PRESS & PRAISE
BLOG
CONTACT
e. hunter@hunterandsarahphotography.com
p. (434) 260-0902
