VIEW BY CATEGORY:
Hi, we're Hunter and Sarah, a husband-and-wife, luxury wedding photography team. We’re also educators, helping other photographers build profitable and sustainable photography businesses.
MEET US
LOOKING FOR SOMETHING?
Post Production Secrets Step 2: How Keyword Sorting in Lightroom Will Change Your Life
April 14, 2022
—
Hey photographers! Welcome back to our blog/video series all about what comes after a portrait session or wedding day: the sorting, culling, editing, and delivery of your clients’ photos! Last week we introduced you to backup systems, and this week, we’re getting started on the post-production itself!
Post Production Secrets Step 2: How Keyword Sorting in Lightroom Will Change Your Life
Now that your images are properly backed up to the cloud and/or a second hard drive (you actually followed Step 1… right?!), it’s time to begin the processing your images. Like we mentioned last week, this series is all about building an efficient workflow that you’ll use for every single wedding and portrait session that you shoot. And although not many photographers use they keyword-sorting system you’re going to read about, it can make things SO much more efficient down the road!
A Brief Introduction to Adobe Lightroom
Before we jump into keyword sorting, the second step in our post-production workflow, we want to make a quick note about Adobe Lightroom. As best as we can tell, every professional photographer we know uses Adobe Lightroom as the workhorse of their photography editing process. Specifically, we use Lightroom Classic on our computers to handle all of the images we take. We use a system that we call the Primary Catalog system, where we have one main Lightroom Catalog where all of our final images are stored, but also have a series of individual catalogs for each wedding we shoot.
So once a wedding or session has been finished, all the final images from all our sessions are accessible in a single place: our “HSP Primary Catalog”. But, we don’t have to wait for tens of thousands of images to load up when we’re doing the bulk of the editing and culling on a project! We’ve found that this system works best for us, but you could also just have a Primary Catalog, and not worry about individual catalogs, especially when your Primary Catalog is fairly small.
Importing Your Images into Lightroom and Building Standard Previews
Not every photographer we know chooses to bring their wedding images straight into Lightroom. However, if you are using some of Lightroom’s more advanced features (like we’ll talk about in this post) and keep your Lightroom Catalog(s) tidy, nothing can come close to being as powerful and as useful as Lightroom!
So for us, as soon as the raw files are copied onto our computer, we’ll open up our Primary Catalog in Adobe Lightroom Classic. Then, we’ll import all the photos from our computer into Lightroom and make sure “build standard previews” is checked. This basically just means that Lightroom will be able to load up a full-sized version of the images in advance, so when you click on the image and bring it full-screen, it won’t need to load up (unless you’re zooming in). With a decently fast computer and standard previews built ahead of time, your sorting and culling will go so quickly! We prefer this to buying a separate piece of software for culling.
The only potential downside is that building standard previews takes a long time and a lot of computing power. But if you remember our workflow from Part 1, you should remember that we put all the photos onto our computer when we get home after a wedding, then go to sleep! So as long as you bring the images into Lightroom before you call it a night, when you wake up in the morning, all the raw files will be backed up to the cloud, AND all the image will have a standard preview build in your Lightroom Primary Catalog.
Keep in mind that this means you can’t start working on the wedding right away, but to be honest, we’ve never gotten home from a wedding at midnight and wanted to do anything but backup the photos and go to sleep!
Sort the Wedding Using Keywords
This is where the secret part of “Post Production Secrets” really comes into play. Although we’re by no means the only photographers who do this, we so far haven’t met a single other professional who does this! Before we get onto culling or editing the wedding, we spend about 15-20 minutes doing a very quick keyword sort of the entire day.
We have a series of 13 different keywords that we use to break each wedding day up into smaller chunks. “Getting ready details”, “cocktail hour” and “first look” are a few examples. While viewing the entire wedding in “grid” view (press “g” in Lightroom), we’ll select big chunks of the wedding day, and use the keyword tab on the right of our screen to assign keywords. You can use the Metadata tab at the top of your screen to make this process go even more quickly! We can typically sort a 5,000+ image wedding day in less than 30 minutes.
And since you’re looking at small thumbnails of the images in grid view, you can do this before or after the previews have rendered. So if you get back from a wedding early (or are a serious night owl), you can do this while Lightroom is building those standard previews. It should be pretty easy, even from grid view, to tell the difference between a detail photo and a portrait, or between the ceremony and the cocktail hour! And for portrait sessions, we’ll just set the entire session to “family session” or “engagement session”.
Why Use Keywords?
We know that the question that immediately comes to mind is WHY you would want to use these keywords. It may seem like a lot of extra work to invent this list of keywords that makes the most sense for your wedding days, then assign all the photos in a gallery to one of those keywords! But we know that whatever time we spent assigning the keywords, we’ll get that time back a dozen times over when it comes to updating our website, posting to social media, or sourcing images for blog content.
But it also makes the rest of the post-production process go much more quickly. That’s because culling and editing in smaller chunks just feels better. What feels more daunting: sitting down at your computer to cull through 5,000 photos, or sitting down to cull through 300 ceremony photos, knowing that when you finish, you’ve got 500 golden hour portraits waiting for you? We know from experience that the more daunting the task, the more likely it is to be put off. So breaking the wedding day down into more manageable chunks leads to less procrastination. And this same principle applies to editing as well!
It also makes it much easier when we’re looking for certain parts of the wedding day. When it comes time to blog the wedding a few days after the day, we know that most of our wedding blogs will heavily feature details and portraits. So we can easily narrow our field of vision to just those photos while we’re preparing to post a blog, instead of sorting through all 1,000+ selected images from the wedding day!
The True Super-Power of Lightroom Keywords
But like we alluded to just now, this process of keyword sorting in Lightroom leads to the most unique benefit of our entire workflow – we’ve actually never met another photographer who does this! If you maintain this keyword system across all of your photoshoots and all your weddings, the power of Lightroom really comes into play for you.
Because we’ve been super consistent with our sorting workflow from the very beginning, if you opened up our Primary Catalog in Lightroom, where all of our finished jobs end up (it has over 100,000 images in it), you could tell Lightroom to find you every 3-star, horizontal image of a bride getting ready from October of 2019, and in seconds, it would show you every image that fits that criteria.
Likewise, if we were getting ready to advertise for a fall family mini-session promotion, we could tell Lightroom to find us every 3-star, portrait-oriented family photo from September, October, or November in the last 3 years. And in seconds, BOOM. There’s all the image we have to pick from! No opening and closing dozens of catalogs looking for the right image, or trying to remember the name of that one family we shot a couple of falls ago. Are you starting to see why this is so helpful?
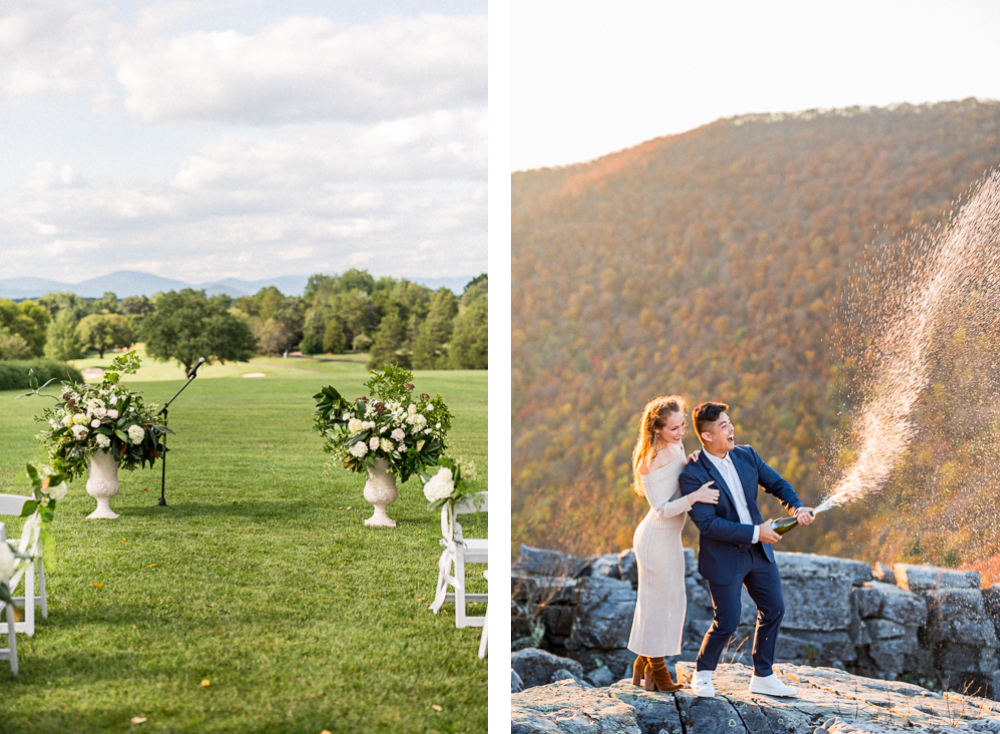
If you’ve ever gone to update your portfolio or your website, or you realized that you haven’t posted a certain type of photo to social media in a while, this makes your life SO much easier. It’s one of those things that takes a few extra minutes on each job, but will save you hours when it comes time to sit down and do specific tasks. And anything that makes curating our portfolio and our social media easier will ultimately lead to a better portfolio and social media presence, which will ultimately lead to more booked weddings and a stronger photography business!
So where do you go from here? If you love the idea of an uber-organized Lightroom Primary Catalog and you’re just getting started, it may be realistic for you to sit down for an hour or two and get your entire catalog in order for all your past sessions. If you’ve been shooting for years and your catalog(s) is/are pretty unruly, no sweat! Begin implementing this system from now on, and as you improve and get better over time, all your best work will be easily searchable using this system!
Trust us, when you have hundreds and hundreds of sessions and weddings in your catalog, you’ll need a good system to make searching possible! But, that’s it for this week! In the next post, we’ll get into the thick of culling, but until then, go get that Lightroom Catalog organized!
Want More?
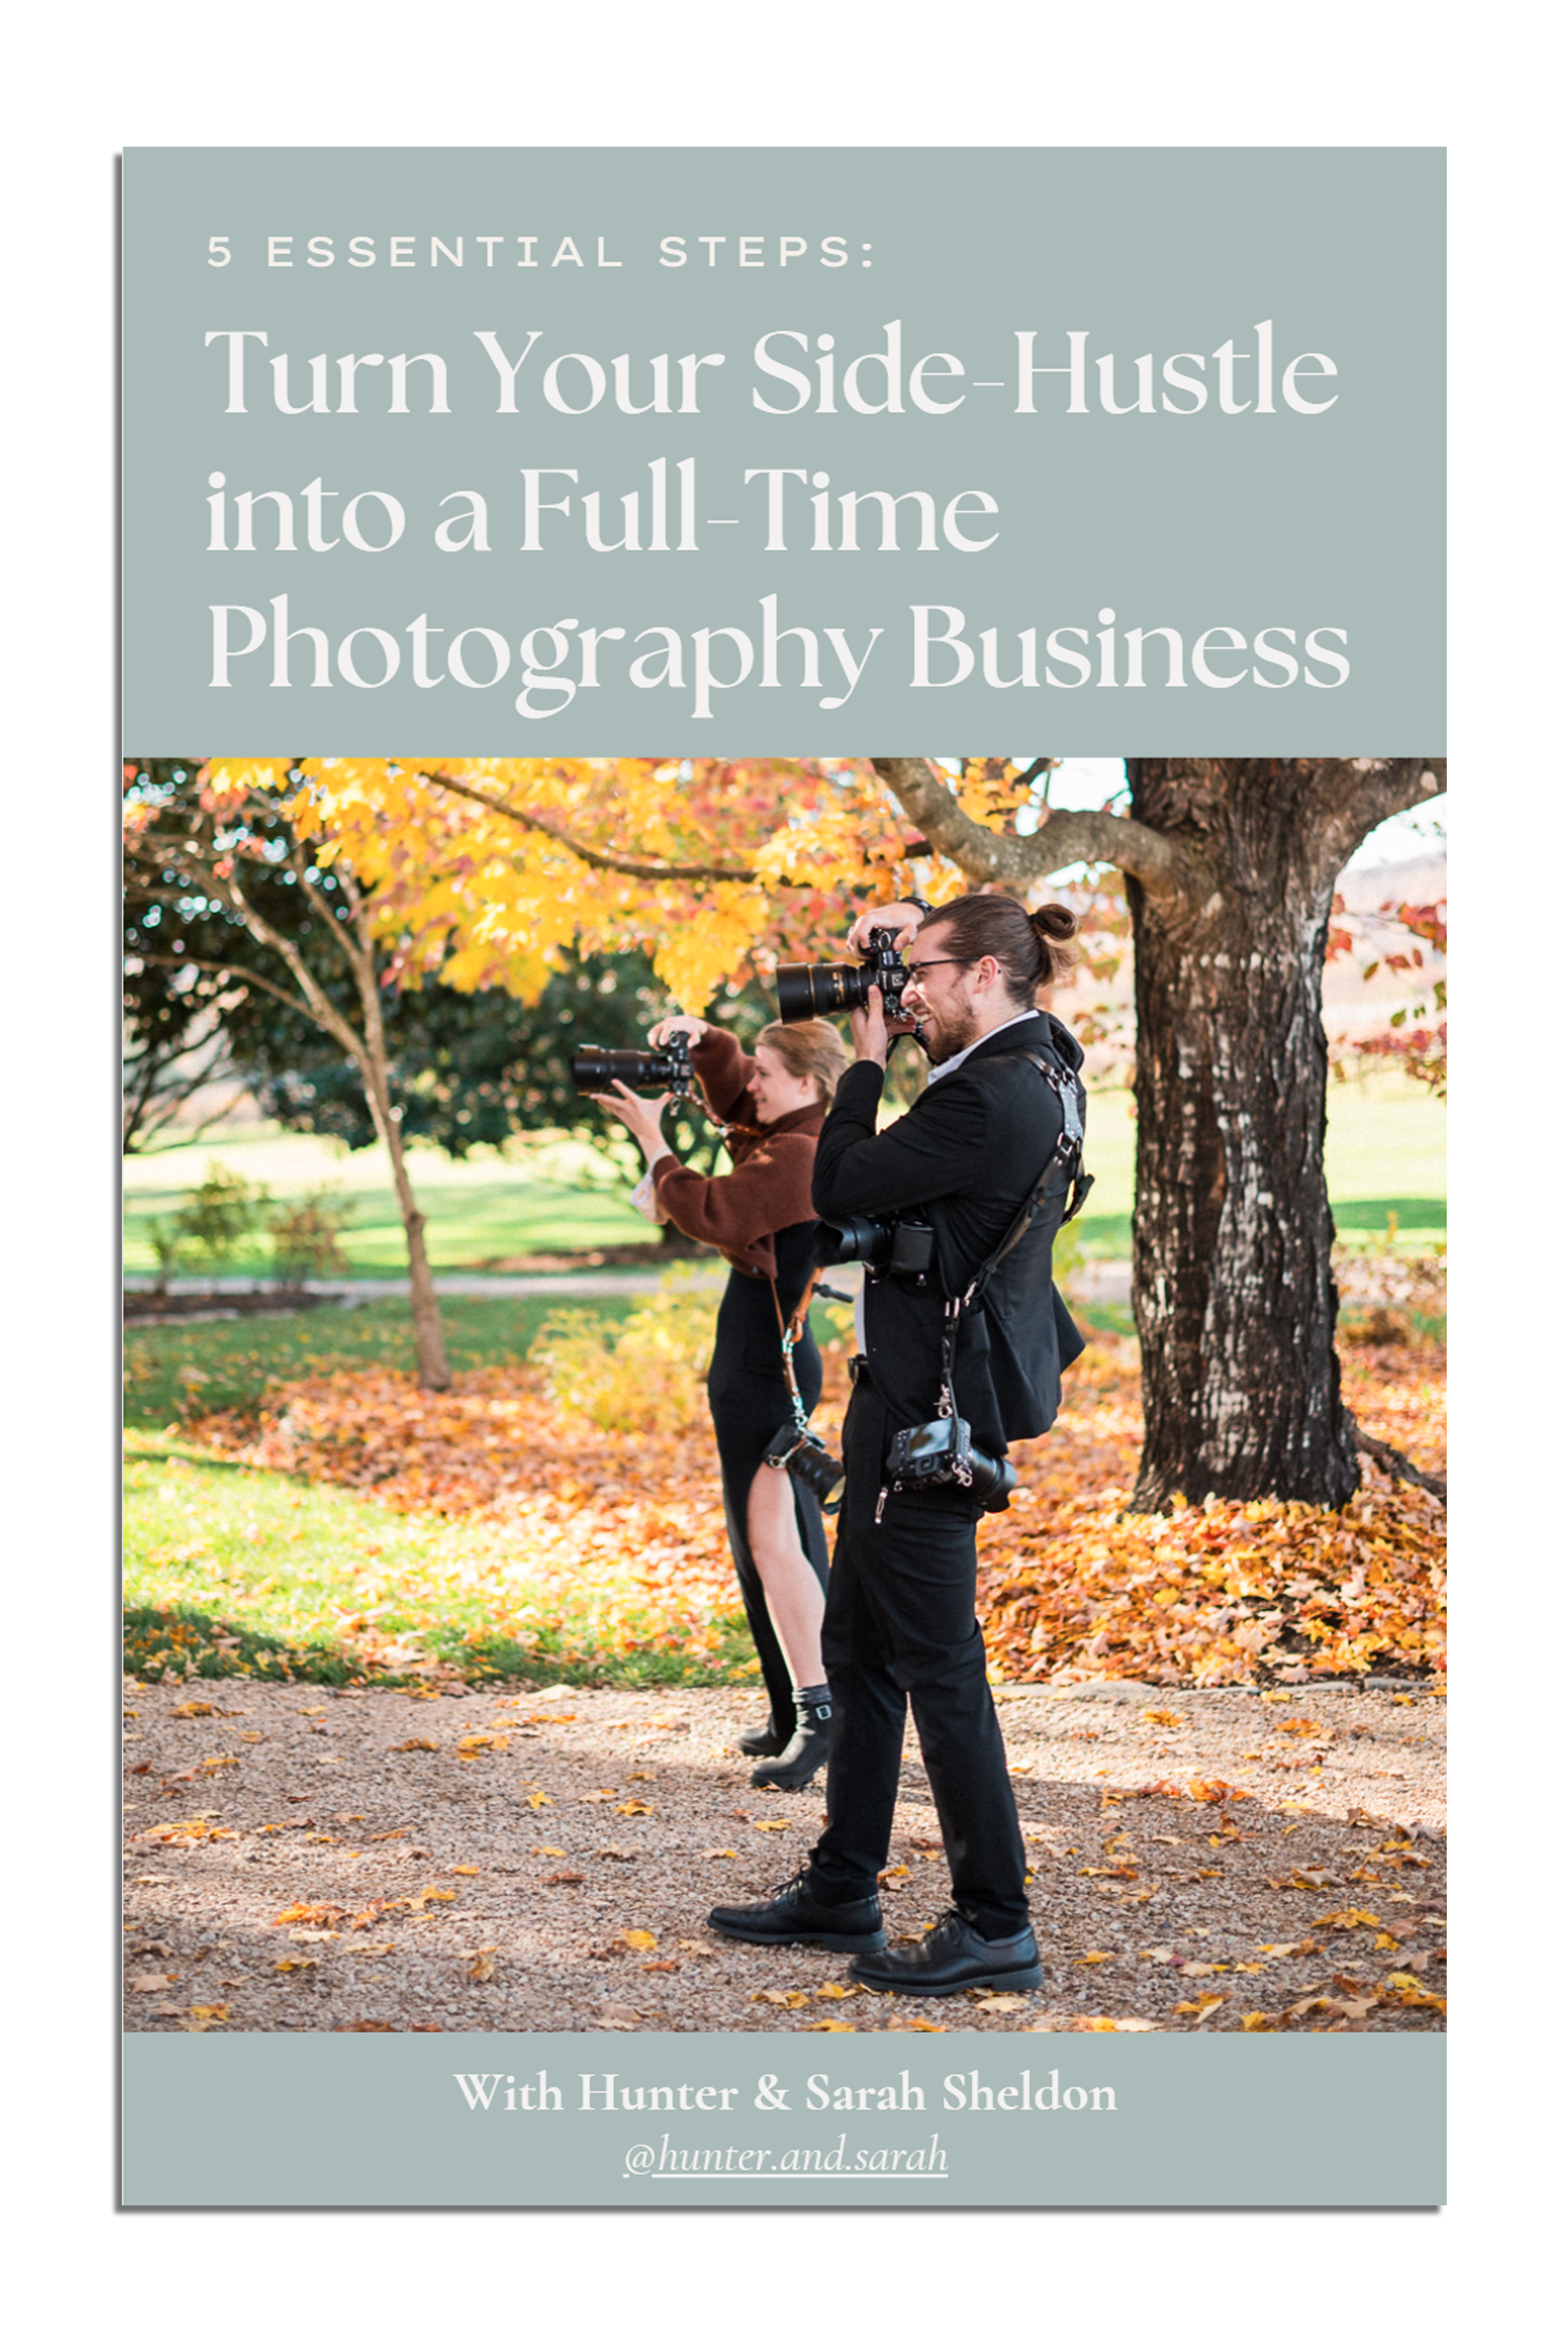
Click HERE to get your free copy of our eBook: “5 Essential Tips for Turning your Side-Hustle into a Full-Time Photography Business.” You’ll also be subscribed to our newsletter, so our newest content, weekly encouragement, and exclusive offers will be delivered right to your inbox!

—
Check out the other segments in this blog series!
-
- Post Production Secrets Step 1: Best Backup System for Wedding and Portrait Photographers
- Post Production Secrets Step 2: How Keyword Sorting in Lightroom Will Change Your Life
- Post Production Secrets Part 3: Have You Been Culling/Selecting Wedding Images WRONG this Whole Time?!
- Post Production Secrets Step 4: Maximize Your Client Experience with Sneak Peeks And Blogging
- Post Production Secrets Step 5: How We Quickly Edit 1,000s of Wedding Photos in Adobe Lightroom
- Post Production Secrets Step 6: Best Photo Delivery Service for Wedding Photographers
Filed in:
Wedding Photography & Photography Education
Charlottesville, Virginia and Beyond
HOME
ABOUT US
WEDDINGS
JOURNAL
FOR PHOTOGRAPHERS
PRESS & PRAISE
BLOG
CONTACT
e. hunter@hunterandsarahphotography.com
p. (434) 260-0902
