VIEW BY CATEGORY:
Hi, we're Hunter and Sarah, a husband-and-wife, luxury wedding photography team. We’re also educators, helping other photographers build profitable and sustainable photography businesses.
MEET US
LOOKING FOR SOMETHING?
How to Shoot in Harsh Midday/Afternoon Light (Open Shade 101)
June 15, 2023
Hey photographer friends! Welcome back to our Photography Blog, Mastering the Wedding Photography Biz with Hunter and Sarah! Today we’re talking about doing something that no photographer wants to do if they can avoid it: shoot in harsh, midday or early-afternoon light. And in order to talk about how we do it, we’re also going to introduce you guys to the idea of “open shade”. What it is, and how it’s going to save your life when shooting in midday light.
Not Ideal… But Necessary
You don’t have to have been around photography long to notice that when you go out and shoot in the middle of the day — really anytime between mid-morning and mid-afternoon — your pictures just don’t look nearly as good as they do if you go out and shoot during the last hour or so before sunset or after sunrise, often referred to as “Golden Hour”. Now, we have an entire blog/video all about why we believe that photographers should only shoot during golden hour (HERE), assuming they have control over their own session times.
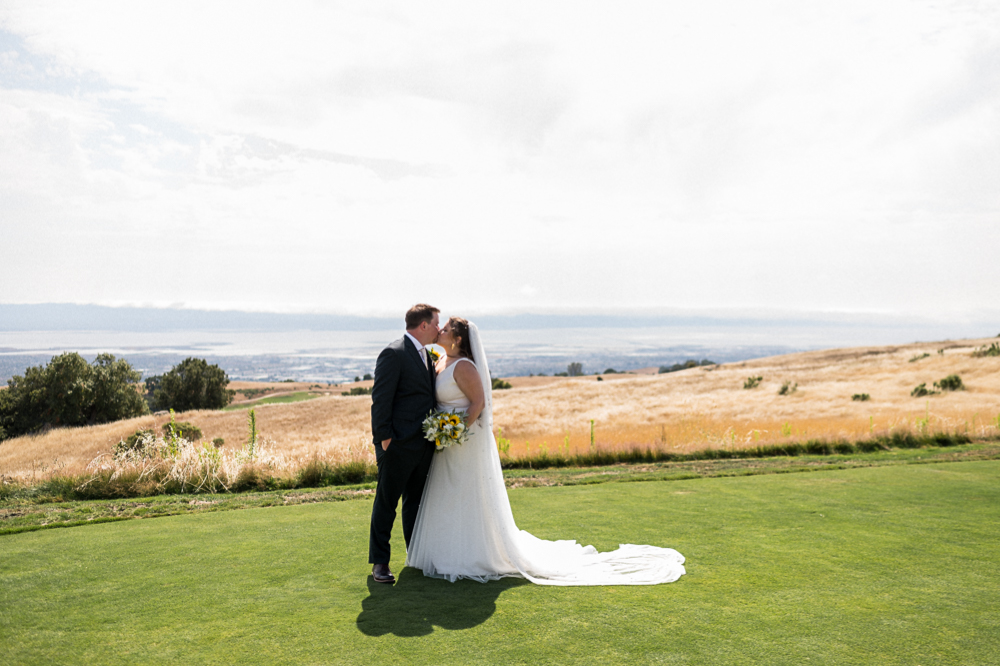
However, we also know that you don’t always have full control over when and where you might be shooting. If you’re a wedding photographer, your coverage may span from 11:00 AM to 11:00 PM, so you’re obviously going to need to be equipped to shoot in harsh light. But even if you don’t photograph weddings, sometimes you’re going to be scheduling a family session or an engagement session or a proposal, and for whatever reason, your clients just cannot meet you during golden hour. Even after you’ve explained to them how much better their photos will be!
That’s why we’ve created this video/blog post. While golden hour is the ideal, every professional photographer needs to know how to shoot in harsh midday light. And the key to this: a concept known as “open shade”.
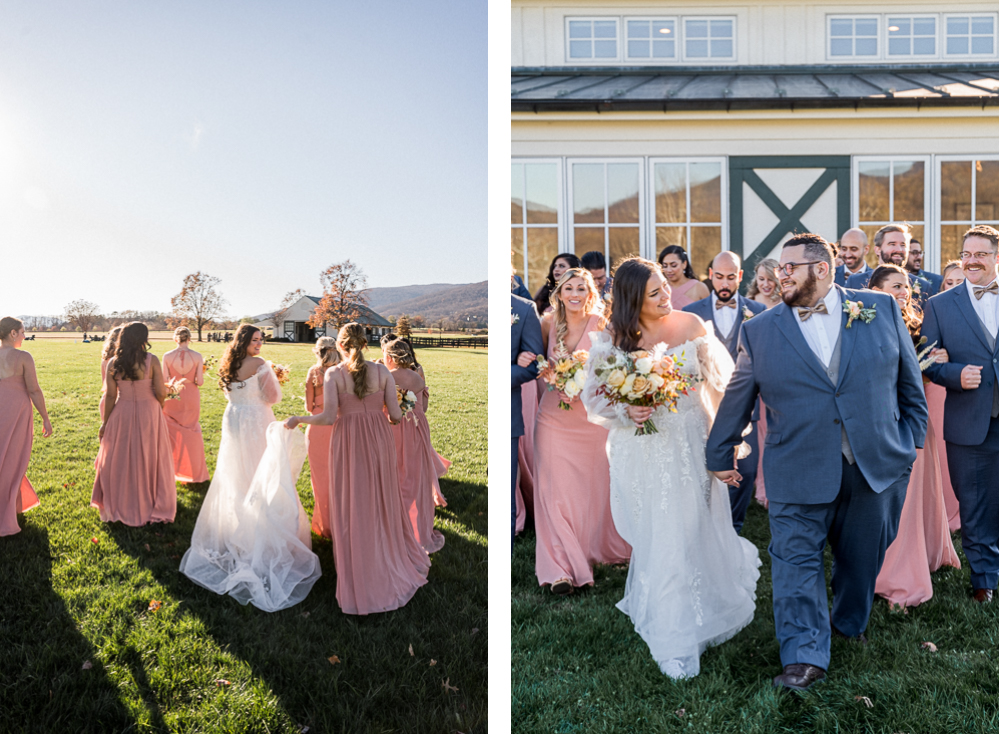
These two photos show two examples of how to shoot in harsh light that we’ll talk about later in this blog. On the left, putting the sun directly behind your subjects. And on the right, and shooting in “open shade”!
Why It’s Hard to Shoot in Midday Light
In order to explain open shade, it’s helpful to point out your alternatives when it comes to shooting in the middle of the day. These are also the two biggest mistakes that most photographers make when shooting in light that isn’t ideal!
The first mistake is shooting in full sunlight at midday, or what we typically refer to as “harsh” light. This is when you just ignore the fact that the sun is way overhead and beating down on your subjects, and let it hit their faces directly. If your subjects’ faces are visible to your camera, this overhead light creates some very unflattering shadows! It can actually accentuate any blemishes or wrinkles, and really draws attention to the shadows underneath the eyes and nose of your subjects!
The other mistake is shooting in what we call “split” light. This is when part of your subjects are in direct sunlight, and part of your subjects are shaded. Which is actually even worse than direct, harsh light, since part of your subjects are getting all the downsides of harsh light, while part of them is shaded! This is really distracting, and is a sure sign of an amateur photographer. Here on the East Coast of the US (where everything is green for a good chunk of the year and tall trees abound), we have to be especially careful of split light. That’s because light that looks like full shade can actually have little pockets of light throughout that can lead to split light!
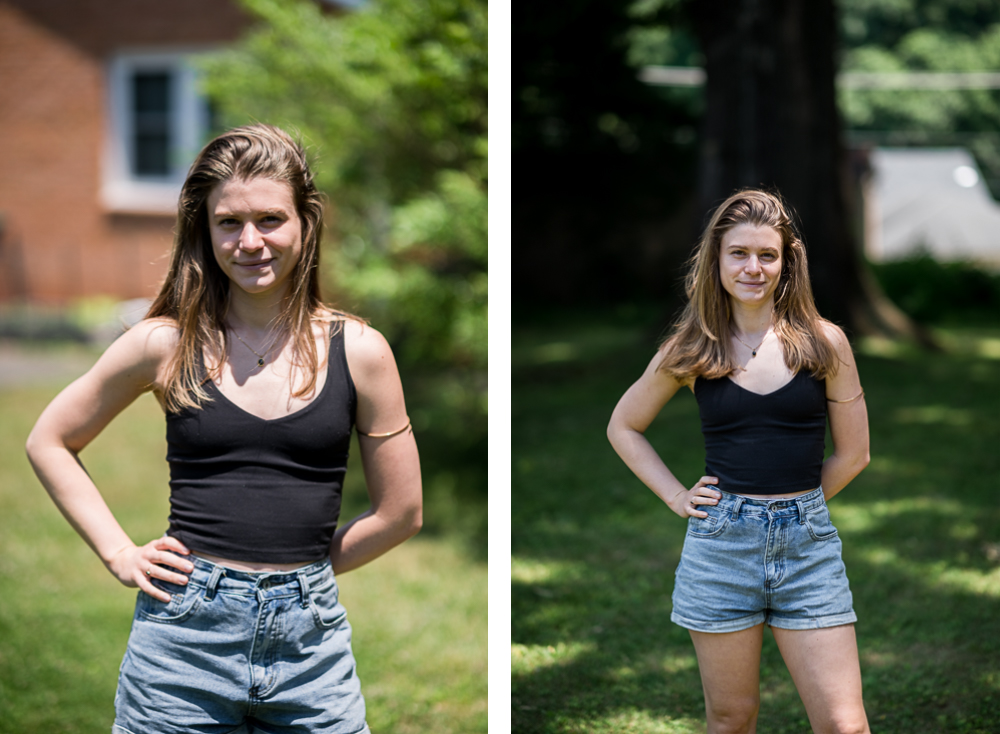
In the image on the left, Sarah’s standing in direct sunlight. Notice the harsh shadows underneath her eyes, nose, and chin? Notice how she’s squinting a bit? In the image on the right, Sarah’s in split light. Part of her is shaded, and part has that harsh light — which doesn’t look any better!
What is “Open Shade”?
Okay, as promised, we’re going to get to what you should do, and not just what kind of light to avoid. Open shade is when your subjects are shaded by some tall object, but are not actually underneath that object. In other words, they aren’t actually hidden beneath an awning or below the boughs of a tree. But they are being shaded by a tree that’s a bit off in the distance, still between them and the sun.
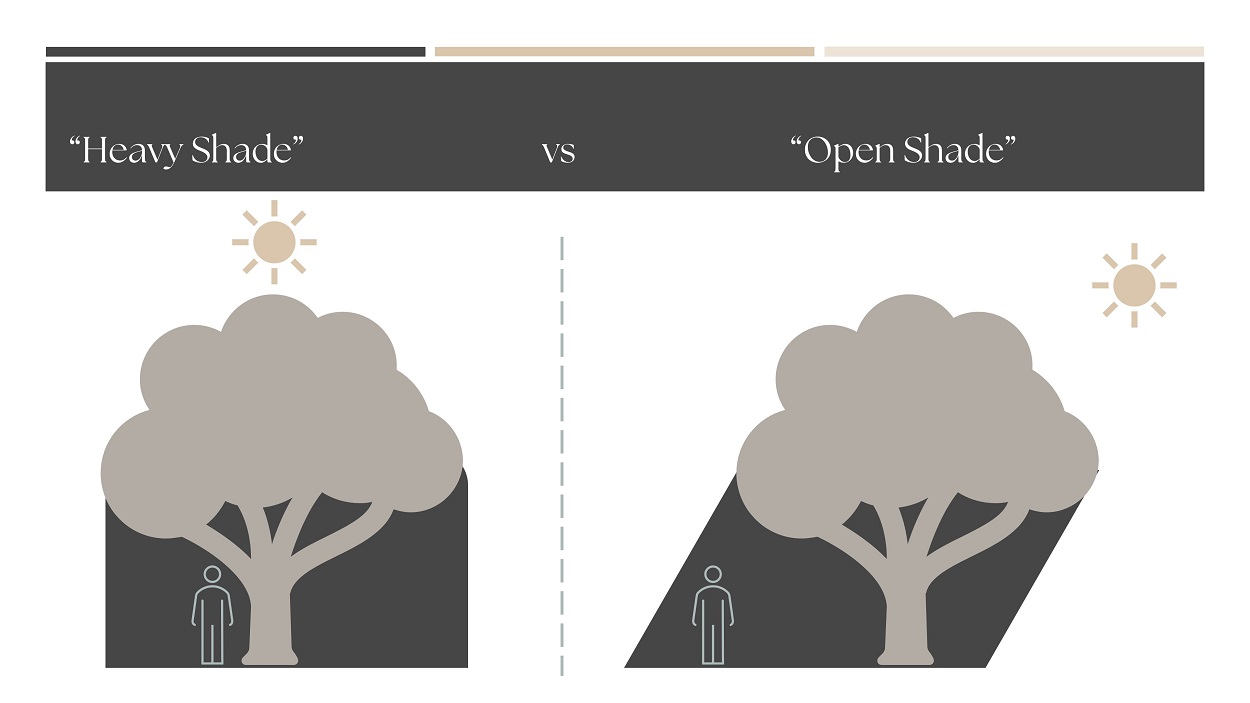
Hopefully, this diagram below will help you see the difference. Notice how on the left side of the screen, the subject is literally beneath the tree. If they looked up, they’d see a tree, not the sky. This means they’re beneath “heavy shade”, which will not only feel very dark and moody (which isn’t typically what we’re going for), but there will also be a color cast from whatever is above them. So if they’re beneath a tree, their skin and clothing will have a green hue to it. If they’re standing underneath a red and yellow awning, their skin will look extra warm.
On the right side of the diagram, you see the subject in open shade. The tree is blocking the sun from reaching them, but the subject isn’t actually underneath the tree. If they looked up, they’d see the sky, not the tree. This means that they’ll get the benefits of shade, without that strange color cast. When we arrive on a wedding venue on a bright, sunny day, one of the first things we do is look around and try to locate some open shade, since we’d prefer to shoot exclusively in open shade until the sun gets closer to sunset!
No Shade Available? No Problem
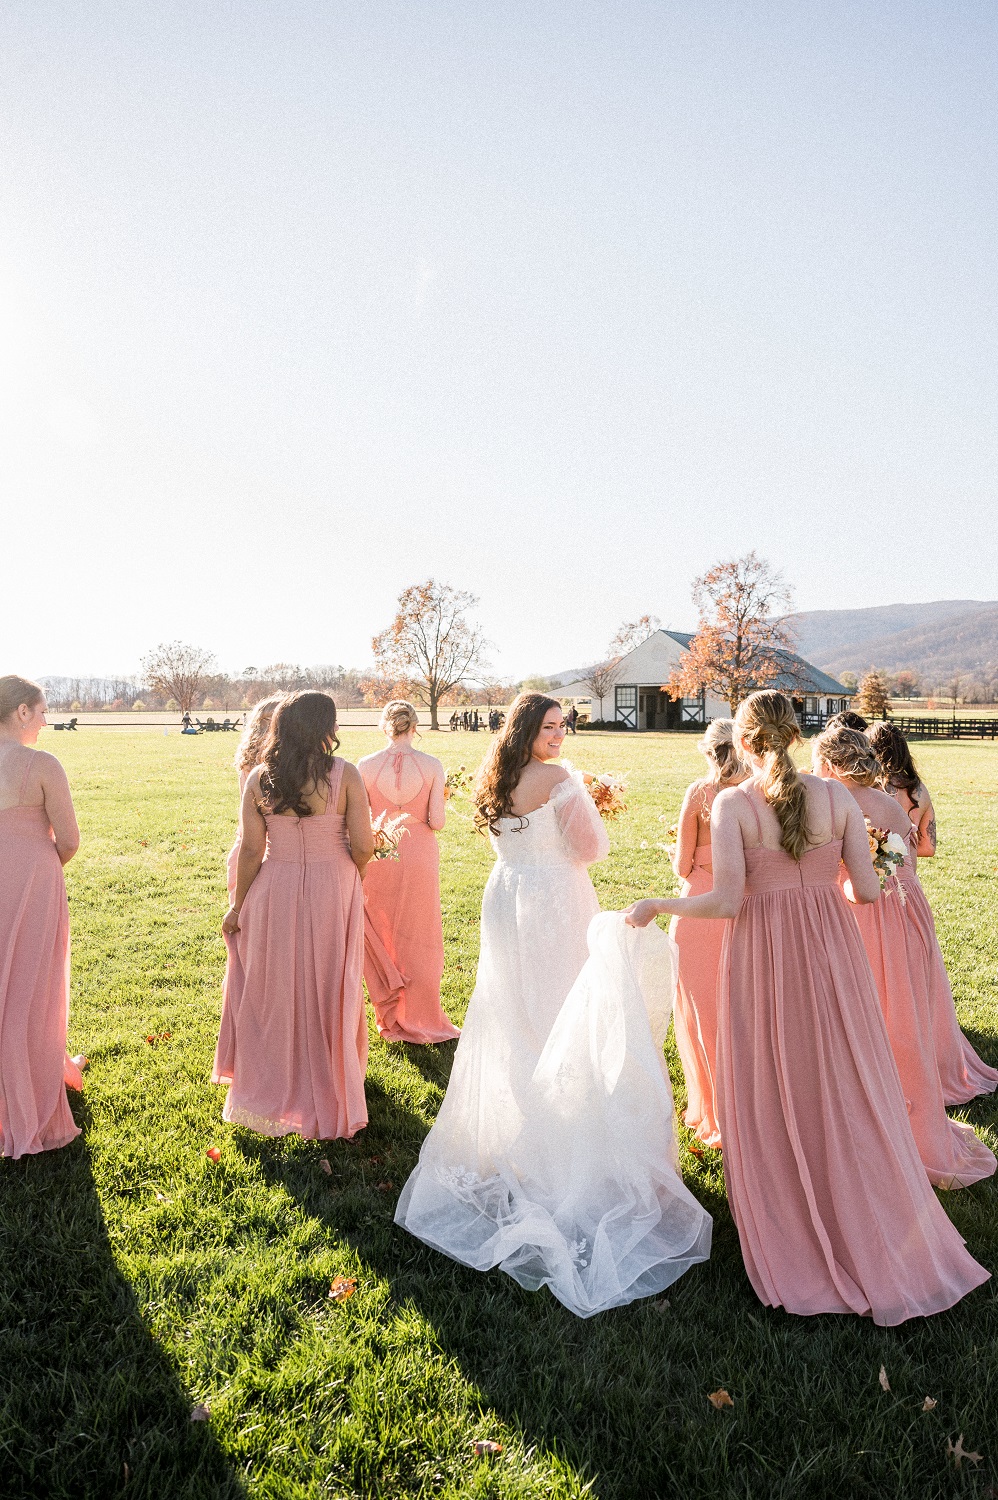
Finally, what do you do when you need to shoot in harsh light, but there’s no shade available? Well, when worst comes to worst, you just put the sun at their back, and do your best! If you’re shooting in a wide-open space with no real shade, then open shade obviously isn’t an option. In this case, just put the sun completely behind your subjects, and shoot straight at them. Another way to think about this: your subjects shadows should be coming straight from their feet directly at you!
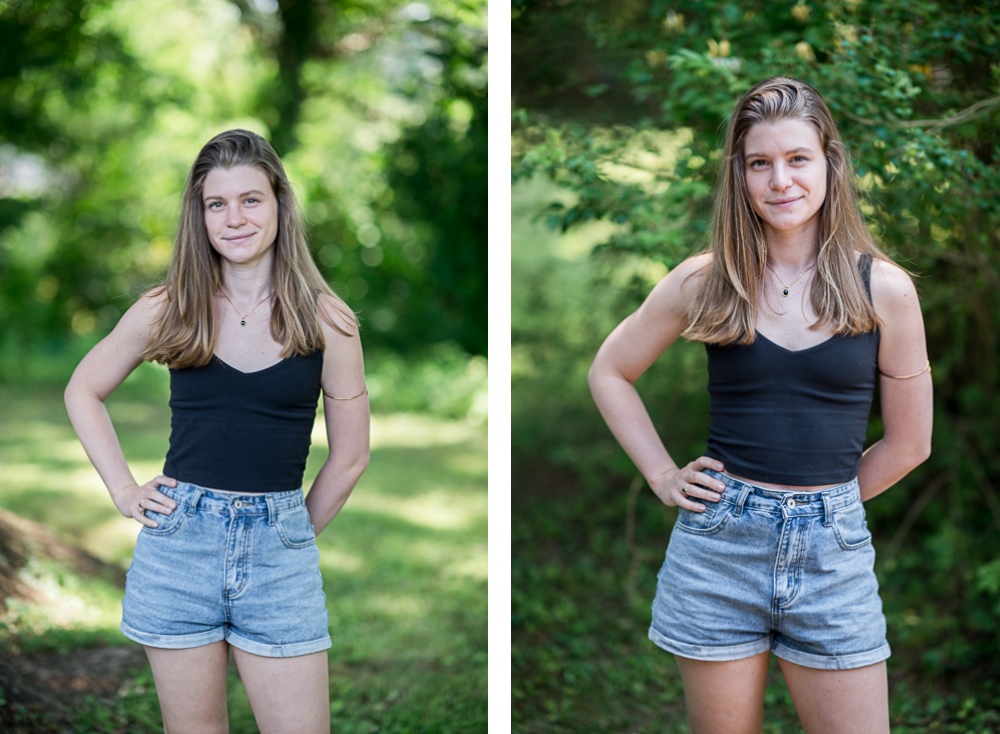
In the image on the left, Sarah’s in heavy shade, and the green color cast is evident. Plus, she looks very flat. In the image on the right, we found some open shade, and we think this is the best of all the options considering these images were taken at 12:30 PM!
When you do this, you’re actually letting them create their own tiny bit of shade. Since the sun is behind them, their faces will be shaded by their own heads! And no matter what, some shade is better than harsh, direct light or split light.
One final note. The closer you are to 12:00 PM — when the sun is literally directly overhead — the harder it will be to find open shade or put the sun behind your subjects. Even a couple of hours before or after noon will put the sun at enough of an angle that you can find somewhat better light. But at noon, with the sun directly overhead? Well… good luck 😅
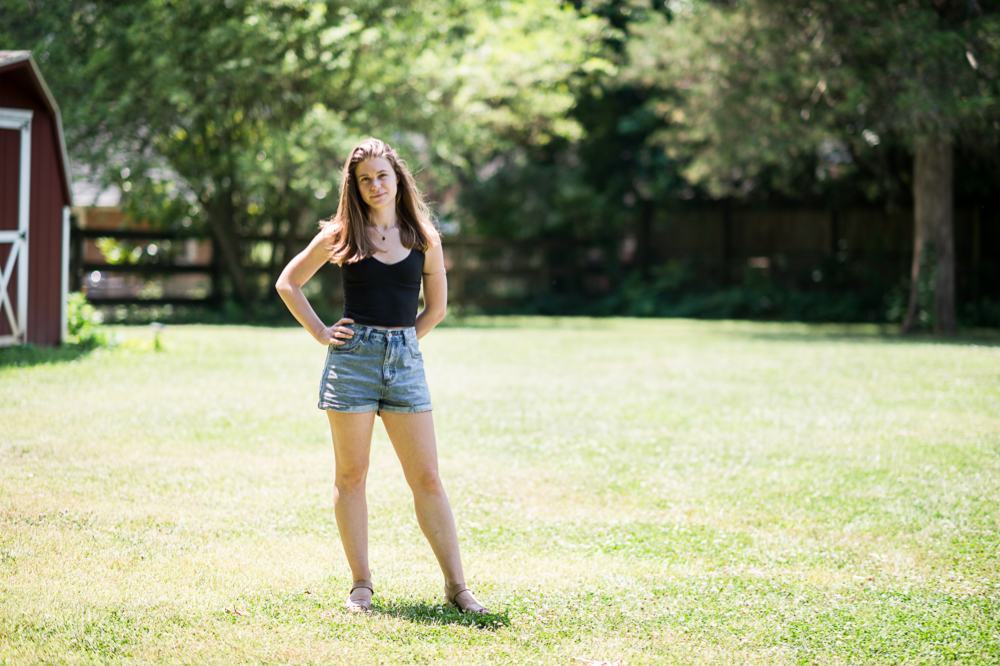
This is your best option when no shade is available at all! Just keep the sun behind them (as best as you can), and make sure their shadow is coming straight at you!
Want More?
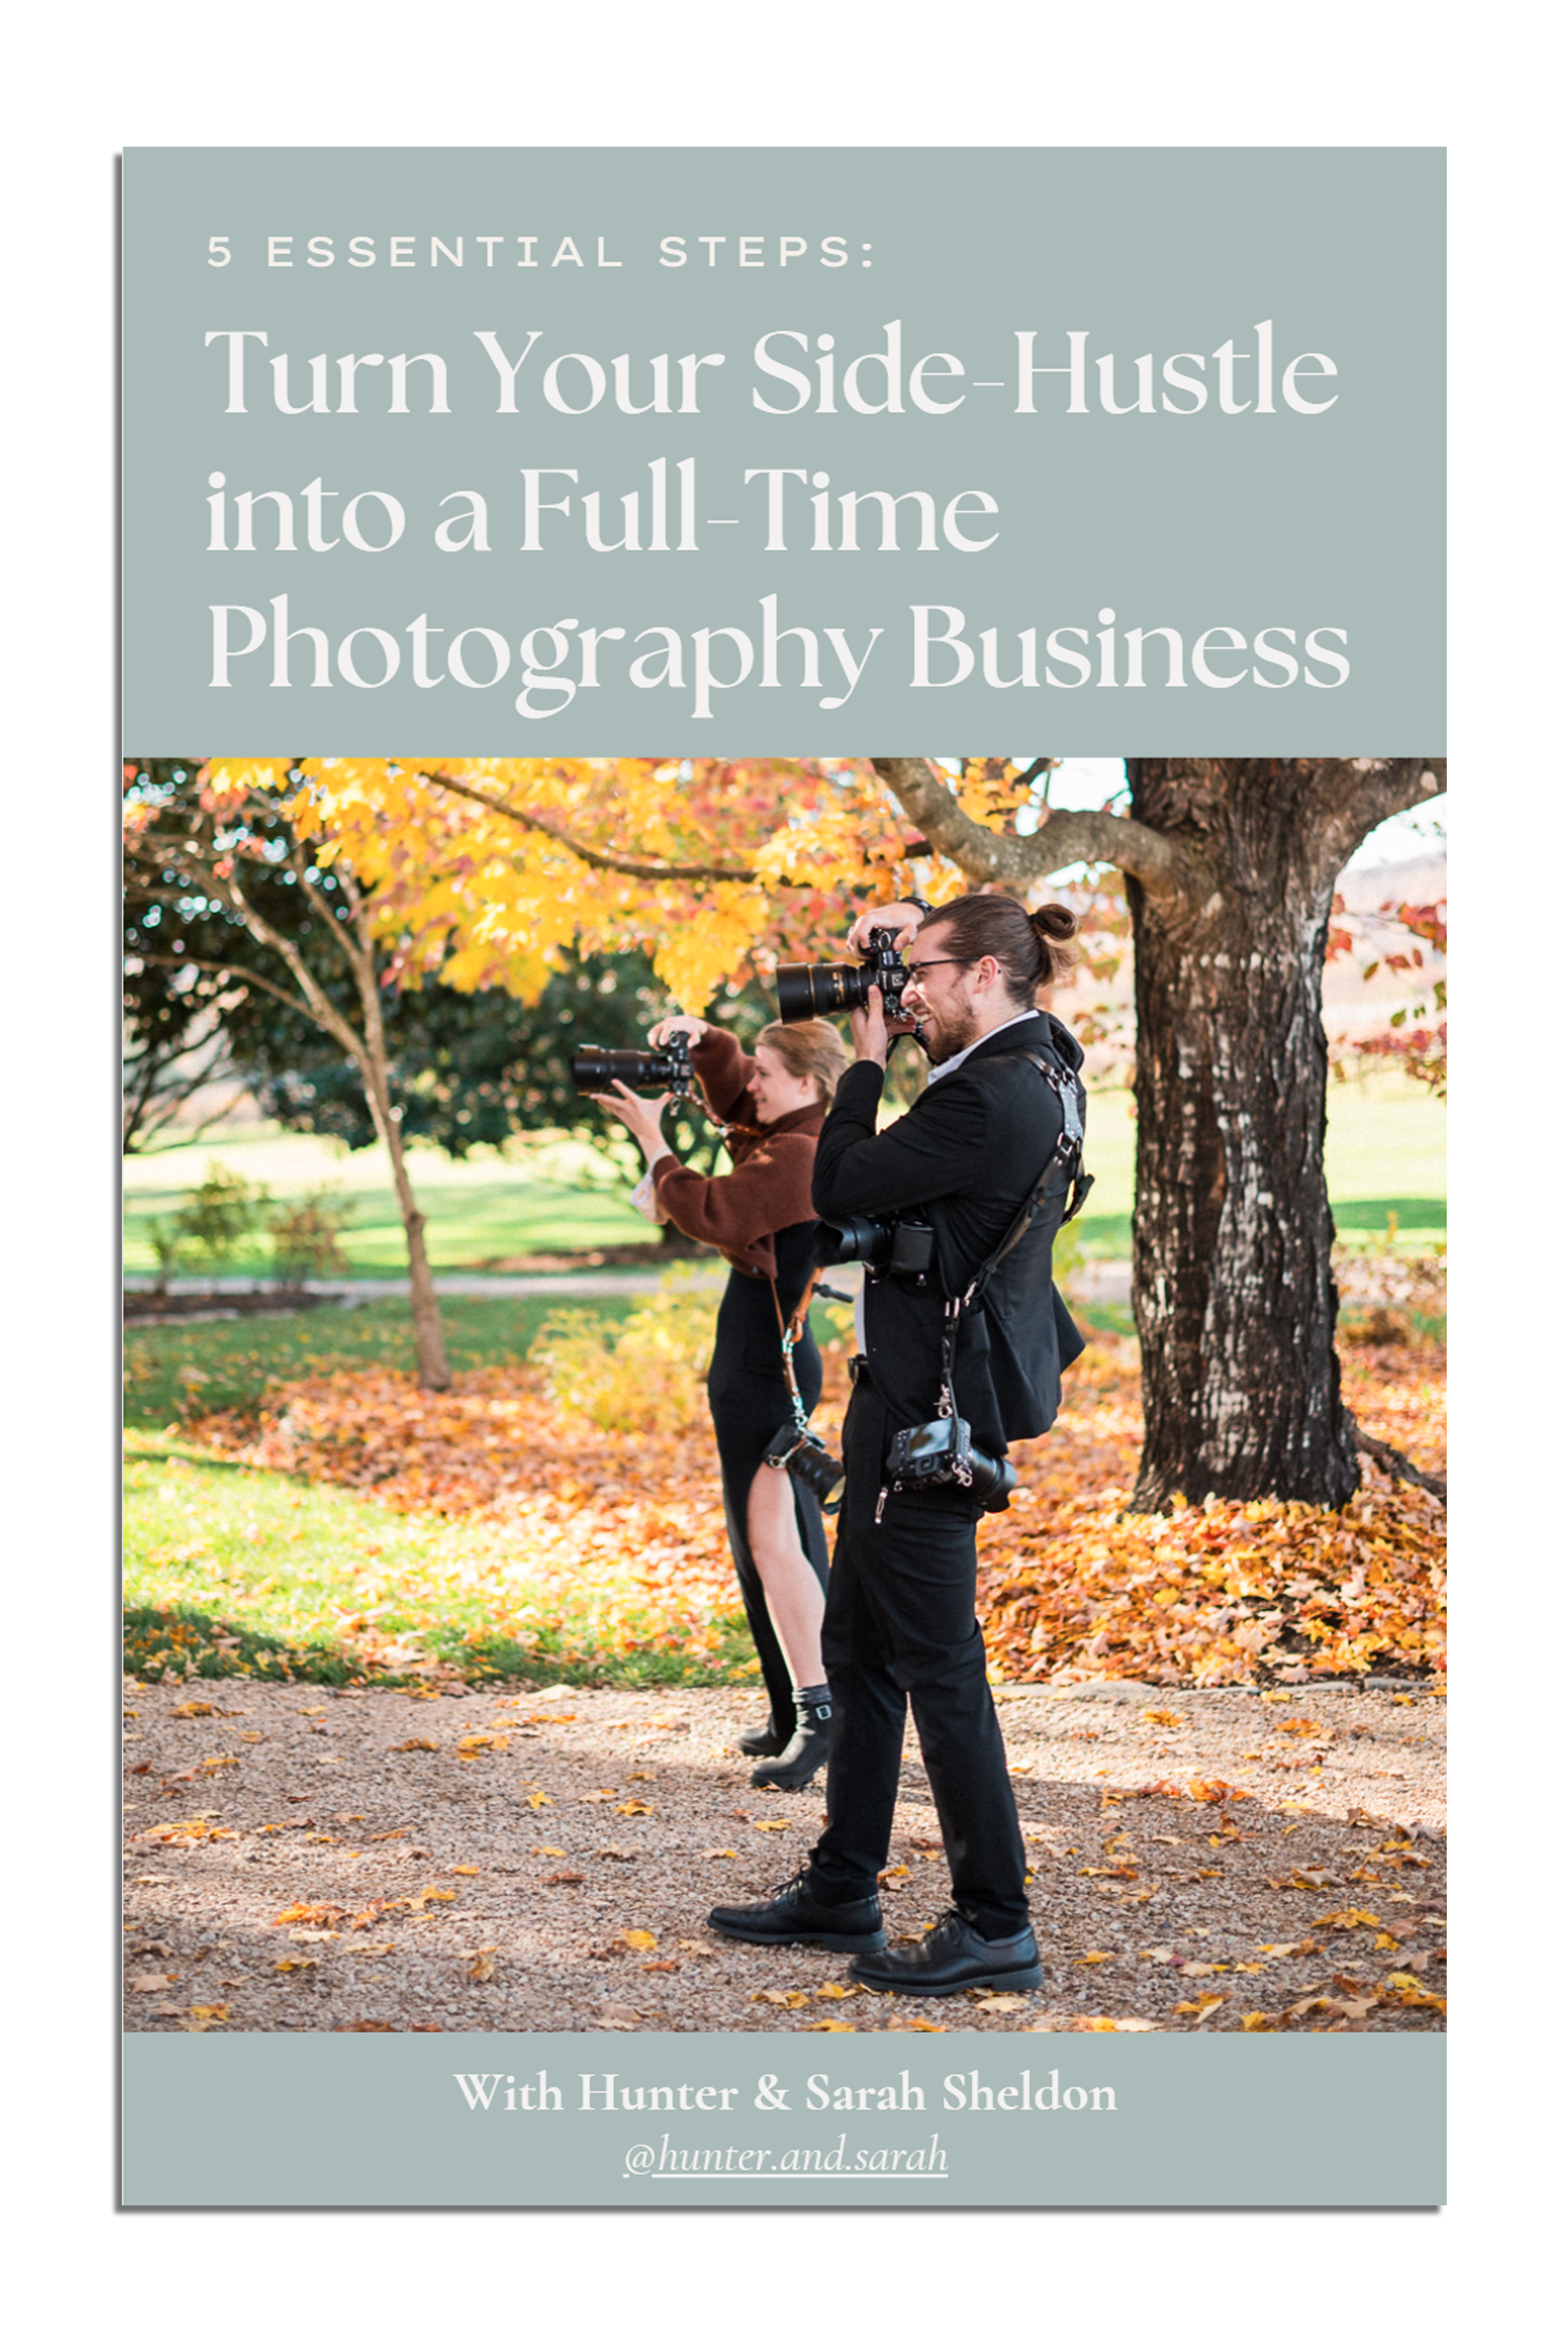
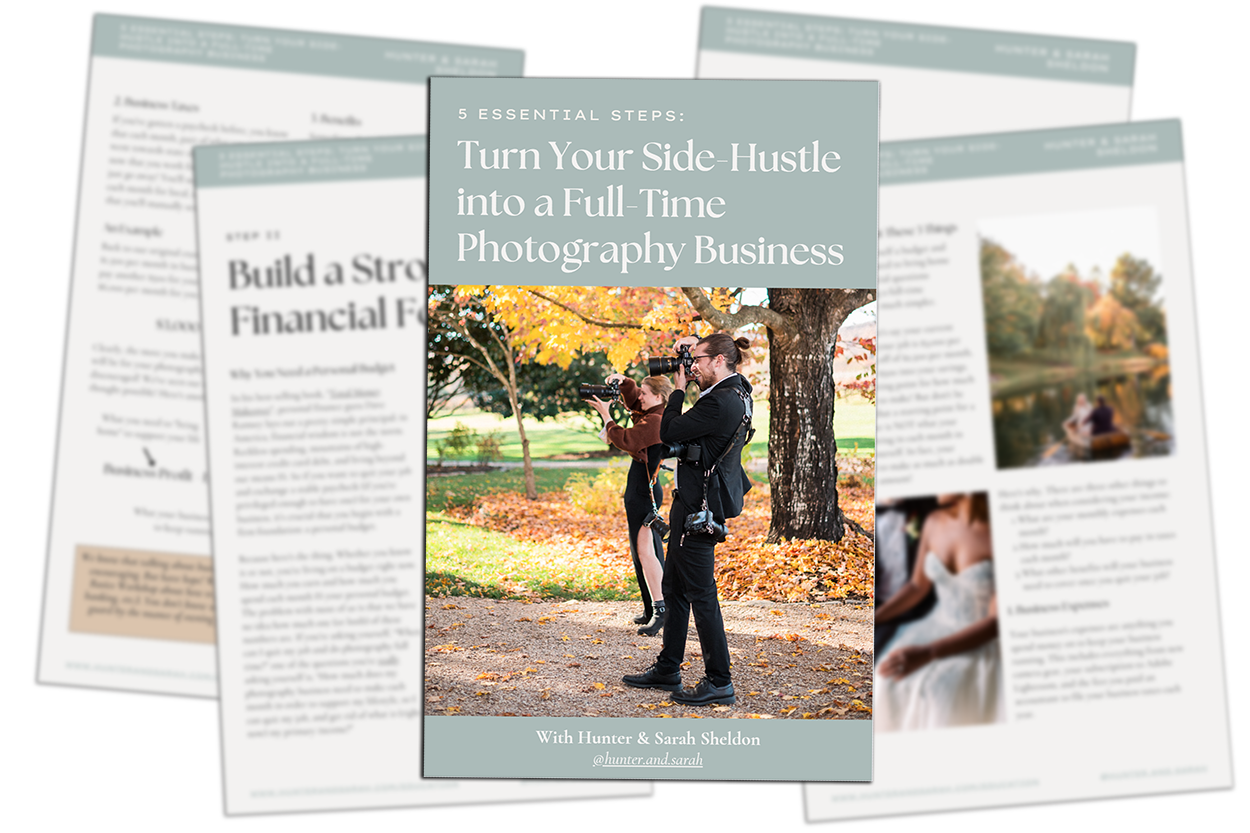
Click HERE to get your free copy of our eBook: “5 Essential Tips for Turning your Side-Hustle into a Full-Time Photography Business.” You’ll also be subscribed to our newsletter, so our newest content, weekly encouragement, and exclusive offers will be delivered right to your inbox!
Filed in:
Wedding Photography & Photography Education
Charlottesville, Virginia and Beyond
HOME
ABOUT US
WEDDINGS
JOURNAL
FOR PHOTOGRAPHERS
PRESS & PRAISE
BLOG
CONTACT
e. hunter@hunterandsarahphotography.com
p. (434) 260-0902
