VIEW BY CATEGORY:
Hi, we're Hunter and Sarah, a husband-and-wife, luxury wedding photography team. We’re also educators, helping other photographers build profitable and sustainable photography businesses.
MEET US
LOOKING FOR SOMETHING?
How to Properly Expose an Image (The Most Common Exposure Mistake that New Photographers Make)
March 2, 2023
—
Hey photographer friends! Welcome back to our Photography Blog, Mastering the Wedding Photography Biz with Hunter and Sarah!
In today’s blog/video, we’re going to share how to properly expose an image, and the most common photography mistake that we see our new photography students making that prevents them from doing so! This really simple — and yet really fundamental — idea can totally change the way you photograph portraits and weddings, so let’s jump in.
Expose for Your Subjects, NOT Your Background
So, here’s the common exposure mistake that we see new photographers make that prevents them from exposing their images properly: as they shoot in manual mode, they’ll expose their images for the background, then try to fix their subjects in editing. In other words, they worry more about the sky looking vibrant and the grass looking right than they do about their subjects looking their best — the people who actually hired them to capture the images in the first place!
So here’s our #1 rule when it comes to shooting in manual mode: Expose for your subjects, not your background.
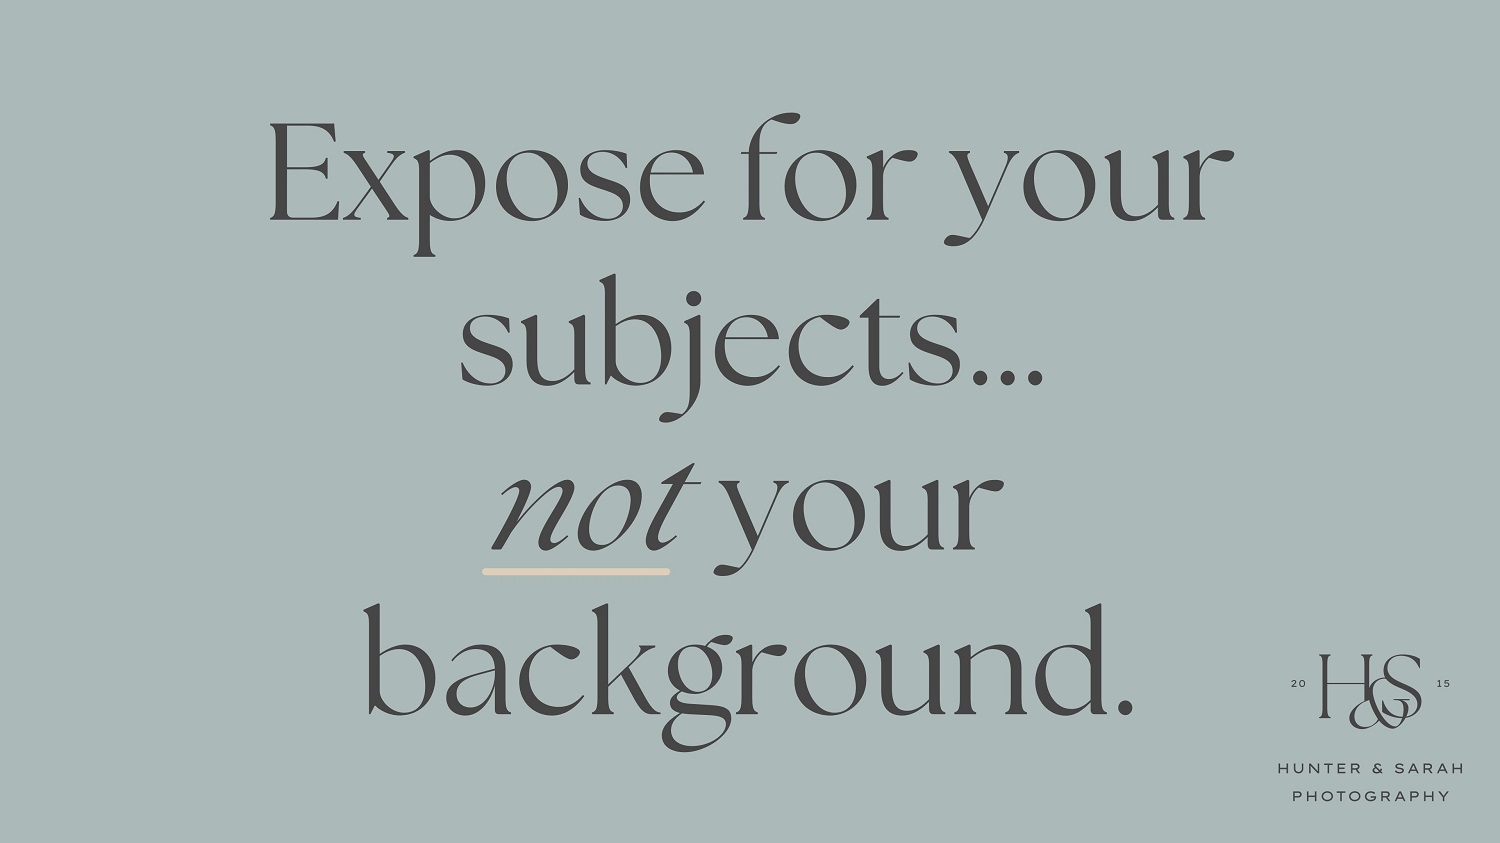
Any time you’re setting your exposure settings and making a decision about how bright or how dark your image should be, you should basically ignore your background, and just focus on your subjects. Here’s what we mean by this: if you’re outside shooting in natural light, you’ll notice that in 90% of situations, your camera just cannot physically get the same brightness for your subject and for your background and your sky. (Of course, the one time this is possible is if you put your subjects in direct sunlight, which isn’t recommended since they’ll be blasted in the face with sun and squinting the entire time).
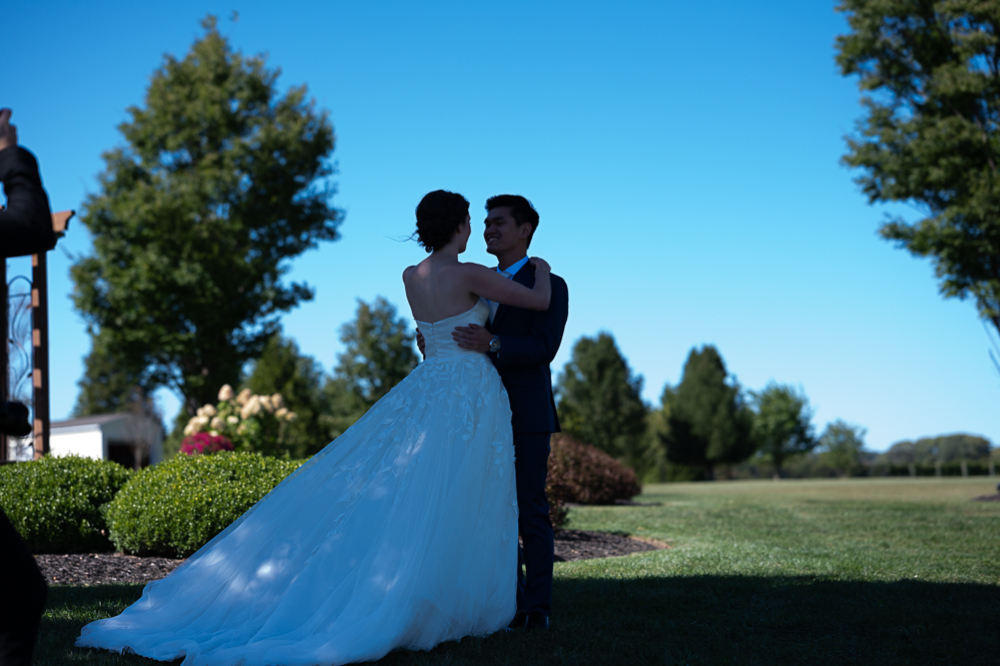
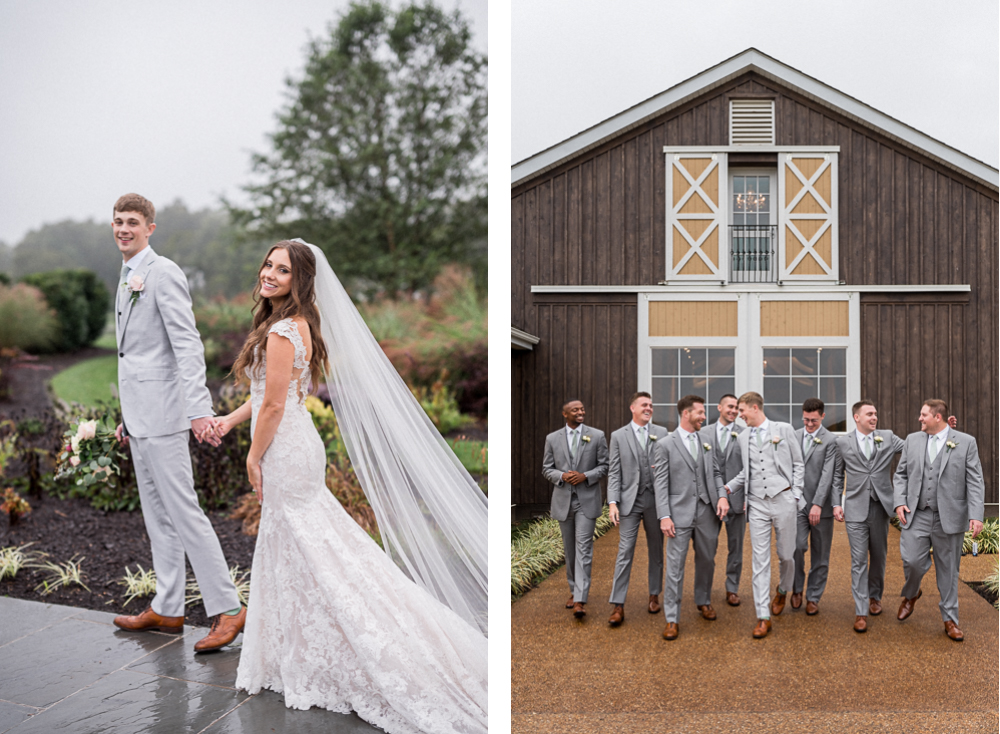
But assuming you’re not blasting your subjects in the face with sun, here’s an example of what we mean: In the raw image below, one of our Apprentices assisting us on a wedding day set their exposure for the sky. As you can see, we can see the bright and vibrant blue of the sky, but our subjects are super dark
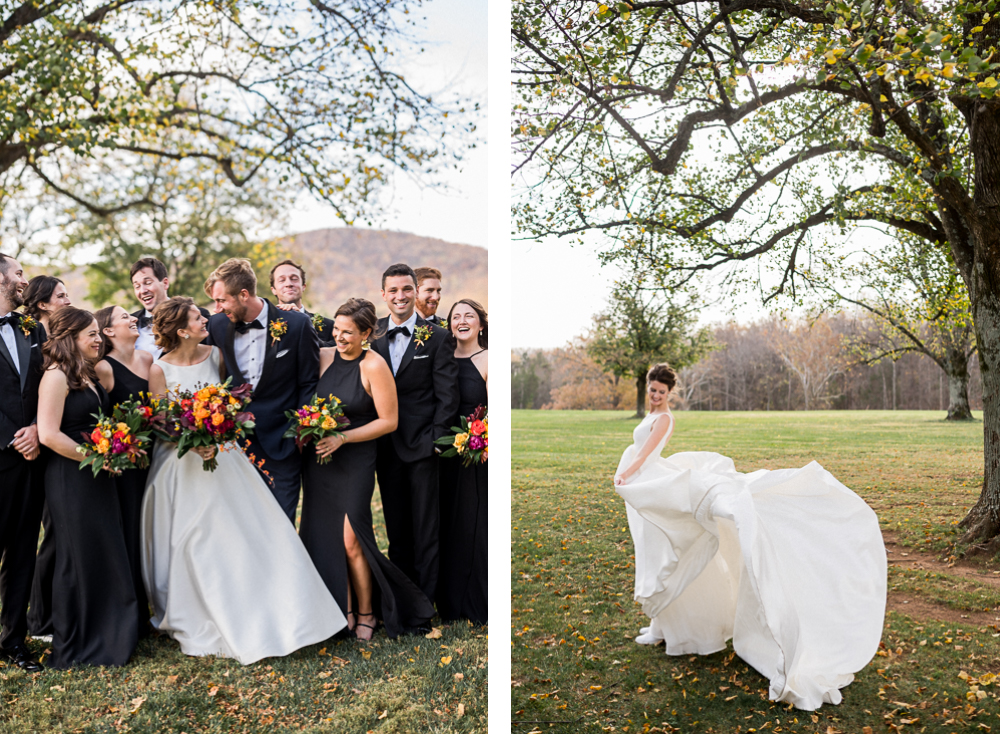
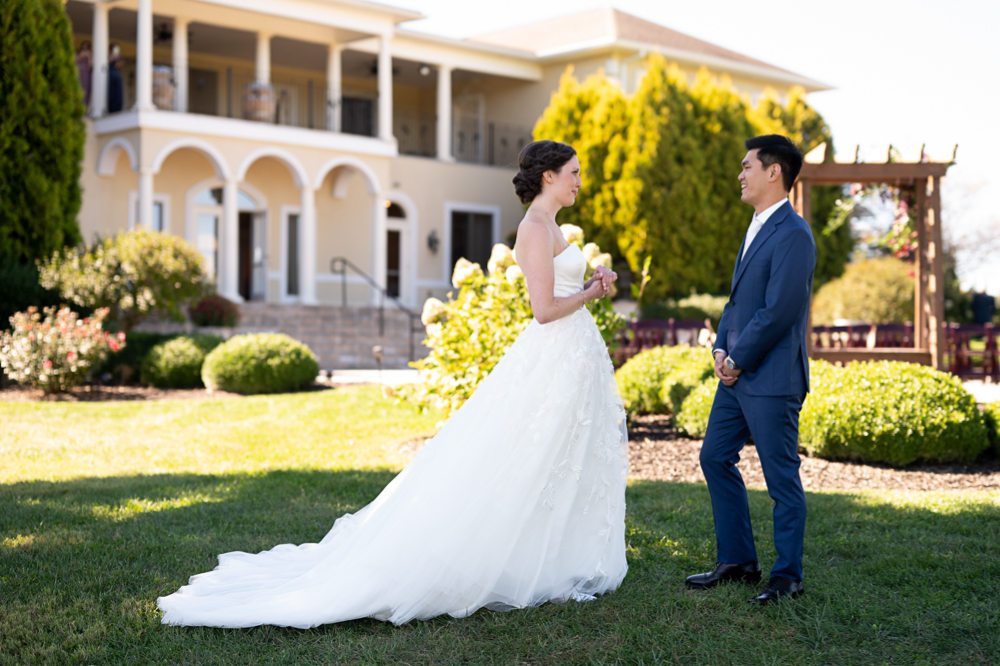
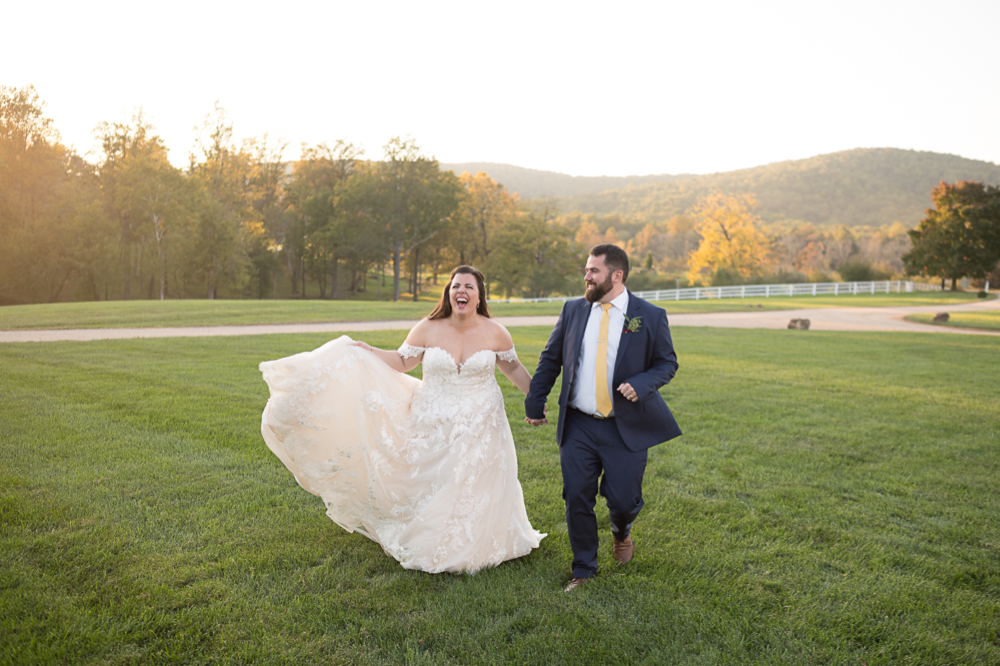
And in this raw image below, from that same wedding day, we’ve exposed for our subjects. As you can see, our subjects are looking much better, but the sky is so bright that it’s basically just turned white, which is also sometimes called being “blown out”.
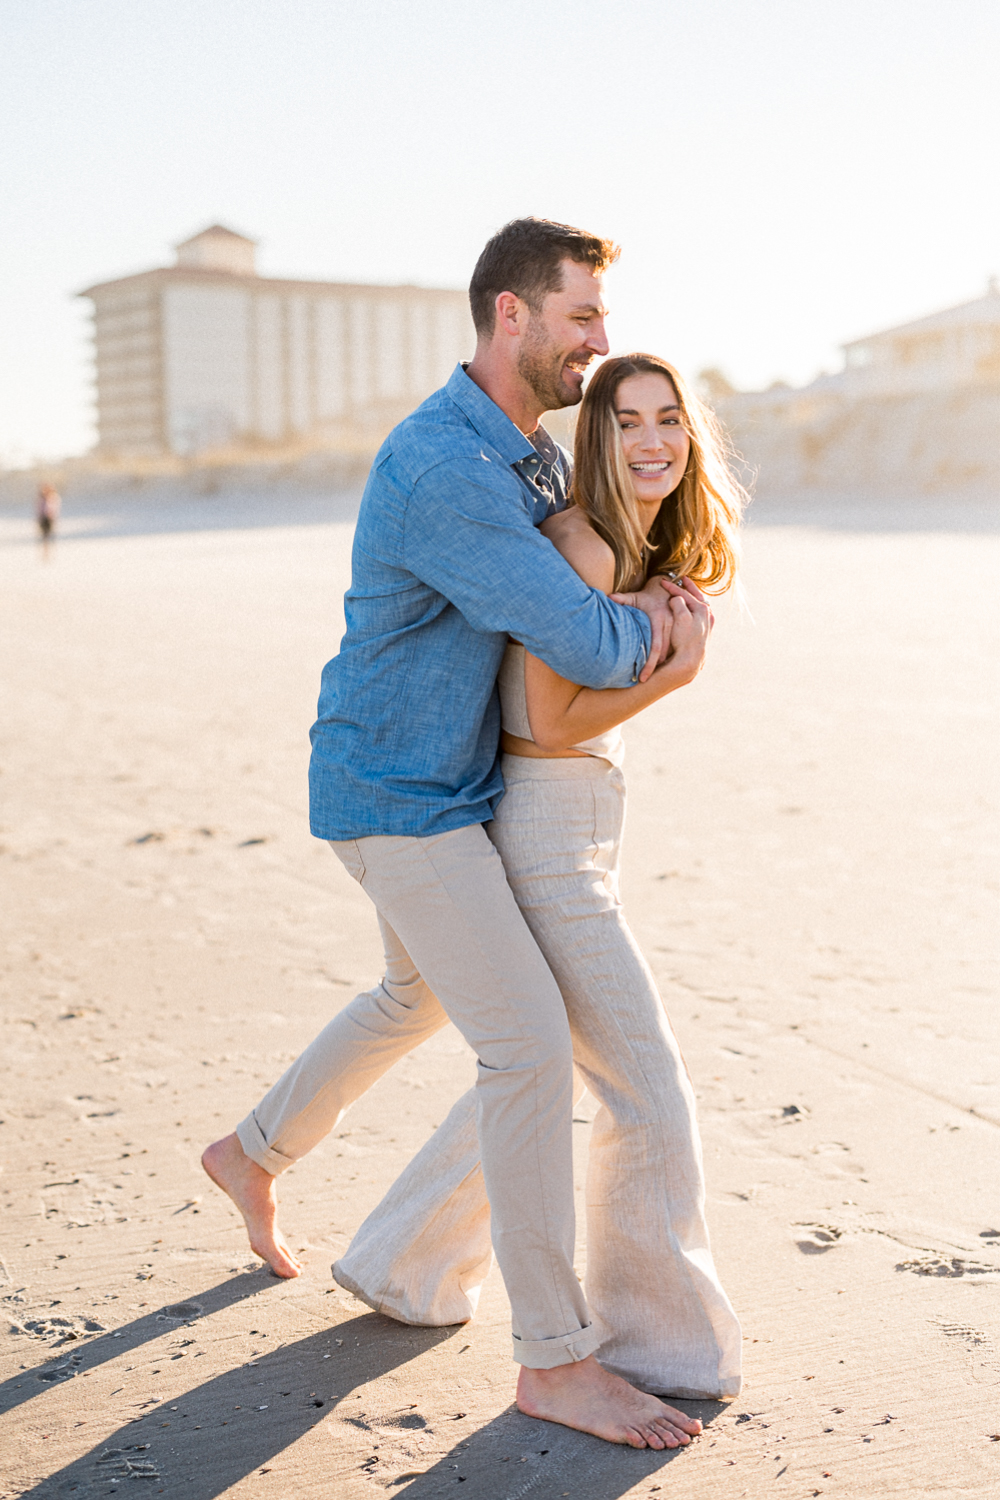
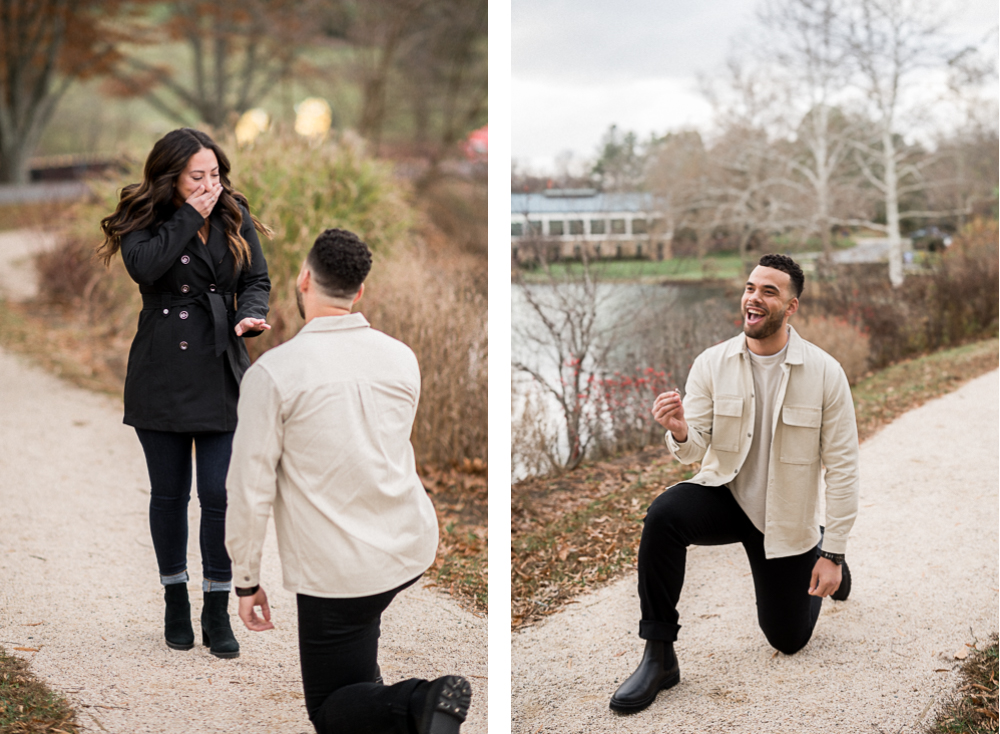
And here’s why we set our settings this way. Sure, a beautiful sunset or bright blue sky is great. But if we’re photographing a family session, we care way more about the expressions of our subjects and the giggles they’re sharing than we do about that pretty background. And likewise, if we’re photographing a couple during their engagement session or on a wedding day, we’d much rather the love and joy between them be the focus of our image, even if it means totally blowing out the background.
Objection #1: Can’t I Just Fix it in Editing?
So, we want to pause right here and address a common objection we hear when we give this advice: shouldn’t I exposure my background correctly, then just fix my subject in editing? And the reason we bring this up is because this is a totally reasonable question! After all, if you expose for your subject and totally blow out the sky, there’s no way to recover that sky in editing. If you want to do that, you’d actually have to add in an artificial sky using layers in Photoshop, which is a pretty complicated process.
But if you way underexpose your subject, can’t you just brighten them up in post? Well yes… if you have a LOT of time to spend in editing!
Sometime last year, we posted a video where we compared the two most popular business models that most photographers operate with: In-Person Sales (IPS), and Shoot-and-Share (if you want to learn more about these two business models, you can check out that blog/video here). But the tl;dr is that in an IPS business, you will likely only deliver a small handful of images per hour of coverage. So an hour-long engagement session might only yield 10 or 15 images, and an entire wedding day might have 100-200 total images.
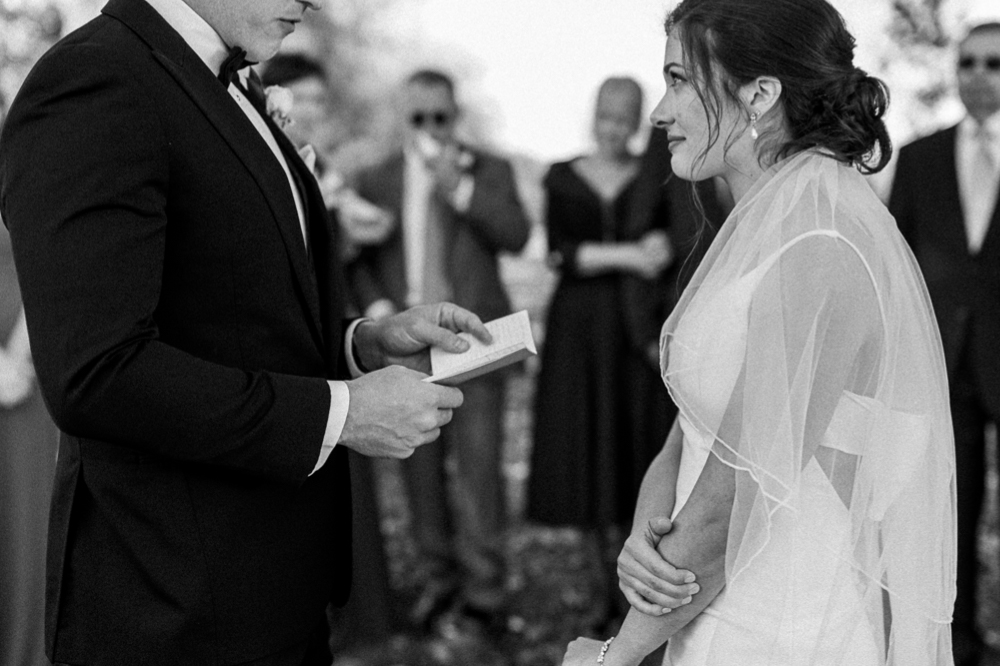
Now, if this is the business model that you’re using, then it might make sense to ignore our advice, and expose your images for your background, then bring your subject up in post. Why? Because if you’re only delivering a handful of images per hour of coverage, each image needs to be an exquisite work of art, perfectly-captured and beautifully (and extensively) edited. This is where opening Photoshop and smoothing wrinkles, whitening teeth, removing blemishes, and swapping out for a fake sunset might make sense. You can afford to spend 3-5 minutes per image, because you’re delivering a smaller volume of images.
However. For our portrait and wedding photography business (and for literally all the photographers who we’ve mentored over the years), not a single one of us use this business model, which is really just a leftover from the days of film photography. Instead, we and all of the students we’ve mentored have used the Shoot-and-Share business model, where you might deliver 50 or 75 or even 100+ edited images per hour of coverage.
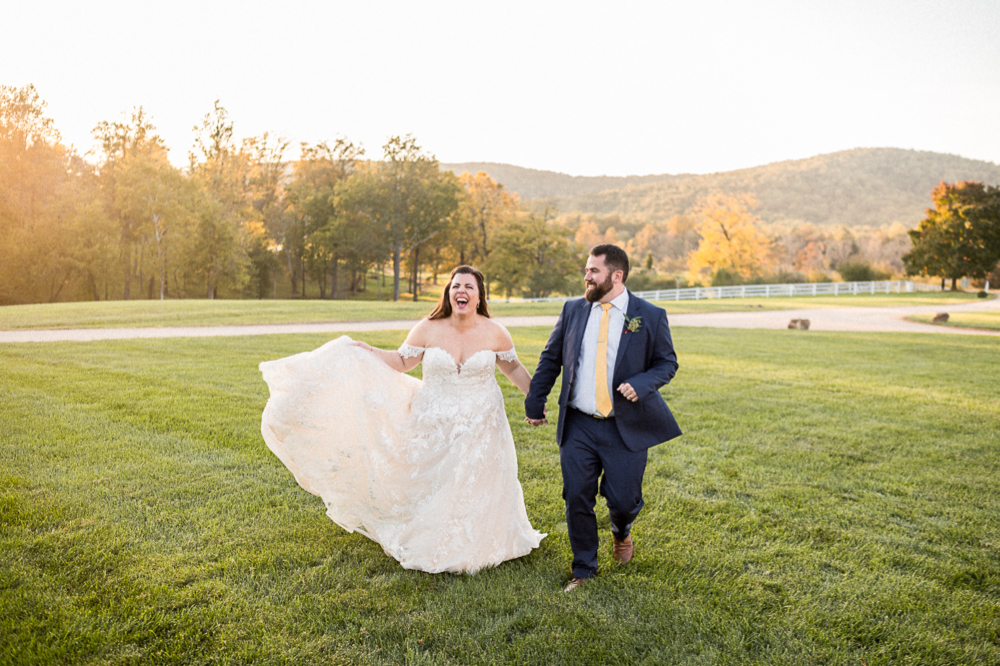
And if you’re going to deliver 100+ images from a portrait session, or 1,000 or more images from a wedding day, then taking the time to mask your subjects and bring them up in every single image would translate to a totally unreasonable amount of time in editing. So instead, we just aim to expose for our subject right from our cameras (see below):
… so our images only require minimal editing for general light and color:
Objection #2: Won’t My Clients be Disappointed?
So at this point, you might be convinced that exposing for your subjects instead of your background is easier and more efficient than exposing for the background and fixing it in post. But now you might be wondering, “won’t my clients be upset that their images all have a white sky, instead of a bright vibrant sunset, or a soft blue sky?”
And our short answer…. Is no. They won’t. We as photographers probably care more about this than the average client does.
Now, we obviously can’t guarantee that every single client in the world feels this way, but our experience has shown us that if we make our clients look great, and capture them and their love story in a way that flatters them and is authentic to who they are, they don’t really care how they sky or the background looks all that much.
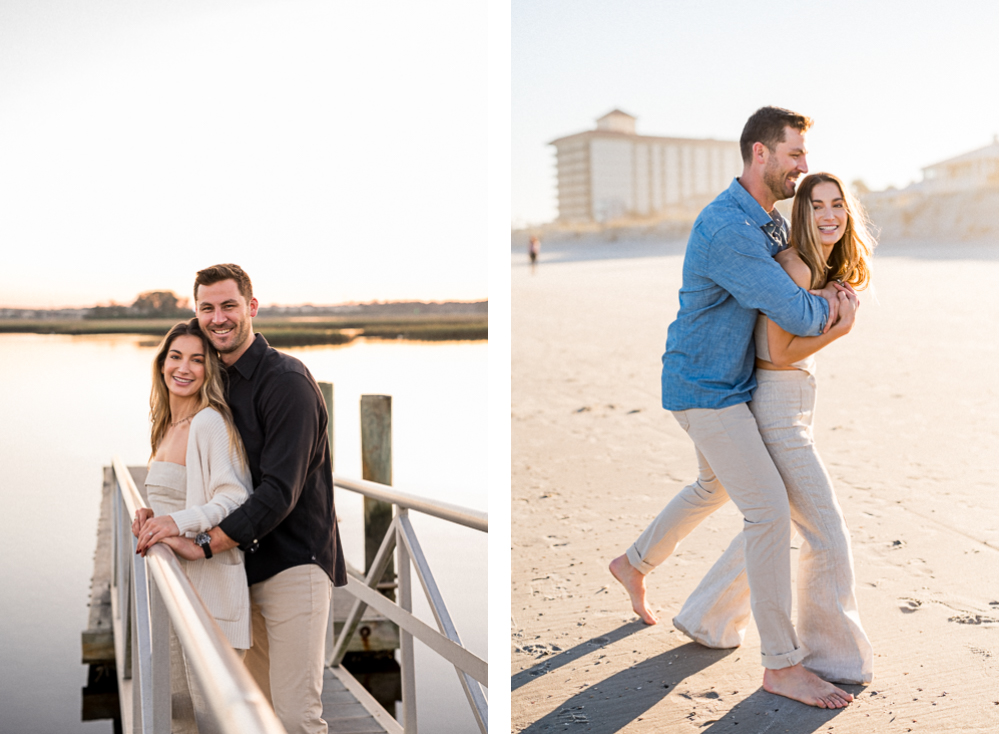
We’ve booked and photographed over 150 weddings and more than 600 portrait sessions, and when we were prepping for this video, we tried to think of a single time when a client came back after receiving their photos and expressed disappointment in how they sky or the background looked… and we couldn’t think of a single time.
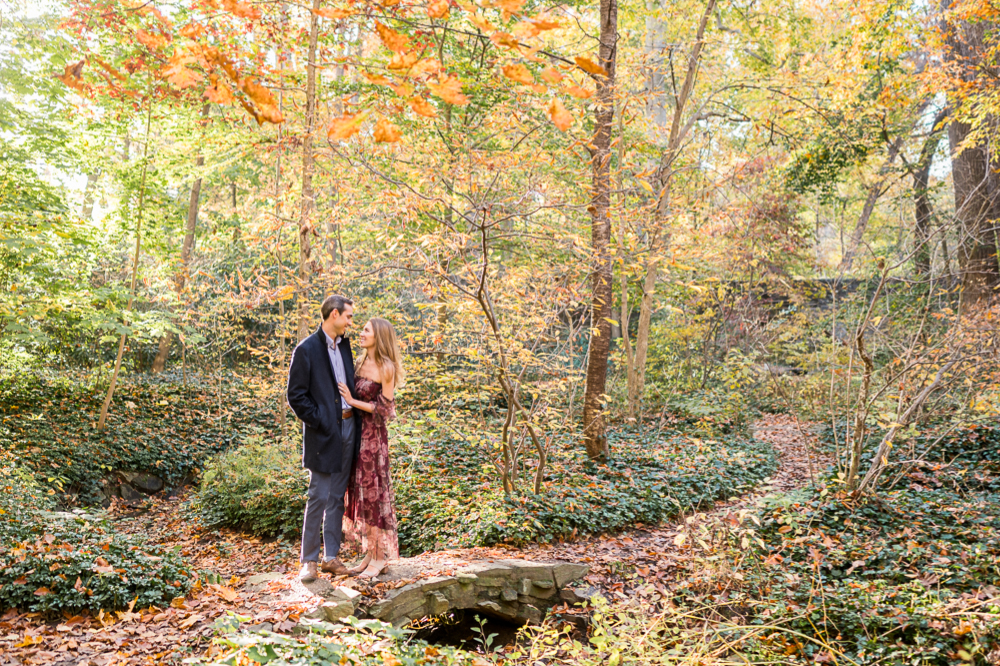
And in case you’re worried that this tactic may work for us because our clients don’t expect high-quality imagery or because we don’t charge much, keep in mind that we’re booking wedding packages right now that are in the $10,000 – $12,000 range. So this certainly isn’t just advice that works with clients looking for a low-end or inexpensive photographer.
Objection #3: What About Flash Photography?
Now, our final objection that you may have is regarding flash photography. After all, incorporating off-camera flash into your photography is the one way that, even in bright natural light, you can still expose for your background, capture that vibrant sky, and also properly expose your subject.
And to be honest, that’s absolutely right. If you really do feel like you want to deliver those kinds of images, then OCF is definitely the way to go. However, that aesthetic just isn’t for us. In fact, about a year ago, we posted a video where we explained how, early in our career, we thought that all professional photographers had to shoot with off-camera flash. We assumed that exposing for your subjects and blowing out your background was somehow a symbol of amateur photography, and in order to become a successful business, we had to have those vibrant backgrounds and carry around light stands and speedlights to every session (that full video explaining why we don’t use OCF anymore is here).
But a couple of years into our business, we fell in love with natural light photography, and hung up our Pocket Wizards and light stands for good. And it was probably 30% about the fact that natural light is way simpler and easier than OCF, and 70% about the fact that we just preferred the natural light aesthetic over the OCF aesthetic! At the end of the day, that’s a decision that only you can make for your business. But assuming you’re like us and want to shoot exclusively with natural light when working outside, then exposing for your subjects is the only way to go.
Want More?
Click HERE to get your free copy of our eBook: “5 Essential Tips for Turning your Side-Hustle into a Full-Time Photography Business.” You’ll also be subscribed to our newsletter, so our newest content, weekly encouragement, and exclusive offers will be delivered right to your inbox!
Filed in:
Wedding Photography & Photography Education
Charlottesville, Virginia and Beyond
HOME
ABOUT US
WEDDINGS
JOURNAL
FOR PHOTOGRAPHERS
PRESS & PRAISE
BLOG
CONTACT
e. hunter@hunterandsarahphotography.com
p. (434) 260-0902
