VIEW BY CATEGORY:
Hi, we're Hunter and Sarah, a husband-and-wife, luxury wedding photography team. We’re also educators, helping other photographers build profitable and sustainable photography businesses.
MEET US
LOOKING FOR SOMETHING?
Camera Bag Essentials 5: Using Reflectors and Flashes as Natural Light Wedding Photographers
February 16, 2022
—
Hello photographers! This evening, we’re continuing our blog series called “Camera Bag Essentials”, focused on helping newer photographers develop their arsenal of professional photography gear. We want to make sure that as your business grows and you invest your money, you’re doing it wisely and intentionally!
In the last segment, Hunter shared about our macro lens and all the different situations that we use it in. In this section, we’ll be pulling away from lenses and focusing on the many other pieces of gear that you can use to incorporate additional light into your photography!
Start Small: Reflectors
If you’re an outdoor, natural light photographer (which is how most photographers start), you’re bound to shoot during overcast days. These conditions can sometimes give your subjects some unflattering shadows beneath their eyes because of the lack of light that’s being reflected back onto their faces.
A really simple and inexpensive way to fix this is with a reflector. Even a large reflector with multiple color options will run you ~$30, so it’s a much smaller investment than jumping right into flash photography. Plus, it helps maintain a more natural light aesthetic since reflected sunlight is usually softer and warmer than light that comes from a flash. Even though we now own multiple flashes, we’d still rather fill light with a reflector than with a flash during a natural light portrait session or wedding day!
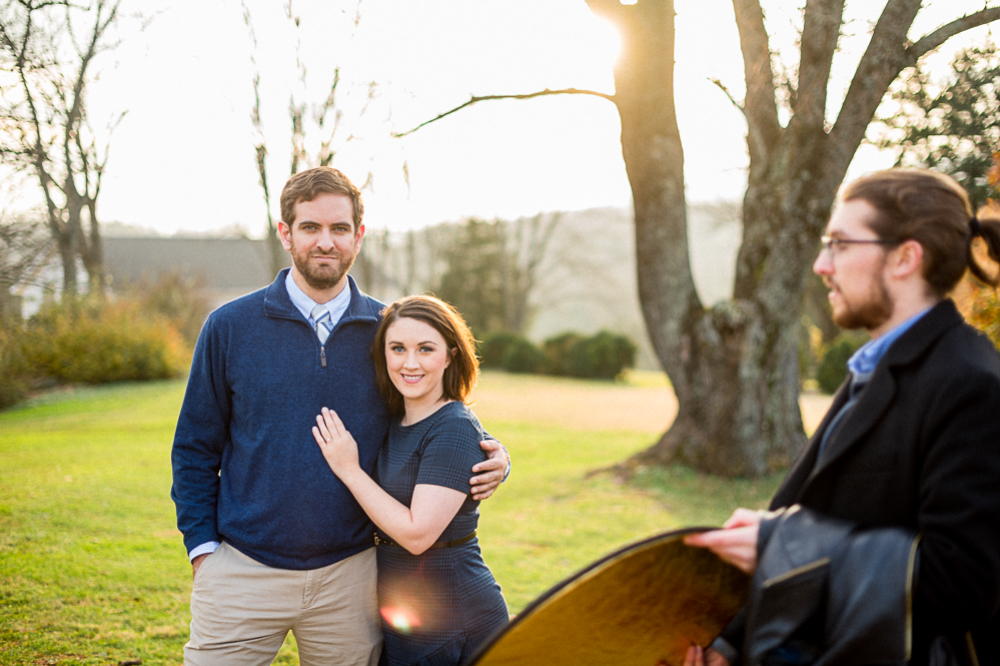
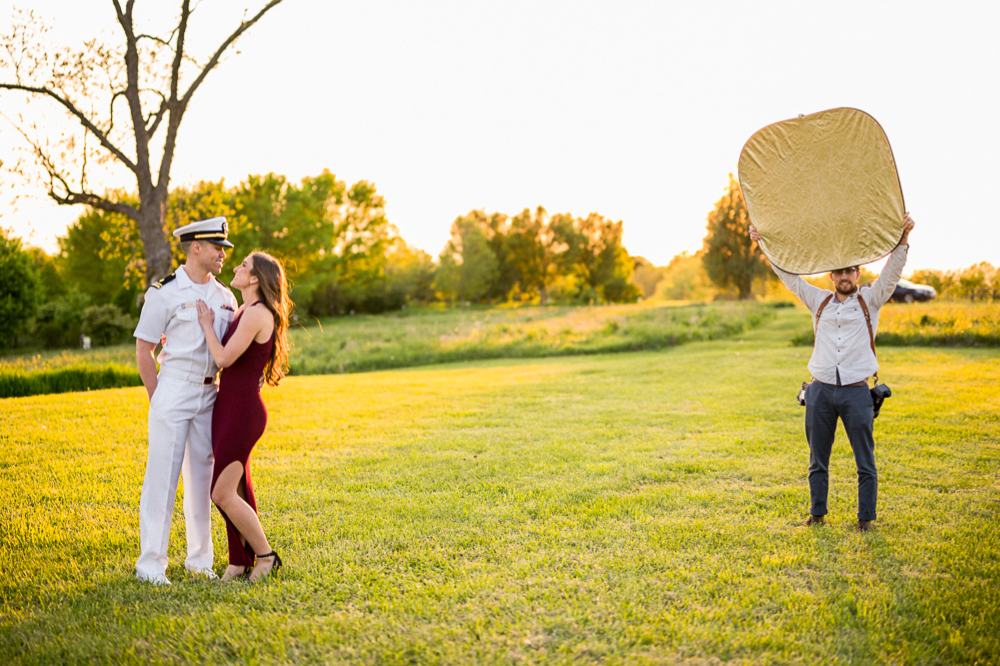
Thanks to Hunter holding our small reflector just a few feet in front of our couple, I was able to capture their portrait without any harsh shadows or unflattering lines! After I took this test shot, I moved forward in order to crop him out!
A bonus use for a reflector is using it to directly block the sun on bright and sunny days. You can use it to prevent solar flare by having an assistant or second shooter (or an extra groomsmen on a wedding day or a parent on a senior session) hold it up to block sunlight from directly entering your lens.
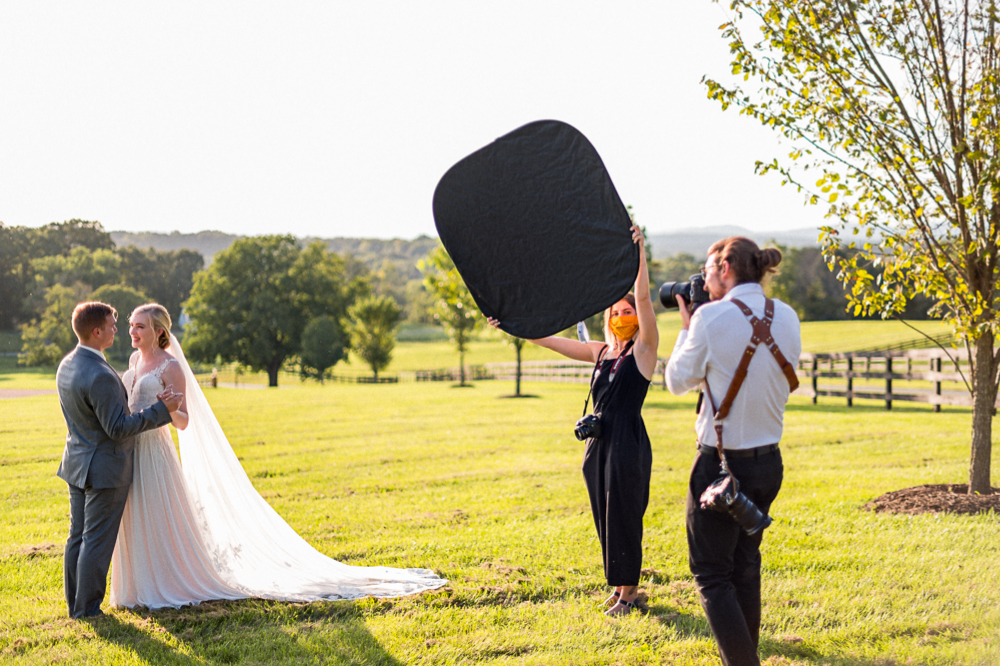
In this image, our Apprentice Eilish is holding the reflector in such a way that she isn’t actually captured in the photo, but is blocking the sun from shining directly into my lens.
Or you can use it to stop a stray beam of sunlight from casting a distracting “hot spot” on your subject, by having someone hold the reflector between the sun and your subject!
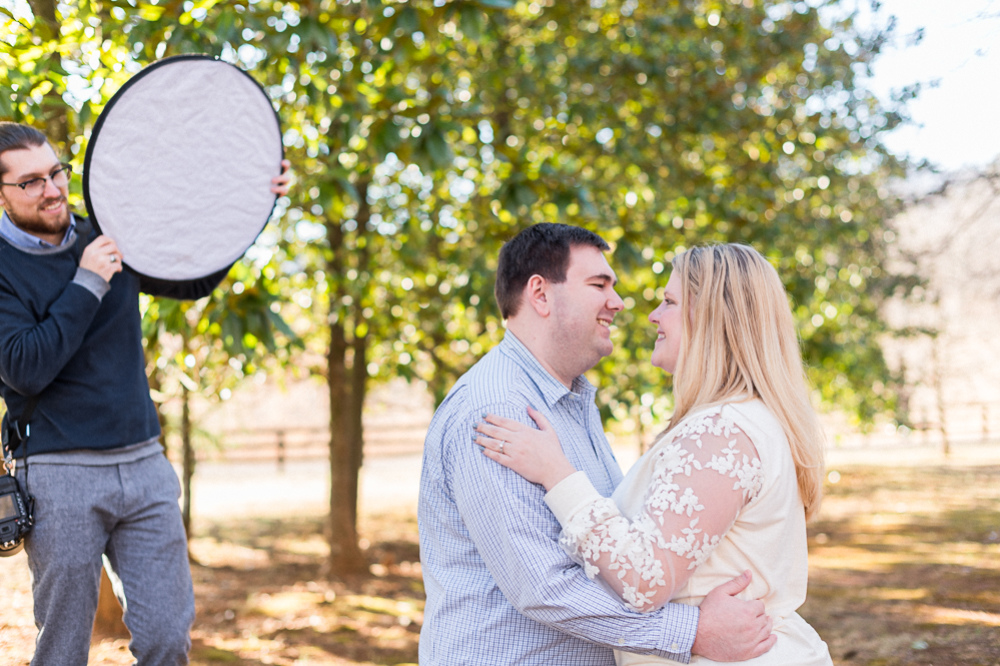
This was exactly where we wanted our couple to stand for this image, but there was a pesky beam of sunlight that was coming through the trees and creating a distracting “hot spot” on our bride’s cheek. So Hunter hopped on a stool and held a small reflector in just the right spot!
When We Use Flash As Wedding Photographers
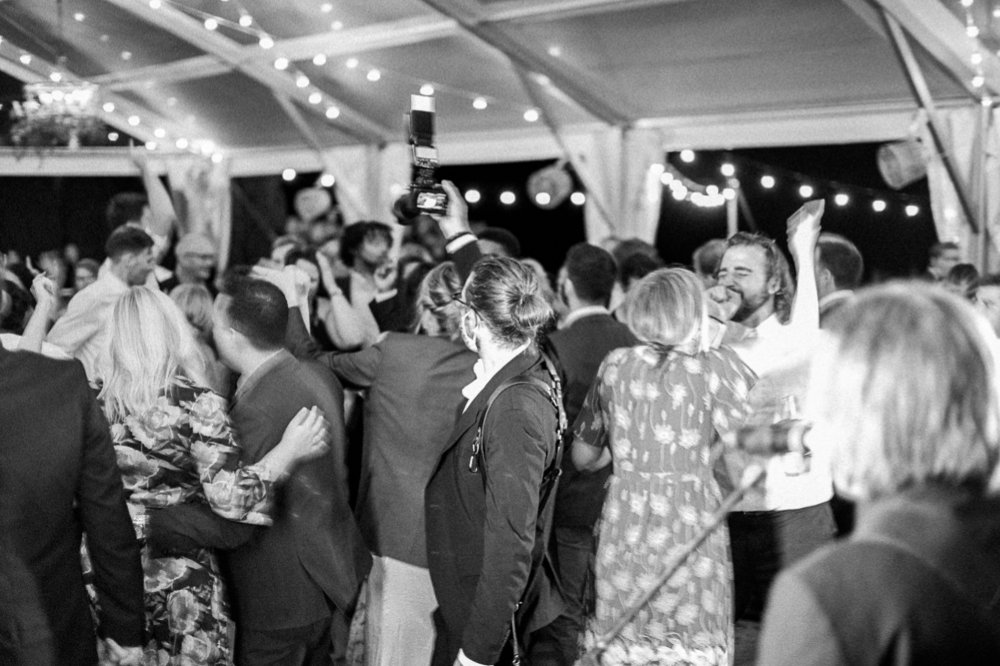
While a reflector is great in natural light settings to redirect a little light, if you find yourself moving into weddings or event photography, you may want to consider purchasing your first flash (sometimes called a speedlight). As wedding photographers, we usually only find ourselves using our flashes during the wedding reception, and especially during dancing photos!
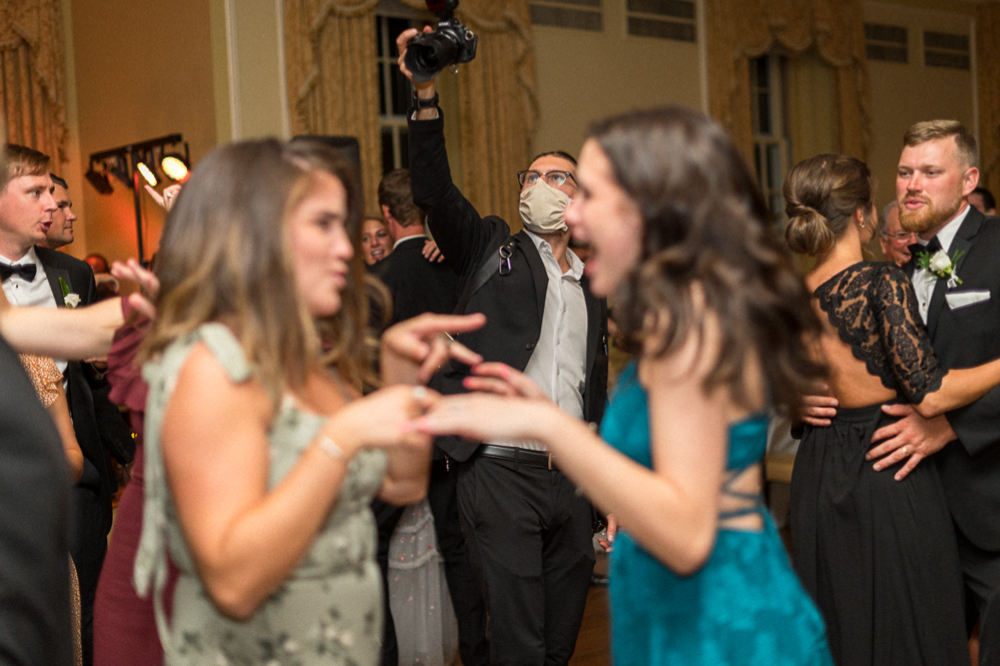
However, during a very small percentage of our weddings, we’ll have to use flash for a really dark getting ready suite or indoor portraits when cold or rainy weather drives us inside. However, as photographer with a bright and natural light aesthetic, we don’t ever use our flashes during outdoor portraits.
That being said, nothing will brighten up a dark getting ready suite or freeze the action on the dance floor like flash photography! And you won’t have to sacrifice clear and crisp images like you would if you just kept cranking up your ISO or slowing down your shutter speed.
When you first purchase your flash, you’ll be able to mount it onto your camera’s hot shoe (the metal clip right above your viewfinder), and once you turn it on, it’ll flash automatically when you fire the camera. It’s pretty simple to start! From there, it’s just learning how to make minor adjustments to your flash and other settings to achieve the aesthetic you desire.
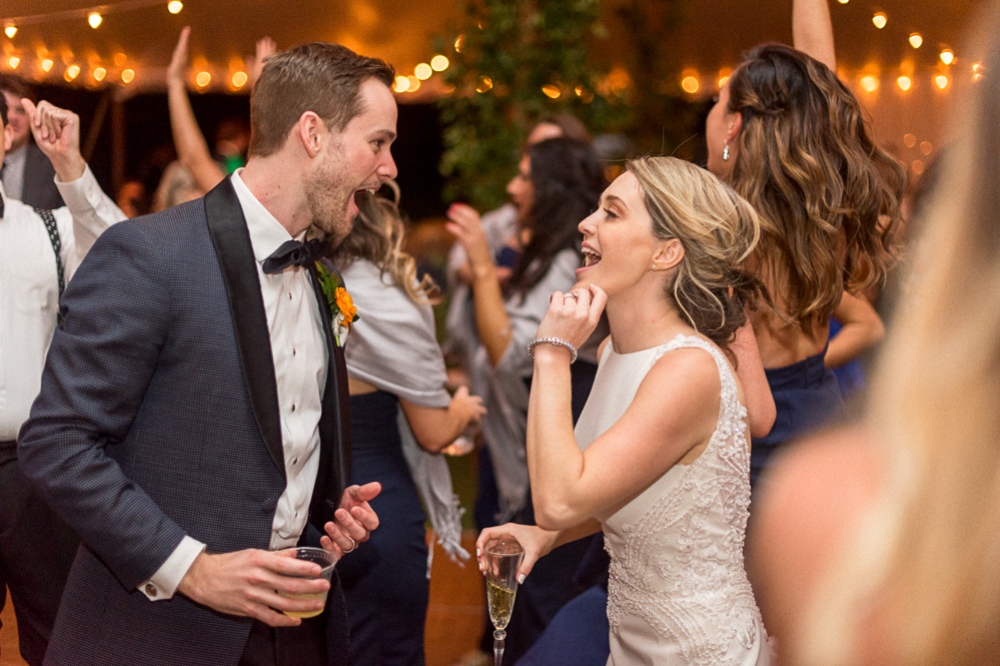
How to Bounce Flash and Diffuse the Light
The first mistake that we see beginner photographers making is pointing their flash directly at their subjects. We would never recommend pointing a flash directly at your subject unless you really know what you’re doing, because unless you’re a seasoned pro at flash photography, you can add some incredibly harsh light to your subjects, and make your photos look like mugshots. Instead, you want to indirectly light your subject with your flash by either bouncing your flash or diffusing your light.
For starters, if you’re in a room that has white or light-colored ceilings that are relatively low, you can do what’s called “bouncing your flash”. This is when you simply point your flash straight up and allow the light to bounce off the ceiling, lighting your subject with softer, more diffused light. This essentially turns the entire ceiling into one large, soft light.
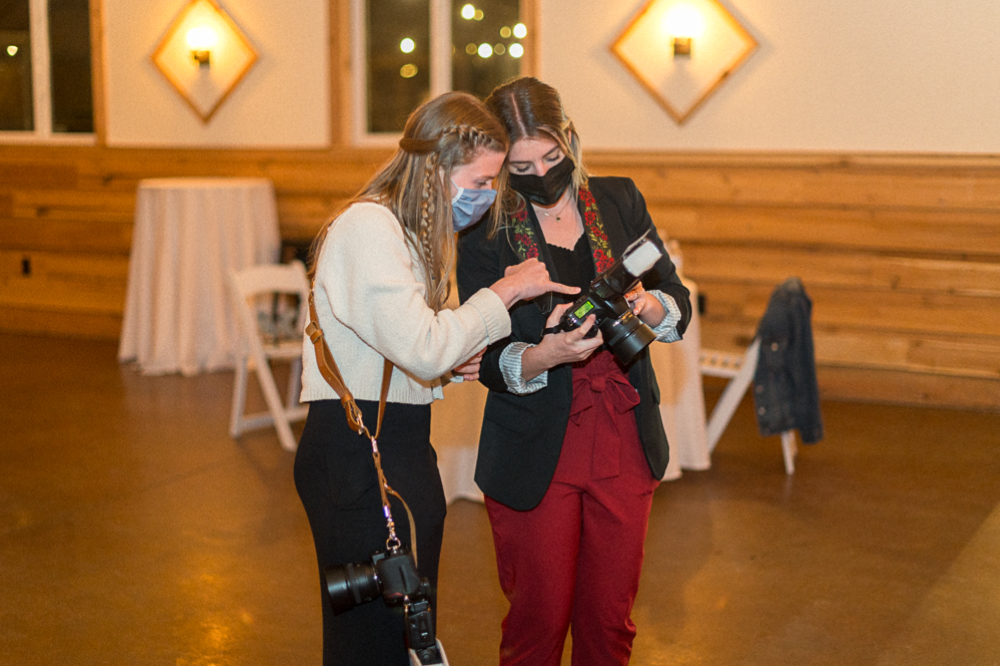
However, there are a lot of situations where you won’t be able to bounce your flash. Maybe the building you’re in has really tall ceilings, or the entire structure is made of dark, non-reflective wood. When we can’t bounce, the next best option is to use the flash’s built in flash card to soften the light a bit! You can also purchase other third party diffusers that attach to the top of your flash.
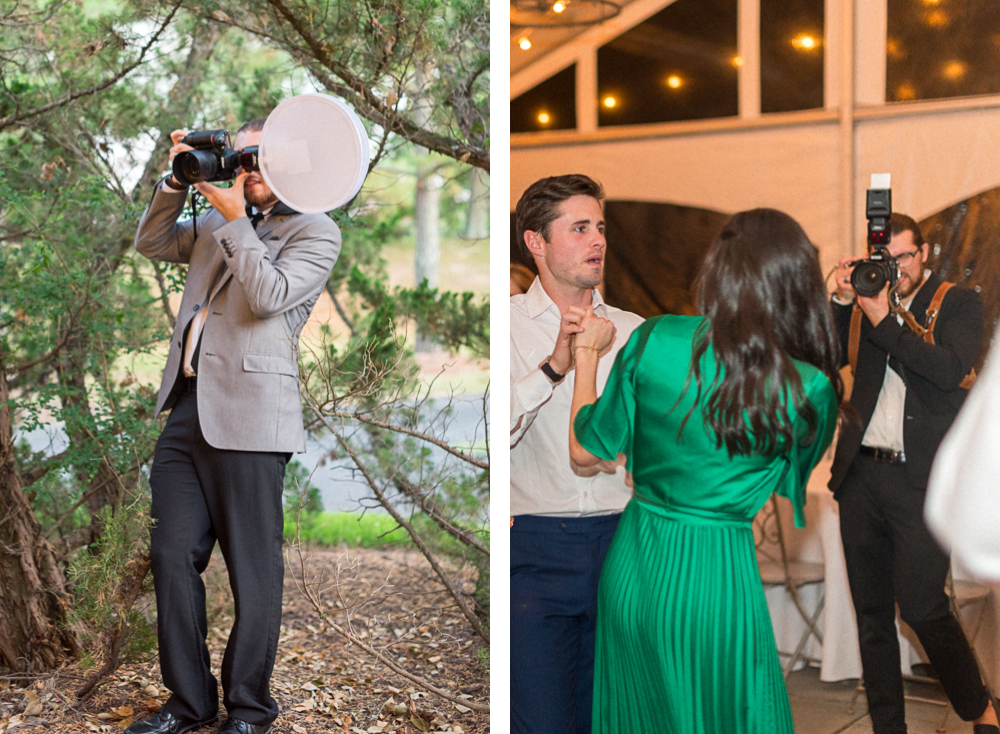
We used to use things like the circular flash disc diffuser you see above, but honestly, we found that they didn’t diffuse the light all that much better than this simple, built-in flash card, so we haven’t used it in a long time!
So, Which Lighting Equipment Should I Buy?
If you’re ready to purchase a flash, the next question is probably: “which one?”. When you look at the major camera manufacturers, flashes range from barely a hundred dollars to over $1,000, and generally speaking, more expensive flashes will give you more advanced features. But most photographers who just need a little bit of extra light on the dance floor don’t need all the bells and whistles that come from the most advanced flashes.
For example, right now you can get the Nikon SB-700, which is one level below their flagship, most advanced flash for only $330. And it’s everything you need for on-camera flash. The only reason you’d want to consider spending two or three times as much for the top-of-the-line flash at the flagship level, like the Nikon SB-5000, would be if you were going to do off-camera flash with multi-flash setups. But we’re going to chat more a bit more about off-camera flash in the next segment of this blog!
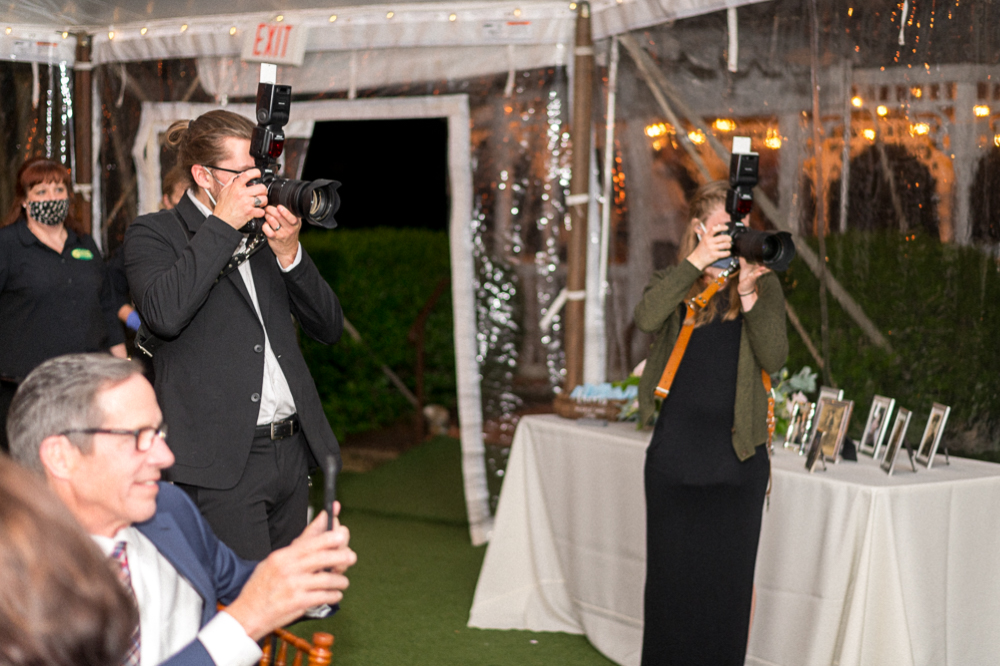
So, if you’ve been reading other blogs in this series, you probably know by now that we’re big proponents of purchasing high-quality third party lenses like Tamron or Sigma in order to save some money, because they can often give you 80-90% performance while saving you hundreds or even thousands of dollars on professional lenses. However, we actually feel pretty differently about flashes. That’s because Nikon flashes use a system called “intelligent through the lens” or iTTL. Essentially, your flash and your camera talk back and forth to each other in the milliseconds before your flash fires, and decide just how bright your flash needs to be in order to get a well-exposed image.
You can think of iTTL as sort of like a smart auto-flash. Of course, you can give it some feedback using your flash compensation buttons – basically telling your camera that the flash needs to be a little bit brighter or darker than it thinks is perfect. But this iTTL is SO nice when you’re using flash in a situation where the light is constantly changing, but you want an even exposure from image to image. On the dance floor at wedding days, a flash with iTTL will brighten and darken based on the light as you move around the dancefloor and the DJ or band’s lights are flashing. It just makes your life so much easier! And not all third party flashes are iTTL compatible (or whatever the equivalent is for Sony and Canon). So we think it’s usually best to just purchase your flash from whoever makes your camera!
Thanks guys, we’ll be back next week to continue the flash conversation!
Want More?
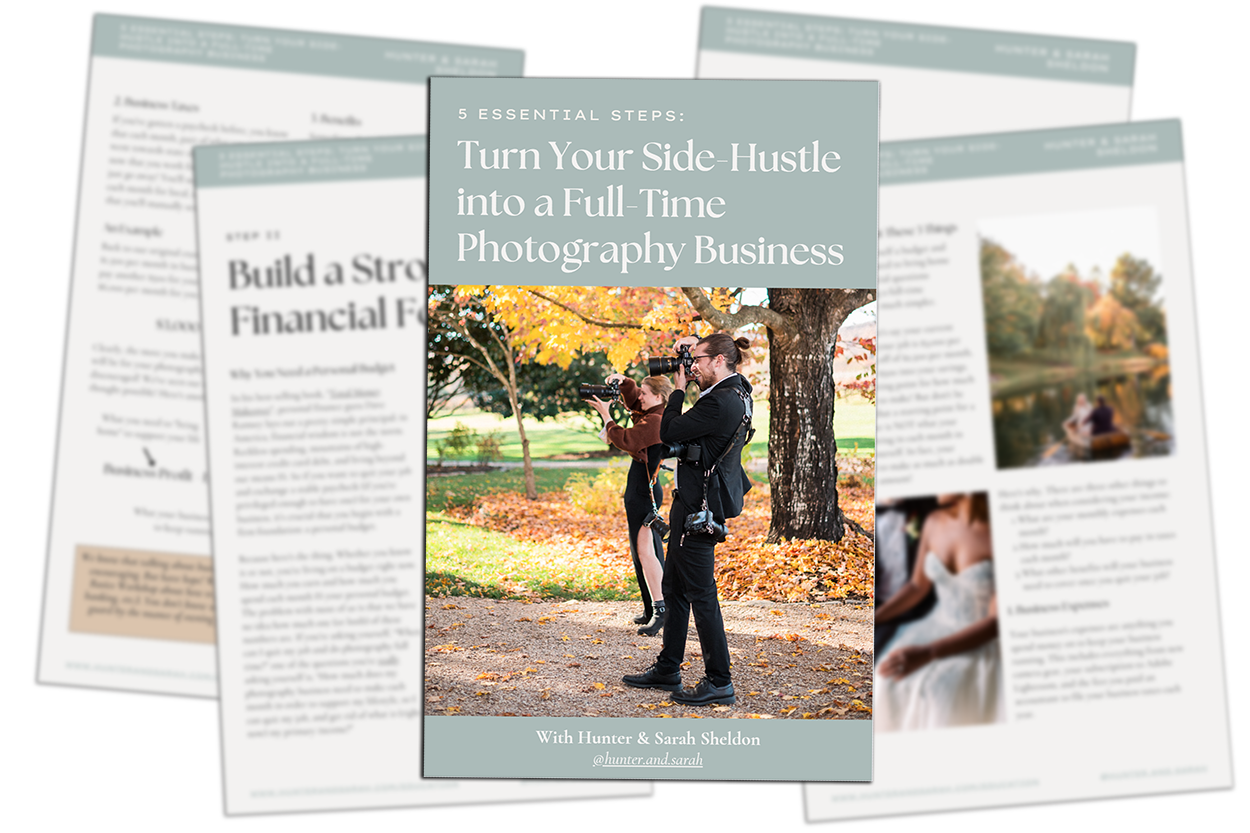
Click HERE to get your free copy of our eBook: “5 Essential Tips for Turning your Side-Hustle into a Full-Time Photography Business.” You’ll also be subscribed to our newsletter, so our newest content, weekly encouragement, and exclusive offers will be delivered right to your inbox!
—
Shopping List!
If you’re planning to purchase anything that we talked about today and we helped you make your decision, it would mean SO much to us if you purchased it through the links below! You’ll pay the same price as you normally would on Amazon, but Amazon would share a small slice of the profit with us. You’ll get what you need, support a small local business (us), and show us that our advice really has been helpful! Thanks! [Prices shown as of date of publishing, and are just for comparison/reference]
Reflectors
- Large Reflector [$30]
- Small Reflector (with handle) [$20]
- Small Reflector [$14]
Flashes:
- Nikon SB-700 [$330]
- Nikon SB-5000 [$600]
—
Check out the rest of the series below!
-
- Camera Bag Essentials 0: DSLR vs Mirrorless: Nikon D750 vs Z6 vs Z6ii
- Camera Bag Essentials 1: Prime Lenses: 85mm vs 50mm vs 35mm
- Camera Bag Essentials 2: Wide Angle Lenses: 35mm vs 24-70mm vs 14-24mm
- Camera Bag Essentials 3: Four Reasons to Buy a Telephoto Zoom Lens: The 70-200mm f/2.8
- Camera Bag Essentials 4: How to Up Your Detail-Photo Game with a Macro Lens
- Camera Bag Essentials 5: Using Reflectors and Flashes as a Natural Light Wedding Photographer
- Camera Bag Essentials 6: Why We Used Off-Camera Flash as Wedding Photographers… But Don’t Anymore
- Camera Bag Essentials 7: How to Know When It’s Time to Upgrade Your Camera Body
- Camera Bag Essentials 8: How to Know When You’re Ready for a New Prime Lens
- Camera Bag Essentials 9: Everything You Need to Know to Protect Your Camera Gear
- Camera Bag Essentials 10: 10 Wedding Photography Accessories You Didn’t Know You Needed
Filed in:
Wedding Photography & Photography Education
Charlottesville, Virginia and Beyond
HOME
ABOUT US
WEDDINGS
JOURNAL
FOR PHOTOGRAPHERS
PRESS & PRAISE
BLOG
CONTACT
e. hunter@hunterandsarahphotography.com
p. (434) 260-0902
