VIEW BY CATEGORY:
Hi, we're Hunter and Sarah, a husband-and-wife, luxury wedding photography team. We’re also educators, helping other photographers build profitable and sustainable photography businesses.
MEET US
LOOKING FOR SOMETHING?
Camera Bag Essentials 9: Everything You Need to Protect Your Camera Gear
March 17, 2022
—
Hey Photographers! Today we’re bringing you the penultimate post in our “For Photographers” blog series called Camera Bag Essentials! This series has been all about helping new photographers think strategically about what gear they’ll need to do their job well, and what gear they won’t need quite yet. If you’ve been reading along or watching with us since the first post/video, thank you so much for going on this journey with us!
Today’s blog is about four categories of equipment that we use to protect our camera gear on wedding days, on portrait sessions, and beyond.
1. A Camera Bag
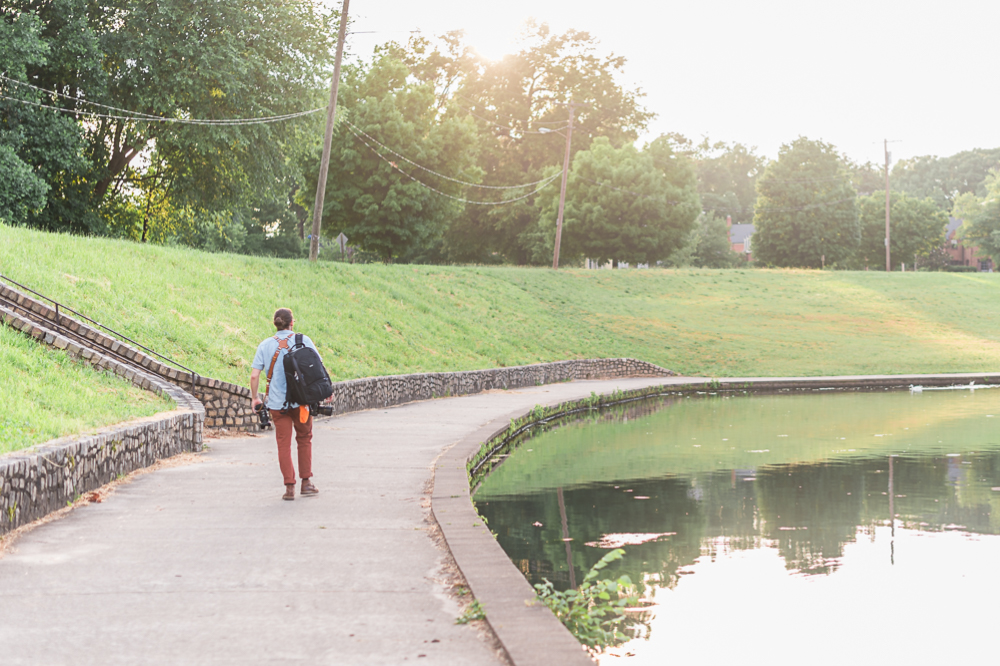
A high-quality camera bag is a MUST. If you’ve been progressing through this blog, you have hopefully noticed that a professional wedding photographer’s camera bag will eventually contain at least a single camera body and a back-up, at minimum three-to-five lenses (and probably more), plus any number of flashes and other miscellaneous pieces that support your gear and your work! Having a sturdy bag that will really protect your gear is essential, and will be an investment that protects your gear in the long-run. Also, make sure the bag you purchase is big enough to fit all your gear, and maybe has a little room to grow!
Aside from size, the main thing to consider when buying a camera bag is the type of bag. We’ve seen a LOT of different camera bags over the years, but most of them fit into one of these 5 categories:
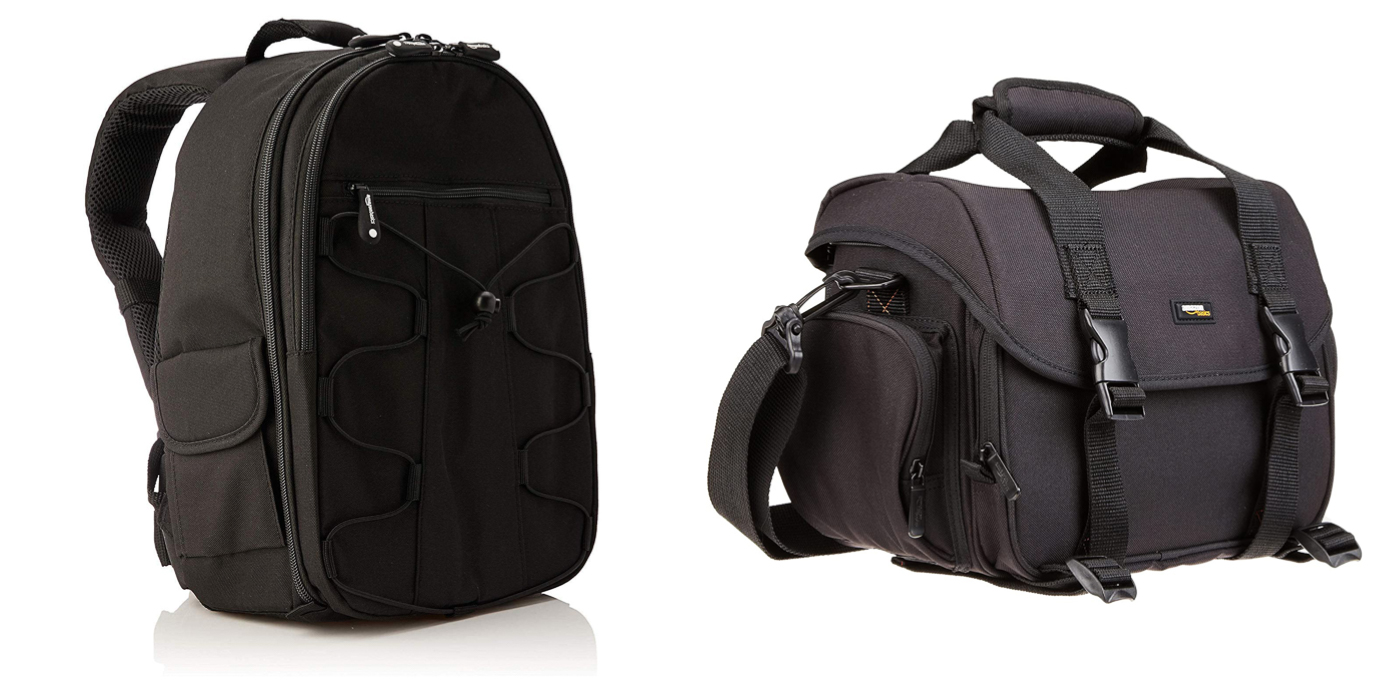
1. A Basic/Beginner Camera Bag. This is the kind of bag you might get for free when you buy your camera, or from a company like Amazon Basics for under $50. They usually have enough room for one camera body with a lens, and maybe one or two additional lenses. They’re small, simple, and get the job done for cheap. They usually come in a Backpack Option or a Sling Bag version.
2. Adventure or Photojournalist Camera Bags. These kinds of bags are usually meant for photographers who literally hike up mountains for their sessions, or for photojournalists who will spend an entire day on their feet and can’t ever set their bag down. These types of bags usually prioritize being lightweight, and having your main camera body accessible without removing the bag. Adventure Camera Bags usually look just like hiking bags, while Photojournalist Bags are often so discreet that you’d mistake them for a regular bookbag (in order to discourage theft). Some Photojournalist Bags are even waterproof!

3. Frequent Flyer Camera Bags. We call these bags “frequent flyer” bags because they’re made to hold lots of gear, are very well-padded, and are often made to certain specifications so they fit in the overhead compartment of an aircraft. They might have features like a built-in TSA lock, or even have wheels so they function like a typical carry-on bag. These bags definitely prioritize function over form (they’re not that cute 😂), and usually have to be laid down flat on their backs in order to open them. From our favorite brand, Think Tank, they come in Personal Item Size to fit under the seat or Carry-On Size (or Carry-On Size with Wheels) for the overhead bin!

4. Fashionable Camera Bags. While fashion is objective, these bags are made specifically to look less like a camera bag and more like a purse or messenger bag. They prioritize looking good over other features, but can be a great option if you don’t have a ton of gear, and don’t have to carry it for very long! Whether you get a Leather Purse, a Leather Messenger Bag, or Canvas Messenger Bag , you wouldn’t want to carry a LOT of gear all day on one shoulder!

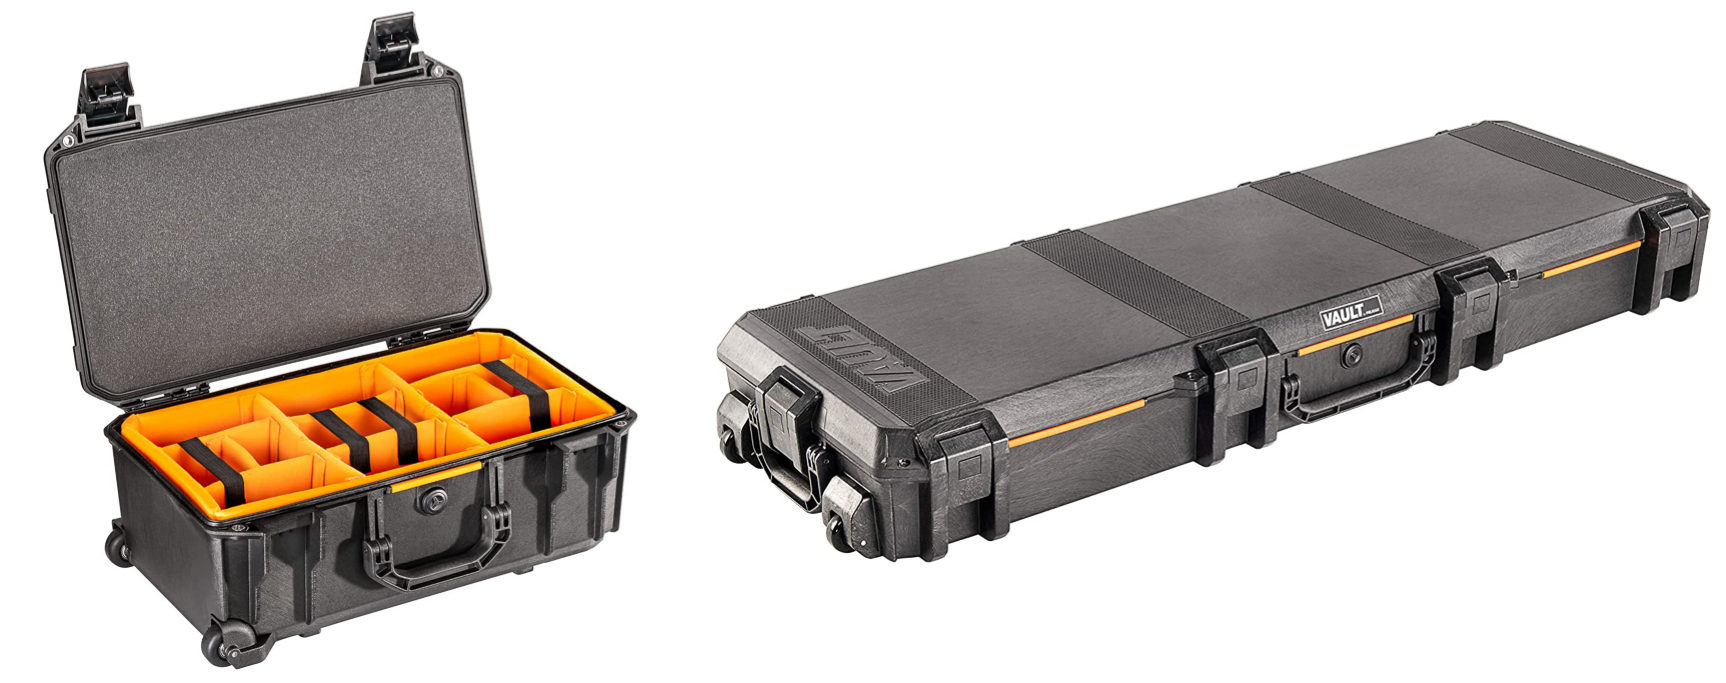
5. Hard-Shell Camera Bags. While the types of bags from the likes of Pelican are overkill for most portrait and wedding photographers, if you have too much camera gear to fit in a single carry-on bag, but you fly frequently, a Hard-Shell Camera Bag is probably the next best option. You’d still have to risk the airline losing your bag, but at least it would be well-padded under the plane! These also might make sense if you have lots of studio and lighting equipment that you frequently load and unload for travel, in which case a Long Hard-Shell Bag might work well for you.
Our Camera Bag
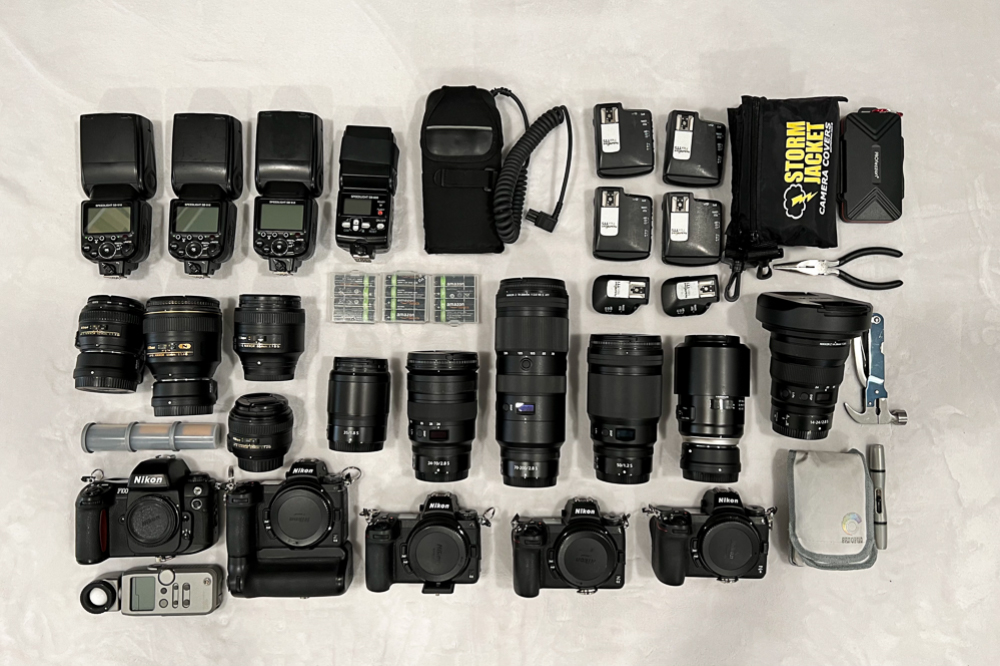
Personally, we care more about safely storing a large amount of gear than we do about looks, and we fly pretty often for our work. So we each have a bag in the frequently flyer category! Both of our camera bags are from ThinkTank, and between these two bags we can fit 5 camera bodies (4 mirrorless and one 35 mm SLR), 10 lenses, 4 flashes, plus a ton of smaller items like batteries, memory cards, cleaning equipment, and rain gear.
And despite being able to carry ALL of this gear, both of these bags are considered “carry-on” size by the major US airlines, meaning our camera gear never leaves our sight when we fly for weddings. We can’t handle the thought of potentially arriving at our destination just a couple of days before a wedding and learning that our airline lost or broke all of our camera gear, so we keep it on us at all times!
Because of that, we chose the two non-wheeled “Frequent Flyer” bags that we linked above, the Think Tank Airport Commuter Bag and the Think Tank Photo Streetwalker HardDrive V2.0. ALL of the gear you see below can fit into these two bags at their max capacity!
2. UV Lens Filters
The next type of equipment we use to protect our camera gear are UV filters. In theory, these small filters that screw onto the front of your lenses shouldn’t really affect how the image looks, but will protect your lens from scratches, foreign substances, or in some cases, from breaking after being dropped.
Now, UV filters can be controversial, because, in theory, anytime you add a piece of glass that isn’t native to the lens, you’ll negatively impact the image quality. But a nice UV filter will make basically unnoticeable changes, and many photographers agree that they’re worth keeping on your lenses.
Early on in our business, while swapping lenses during a headshot, Hunter actually dropped our 35 mm lens onto the concrete from standing height 🤦♀️. When he picked it up, the $35 UV filter had shattered, but the $300 lens didn’t. Now in theory, we can’t know whether or not the lens would’ve broken without the UV filter, but we think they help 🤷♀️
It’s also really nice because if your lens gets sprayed with champagne or gets wet from rain during a session, you can just clean the filter instead of the front element of the lens. And every time you clean a lens, you run the risk of scratching it or damaging it in a permanent way. So if you damage the filter, you can just throw it away and get another.
We’ve heard before that as a general rule, you should spend ~10% of the lens’ cost on the filter. So a $35 filter on a $350 lens, or a $150 filter on a $1,500 lens. It doesn’t have to be exact, but putting a $200 UV filter on a $200 lens is overkill, and putting a $30 UV filter on a $2,000 lens could begin to negatively impact the quality.
Your lenses are NOT like your iPhone. If you break the front glass, it is not a cheap or simple repair! Spend about 10% of the cost of your lens on a UV filter of similar quality, and your lenses will be protected from all sorts of scratches and residues! We buy our filters from Breakthrough Photography because of their 25-year guarantee. They also have 3 levels of quality, so whether you’re protecting a starter lens or a professional one, they’ve got you covered. See the specifics in the “Shopping List” section below!
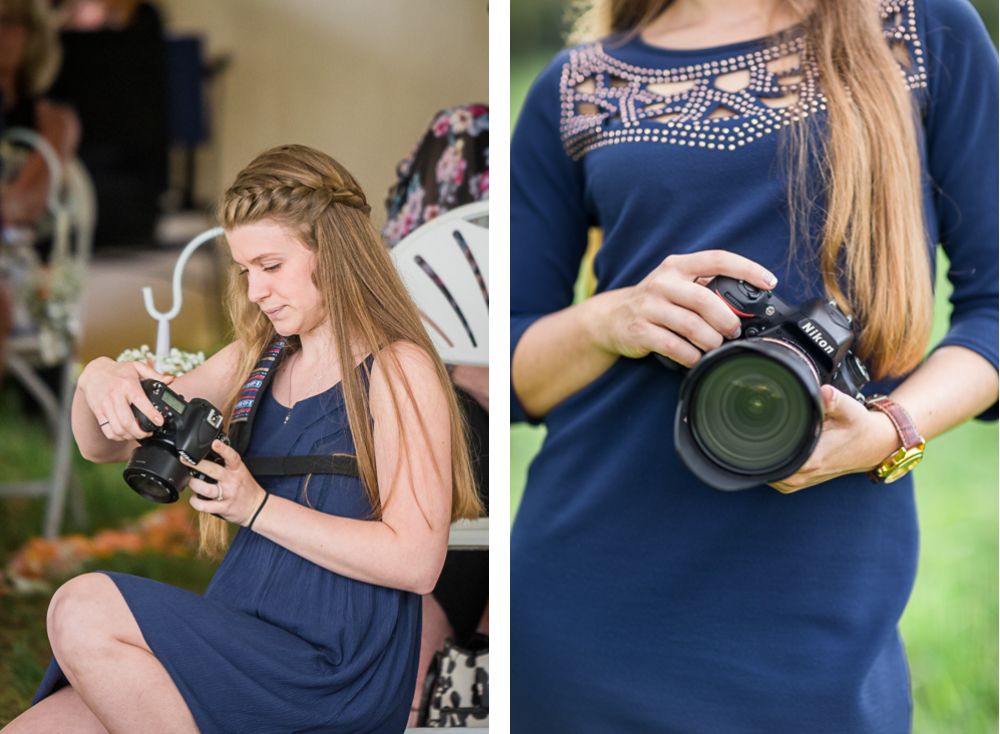
If you look closely at this old photo on the left, you can see four white markings on the end of Sarah’s lens. That’s actually the UV filter! It’s so thin that you barely even notice that it’s attached to the lenses in both of these photos.
3. Rain Gear
The next thing that we use to protect our camera gear is rain equipment. While no one wants rain on a wedding day, you DO need to be ready for it. Even if you live in the desert like Arizona, there are still days where it can downpour all day long and you just need to be prepared!
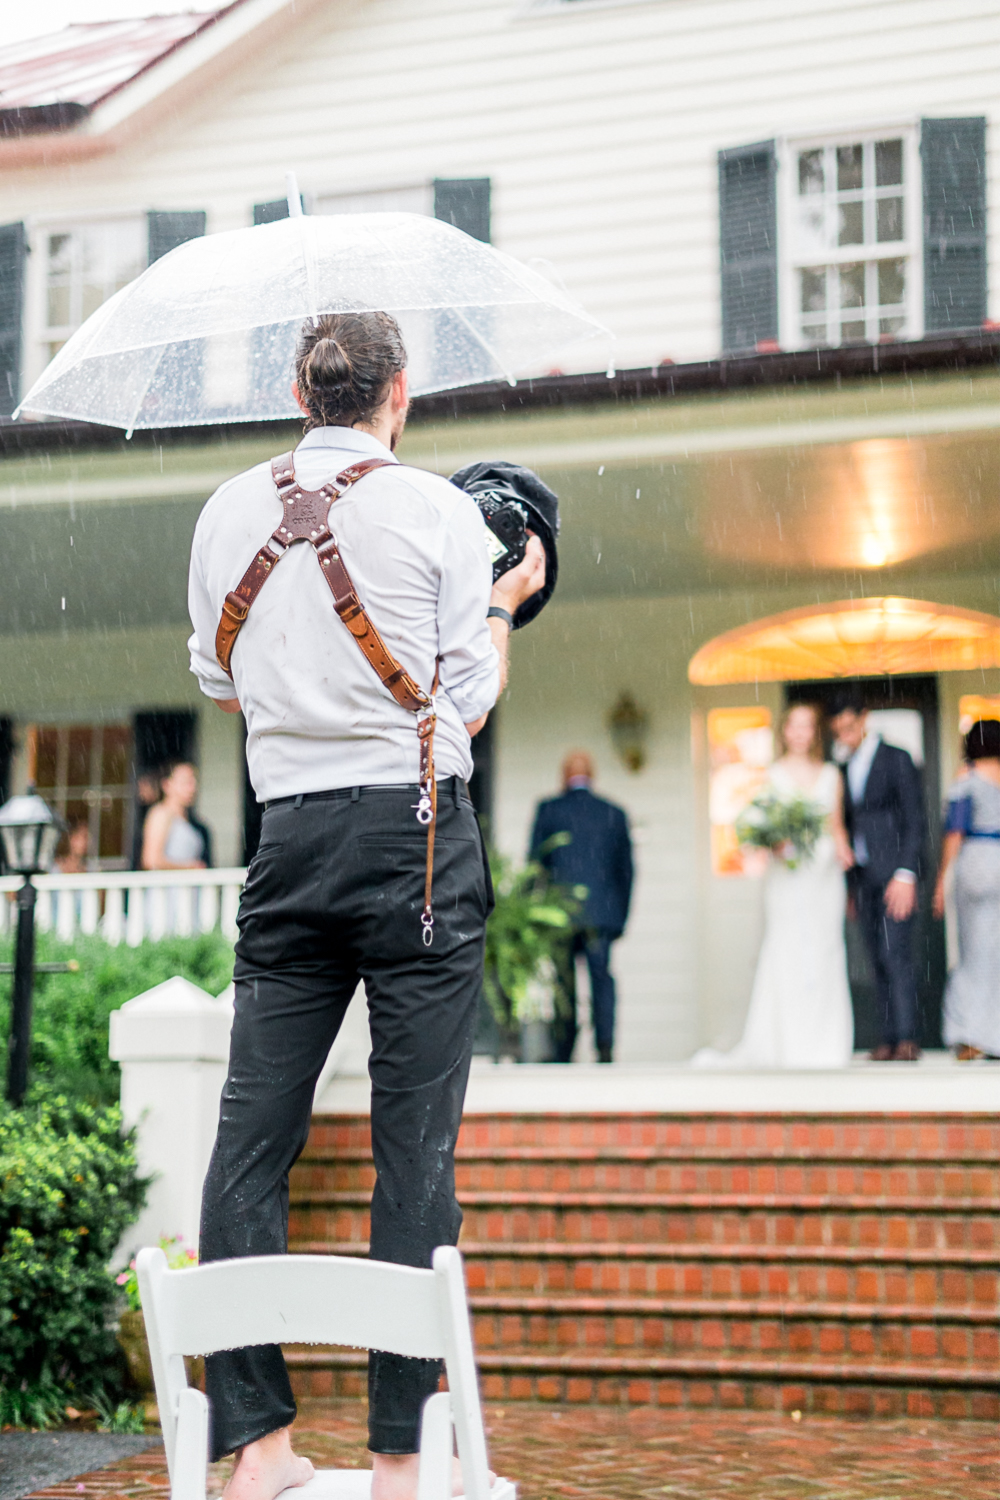
We use storm jacket camera covers, which cover your camera and lens in such a way that you can still use all the features of your camera and even adjust the zoom or focus of your lens, without covering up the front of the lens or the LCD screen. We’ve shoot in literal downpours with these covers, and our cameras have been just fine.
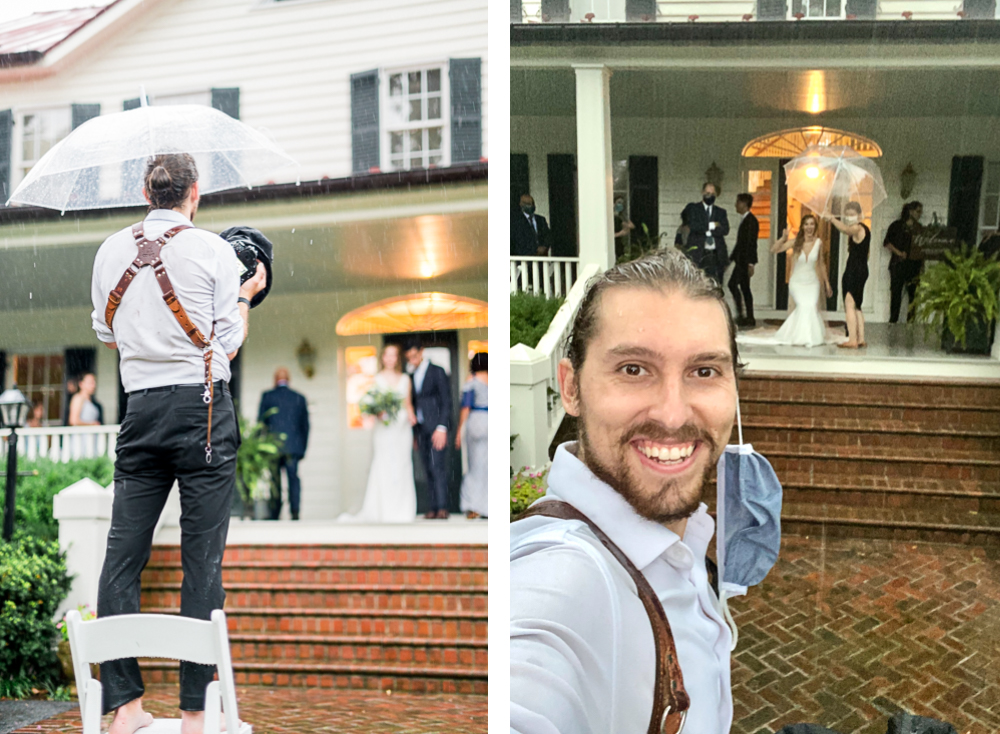
We literally got caught in the edge of a hurricane during Amanda and Victor’s wedding day, and this intimate micro-wedding didn’t have a back-up rain site. So I kicked off my shoes and my jacket, embraced the rain, and shot toward the porch with a Storm Jacket Cover on my camera, and an umbrella during the worst of it.
Hunter typically shoots with two camera bodies and Sarah typically shoot with one, so we always have 3 storm jacket covers in our camera bag. We have large storm jackets for longer lenses, and smaller storm jackets for prime lenses.
In addition to those storm jacket covers, we also keep our rain coats in our trunk at all times, along with a bunch of clear umbrellas. Sometimes we give the umbrellas to our clients, sometimes we use them ourselves in addition to our storm jacket covers, and sometimes we do both. It really depends on how hard it’s raining!
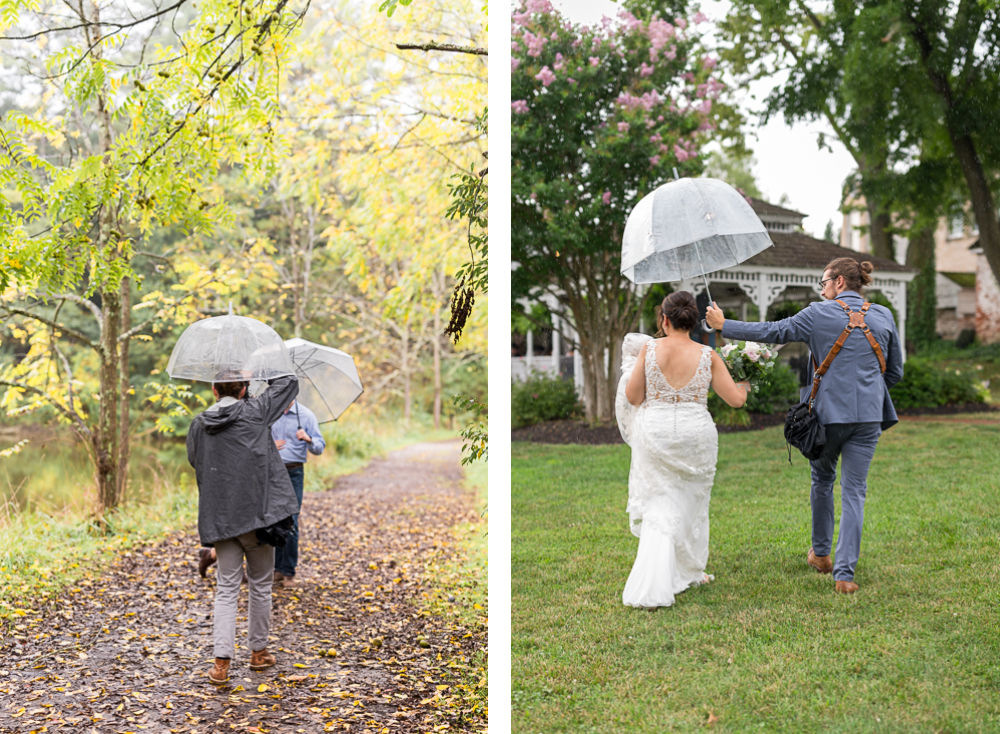
Sometimes we give the umbrellas to our couples as a prop during their sessions, and other times we just use them to keep dry between brief spurts of on-and-off rain.
4. Camera Straps
The final piece of gear we use to protect our cameras on portrait sessions and wedding days are the camera straps that attach them to us! If you’ve been shooting for more than a few months, you’ve probably noticed that the neck strap that comes with your camera is extremely uncomfortable. Before we photographed weddings, we tried to solve this problem using single shoulder sling-straps, which are fine if you only have one camera and don’t shoot for more than an hour or so. But if you do photograph weddings or if you shoot with two cameras (and especially if you do both like I do), you’ll want a dual-shoulder strap.
Holdfast Gear first made this style of camera strap famous, but when we first started shooting weddings, we couldn’t afford to buy two camera straps for $250 each! So we found a cheaper version on Amazon by C Coiro that we expected to use for a little while before upgrading to HoldFast… and here we are 4 years later still using that strap we paid $75 for! The Amazon version has gotten a bit more expensive… but they’ve also gotten nicer as they’ve incorporated additional stitching and shoulder pads!
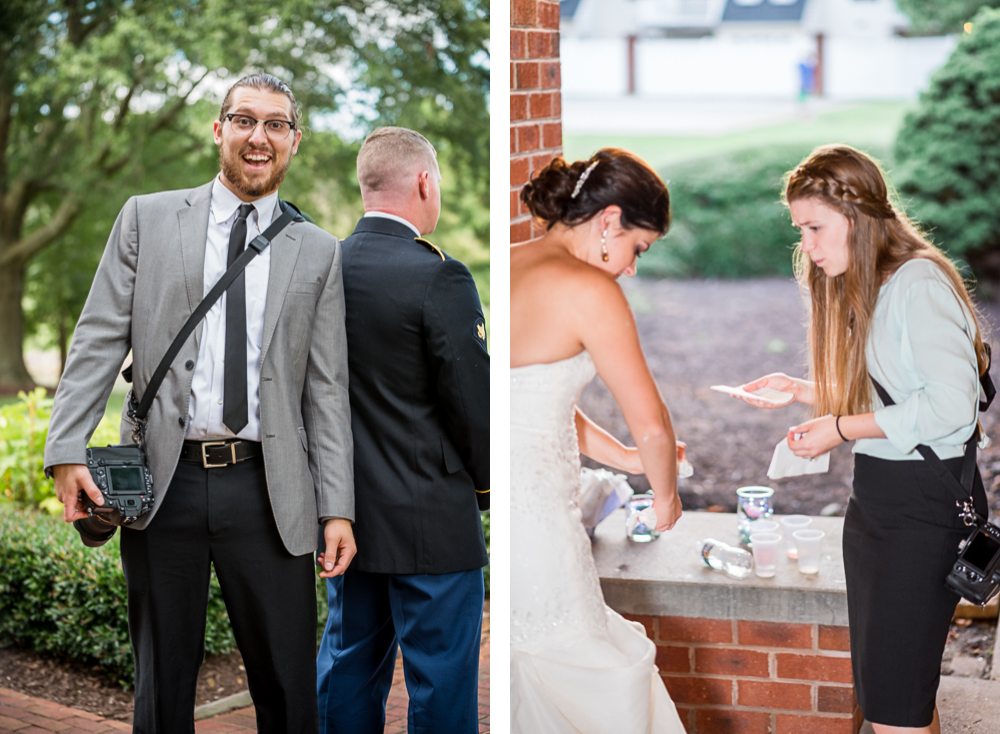
These photos from the early years show that the single straps got the job done with one camera, and still kept our hands free — perfect for wiping cake off the bride when her groom goes too hard during cake-cutting 😂
One added benefit that we didn’t expect from these dual camera straps is that — for whatever reason — people seem to take us more seriously when we wear them. But no matter what you get, make sure that you secure the strap well to your camera, and preferably have a backup connection point in case the primary connection becomes unscrewed or breaks.
Hunter once had disconnected his camera from the strap on the main connection point so he could hold it up higher above his head for a shot. Then, he did what he’d done 1,000 times before, and let go of the camera so it would fall to his side while he grabbed his other camera. If he hadn’t had the backup connection point secured, he would’ve essentially spiked a $2,000 camera into the ground in the middle of a wedding day… which would not have been good 😅
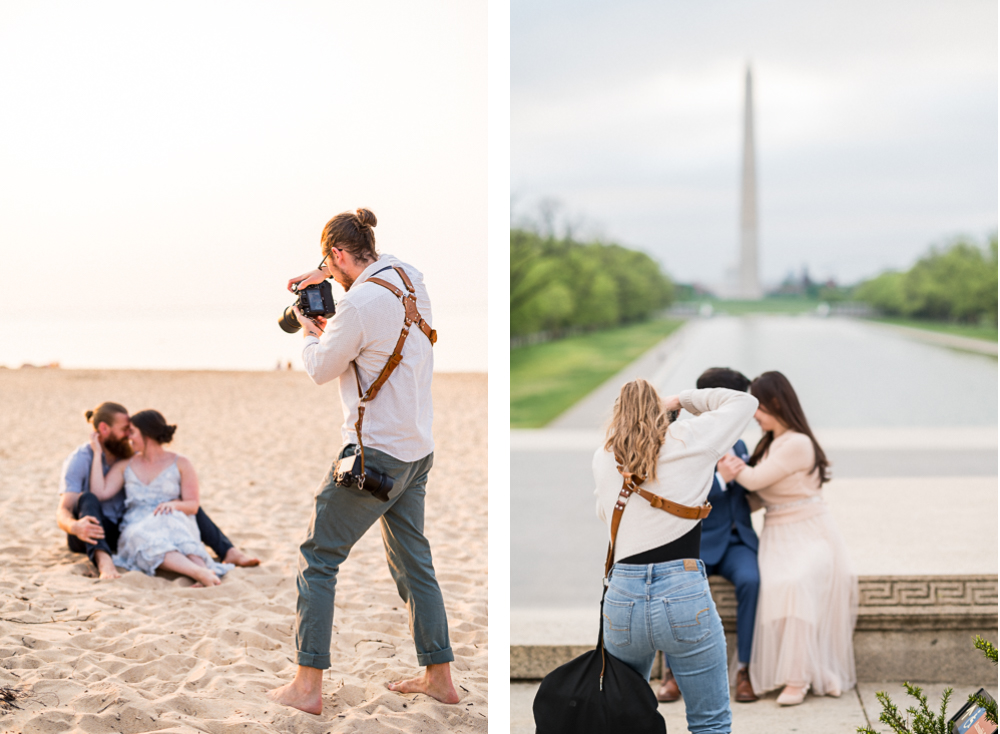
Whether you’re rocking two cameras or one, the double-harness does a great job of distributing the weight more evenly across both shoulders!
4. Final Caveat
Speaking of spiking your camera into the ground, the final caveat is that this blog is all about physical equipment that we use to protect our photography gear, but at the end of the day, insuring your gear is actually one of the best ways to protect it. However, gear insurance is covered more deeply (along with the other kind of insurance you’re probably forgetting about) in a whole other blog series, here!
That’s it! Thanks so much for following along, and check back next week for the final post in this series!
Want More?
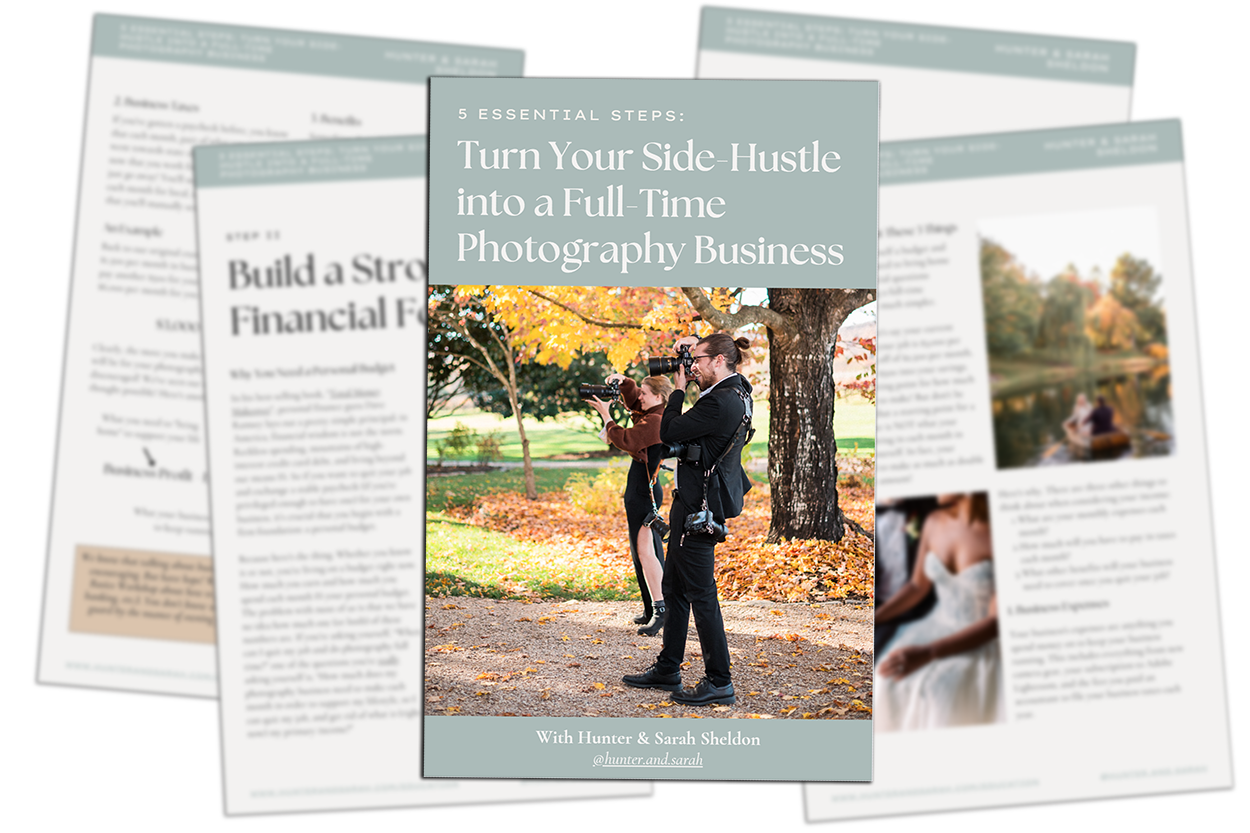
Click HERE to get your free copy of our eBook: “5 Essential Tips for Turning your Side-Hustle into a Full-Time Photography Business.” You’ll also be subscribed to our newsletter, so our newest content, weekly encouragement, and exclusive offers will be delivered right to your inbox!
—
Shopping List!
If you’re planning to purchase anything that we talked about today and we helped you make your decision, it would mean SO much to us if you purchased it through the links below! You’ll pay the same price as you normally would on Amazon, but Amazon would share a small slice of the profit with us. You’ll get what you need, support a small local business (us), and show us that our advice really has been helpful! Thanks! [Prices shown as of date of publishing, and are just for comparison/reference]
Camera Bags:
- Amazon Basics Backpack [$40]
- Amazon Basics Sling Bag [$31]
- Lowepro Hiking Camera Bag [$200]
- K&F Concept Discreet Camera Backpack [$85]
- Besnfoto Waterproof Roll Top Camera Backpack [$100]
- Think Tank Airport Commuter [$220]
- Think Tank Streetwalker Harddrive V2.0 [$240]
- Thank Tank Airport Roller Derby [$375]
- Purse-Like Camera Bag [$75]
- Leather Messenger Bag [$120]
- Canvas Messenger Bag [$50]
- Pelican Hard-Shell Camera Bag [$200]
- Pelican Hard Camera Bag (Extra Long) [$230]
UV Filters
- X1 UV Filters by Breakthrough Photography [good for cheap lenses]
- X2 UV Filters by Breakthrough Photography [good for mid-range lenses]
- X4 UV Filters by Breakthrough Photography [good for expensive, professional lenses]
Rain Gear
- Storm Jacket Cover for Small/Medium Lenses [$58]
- Storm Jacket Cover for Large/Extra-Large Lenses [$50]
- Clear Bubble Umbrellas [$29 ea]
- 2-Pack XL Clear Golf Umbrellas [$50]
Camera Straps
- Altura Single Camera Shoulder Sling [$24]
- C Coiro Leather Single-Camera Harness (Holdfast Knockoff) [$60]
- HoldFast Gear Money Maker Leather Dual-Camera Harness [$230]
- C Coiro Leather Dual-Camera Harness (Holdfast Knockoff) [$100]
—
Check out the rest of the series below!
-
- Camera Bag Essentials 0: DSLR vs Mirrorless: Nikon D750 vs Z6 vs Z6ii
- Camera Bag Essentials 1: Prime Lenses: 85mm vs 50mm vs 35mm
- Camera Bag Essentials 2: Wide Angle Lenses: 35mm vs 24-70mm vs 14-24mm
- Camera Bag Essentials 3: Four Reasons to Buy a Telephoto Zoom Lens: The 70-200mm f/2.8
- Camera Bag Essentials 4: How to Up Your Detail-Photo Game with a Macro Lens
- Camera Bag Essentials 5: Using Reflectors and Flashes as a Natural Light Wedding Photographer
- Camera Bag Essentials 6: Why We Used Off-Camera Flash as Wedding Photographers… But Don’t Anymore
- Camera Bag Essentials 7: How to Know When It’s Time to Upgrade Your Camera Body
- Camera Bag Essentials 8: How to Know When You’re Ready for a New Prime Lens
- Camera Bag Essentials 9: Everything You Need to Know to Protect Your Camera Gear
- Camera Bag Essentials 10: 10 Wedding Photography Accessories You Didn’t Know You Needed
Filed in:
Wedding Photography & Photography Education
Charlottesville, Virginia and Beyond
HOME
ABOUT US
WEDDINGS
JOURNAL
FOR PHOTOGRAPHERS
PRESS & PRAISE
BLOG
CONTACT
e. hunter@hunterandsarahphotography.com
p. (434) 260-0902
